Drawing a Hare
A tutorial for coloured pencil artists
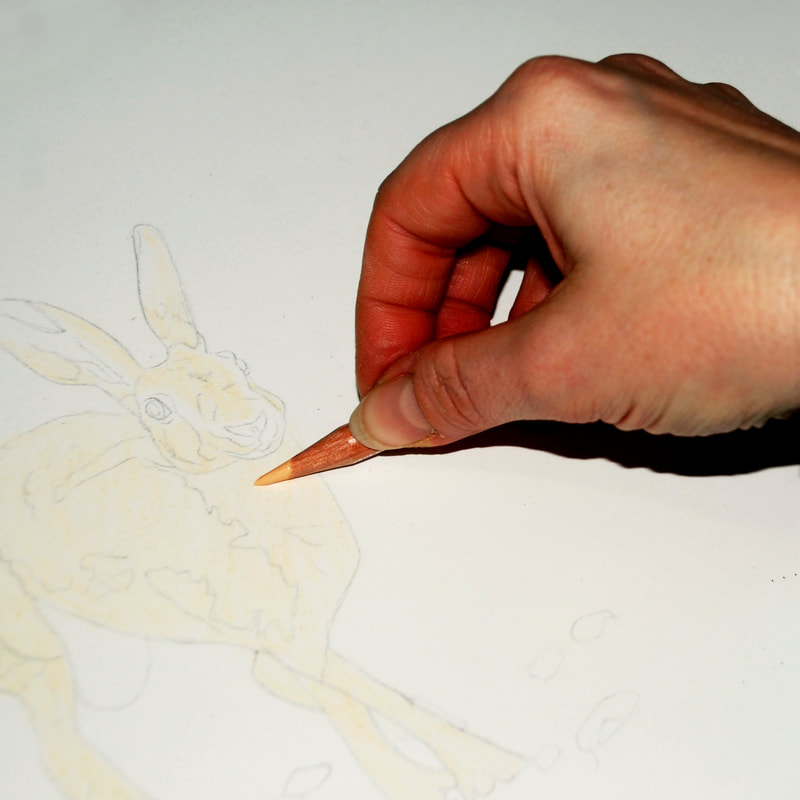
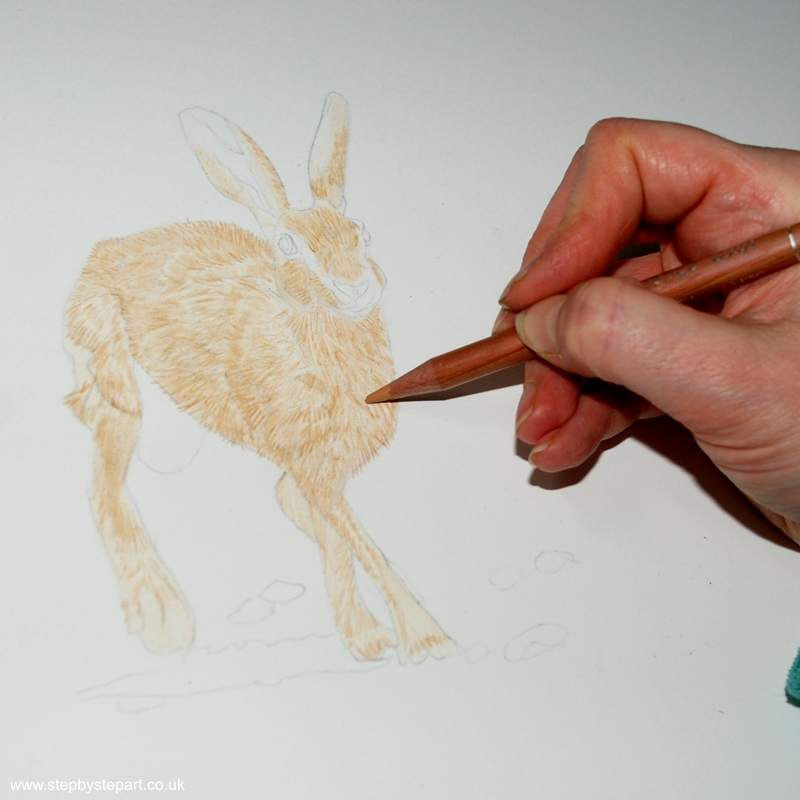
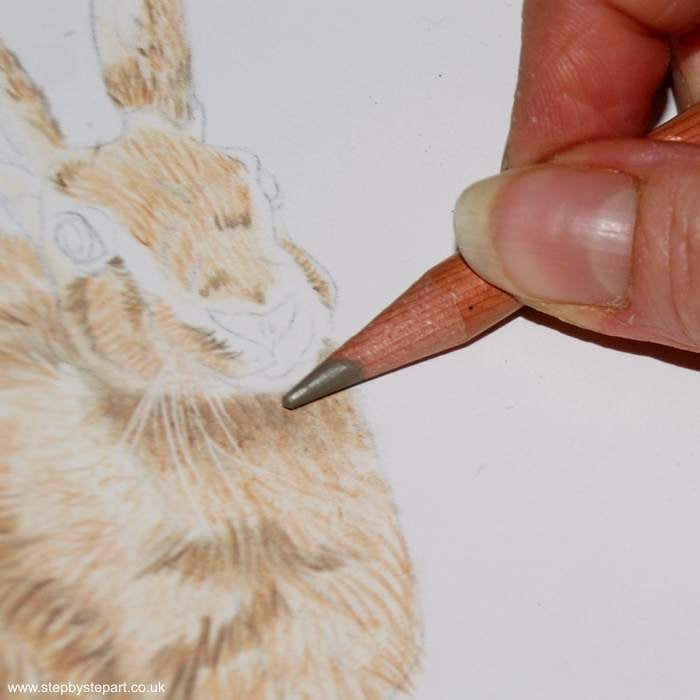
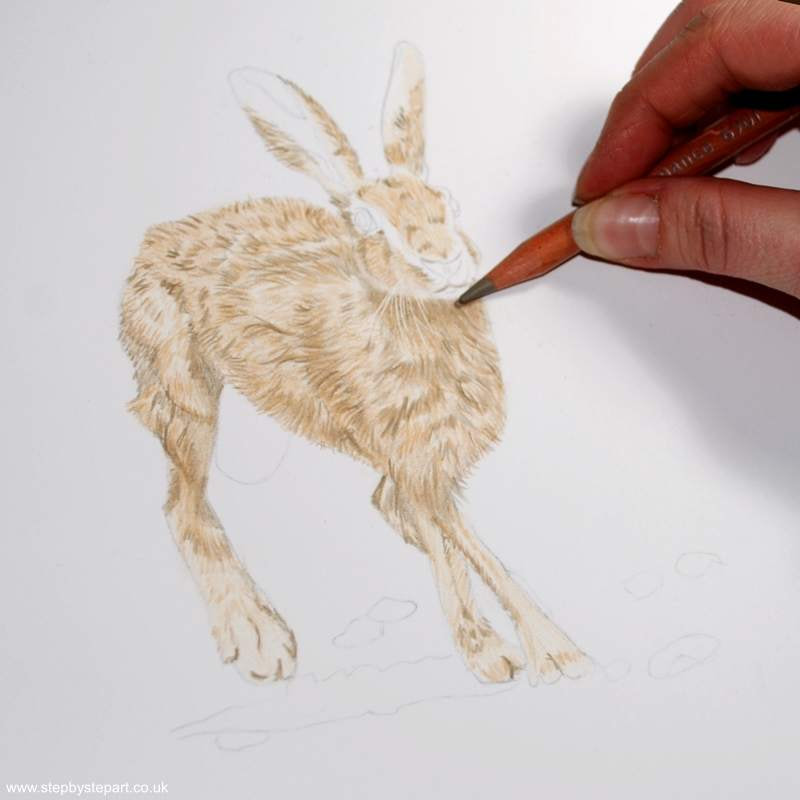
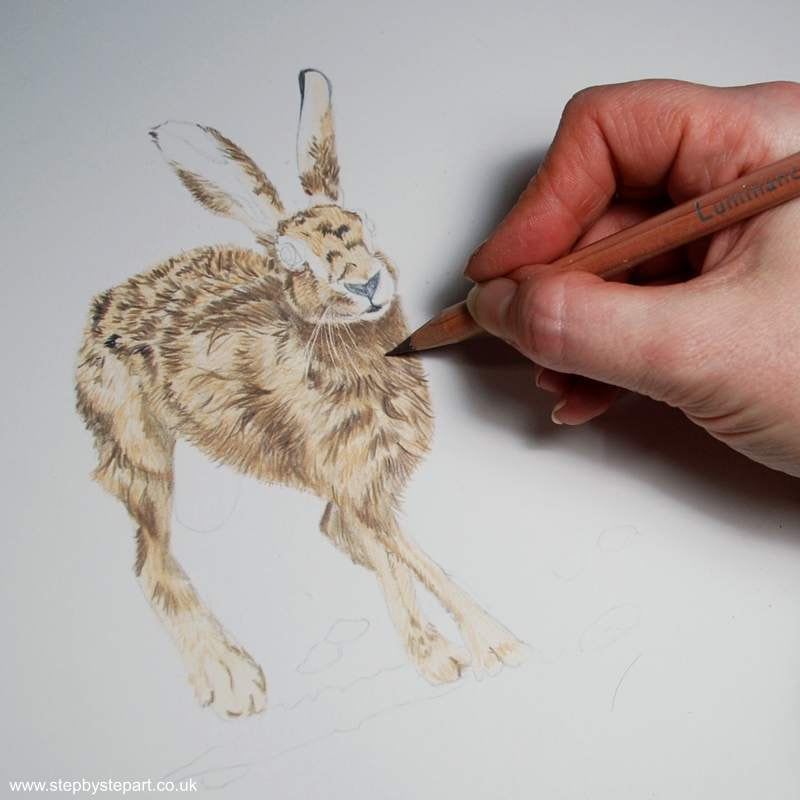
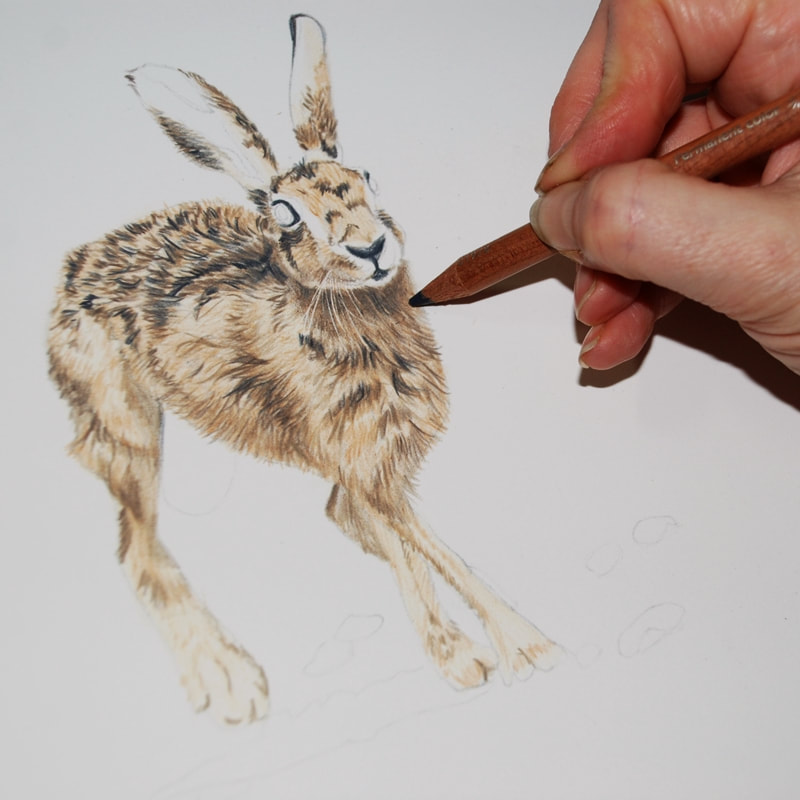
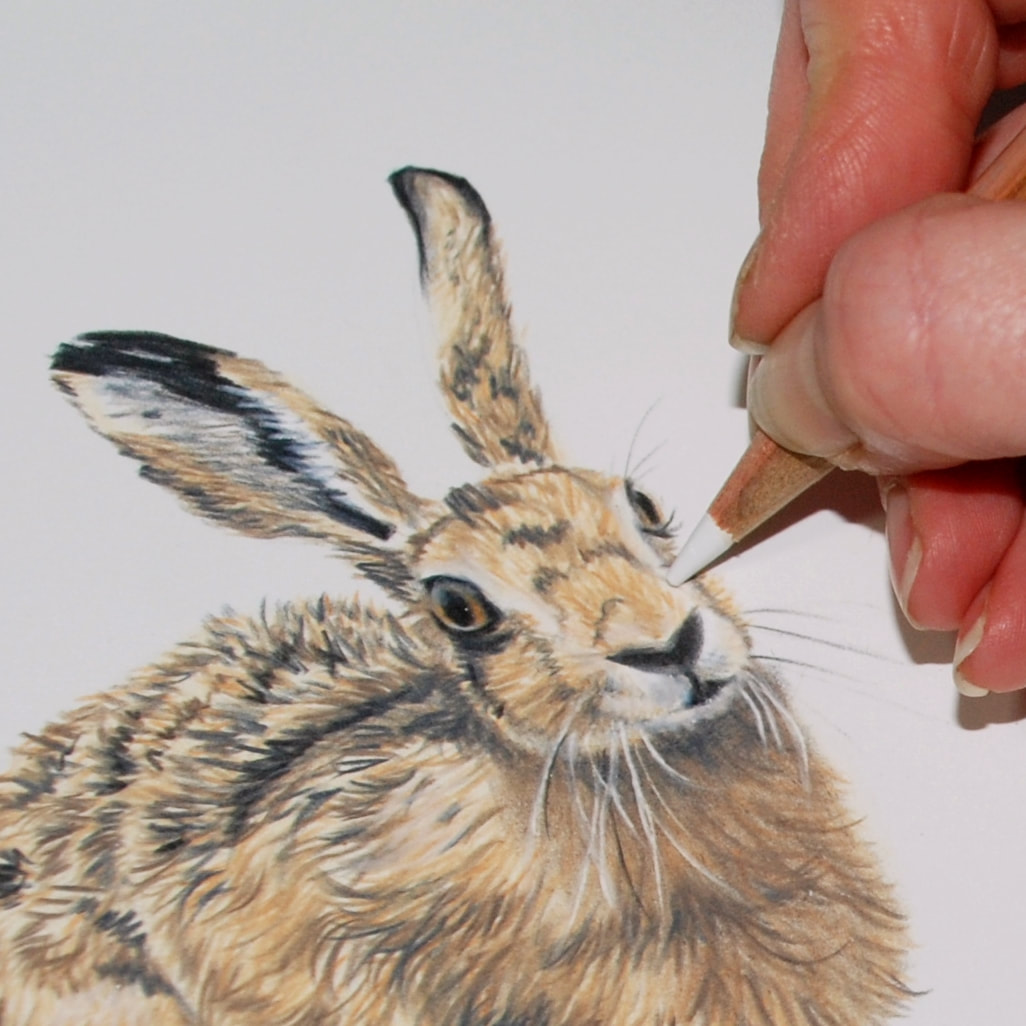
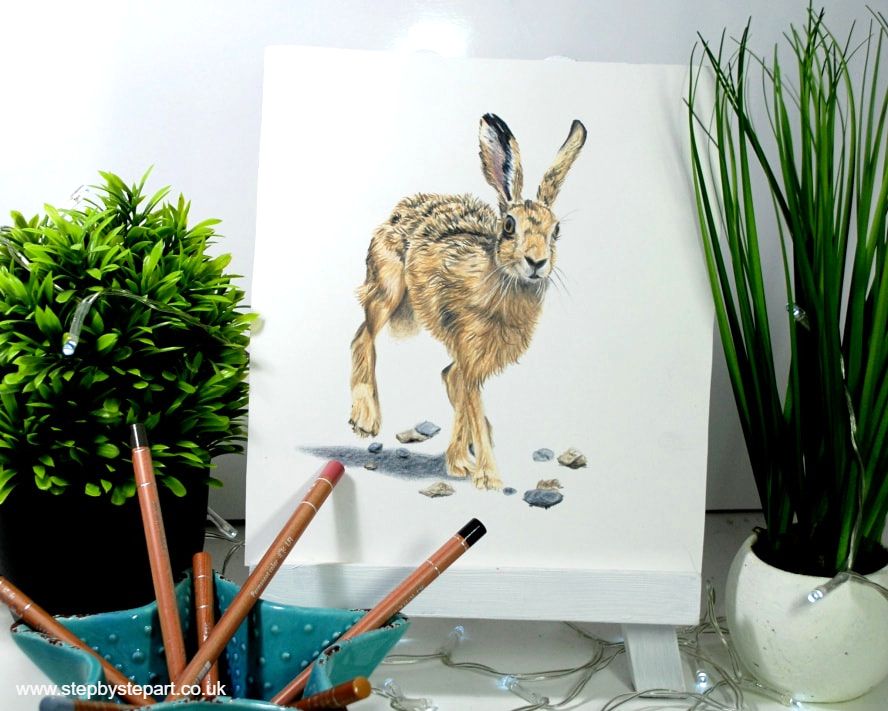
This tutorial provides you with a simple step by step guide on how to draw a Hare with coloured pencils. We teach you how to achieve realism in your pencil work by means of the layering process and correct application. The Hare is a popular subject and pencil artists, regardless of skill level, can achieve great results. The creation process does not need to be long and drawn out. All you need are 11 colours and an indulgence to be loose and expressive in your application. We calculate that this subject can be produced within a 30 minute window, however if you prefer to spend more time adding extra detail than our effort, go for it!
We used the Caran d'Ache Luminance pencils and the Moulin Du Roy watercolour paper for this tutorial. Your products do not need to be an exact match, simply select colours from your own pencils that closely resemble the colours we use. You can replace the Moulin du Roy paper with any hot-pressed paper.
The reference image can be found below, which you can screen grab and print out or view on a tablet whilst reading the instructions on a smartphone or computer.
This tutorial was originally created for the Colored pencil Magazine 'Workshop series' in the March 2021 issue. It has been reproduced here for inclusion in our mini tutorial section.
We hope you enjoy this tutorial and should you wish to request a subject that you would like to see included in a future mini tutorial, please get in touch!
We hope you enjoy this tutorial and should you wish to request a subject that you would like to see included in a future mini tutorial, please get in touch!
The reference image |
The products you will need
Paper Used: Moulin Du Roy Smooth Heavyweight
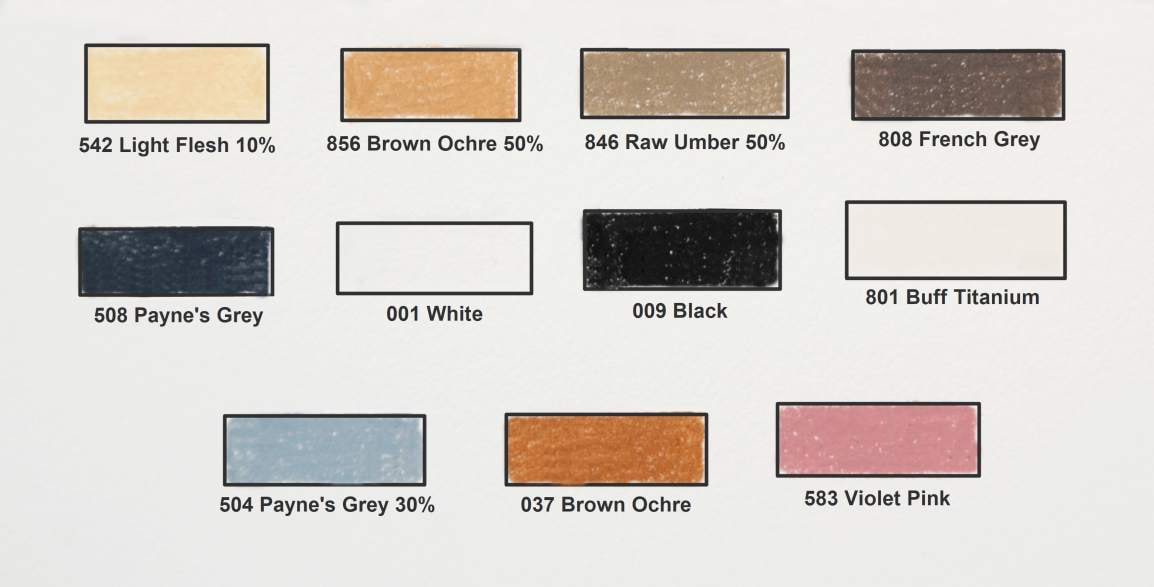
Pencil range Used: Caran d'Ache Luminance *If you do not have an embossing tool, you can use a sharp, white pencil instead. ** Only required if drawing the outline freehand Colour chartWe only used 11 colours for this tutorial, just to keep it simplistic. We used the Caran d'Ache Luminance range, but you can use a brand you own. Select the pencils that match the colours from the chart below, they do not need to be precise.
|
IMPORTANT TIPS:
* Ensure your pencils are sharp before you begin as this will allow for finer hair and create a more realistic look.
* When applying your undertones at the beginning, use a blunt pencil to avoid harsh lines so you can soften them easily when blending.
* To avoid transferring natural oils onto your drawing from your hands, have a clean sheet of paper to lean on whilst applying colour. Natural Oils from your skin can damage your artwork which you may not be able to repair.

