Sharpening pencils & Recommendations
Why have a whole article dedicated to sharpening pencils, we all know how to sharpen pencils right? Of course, but this article is more about which type of sharpener will be best for your pencil brand as well as how to use them as part of your technique. Just visiting a local art store or looking online brings up a huge range of different types of sharpener and if you are relatively new to art, this may seem quite overwhelming and so I have written this article to offer advice on some popular types/brands of sharpeners which may suit your own pencil products the most which will avoid damaging your pencil products and as an added bonus, these pencil sharpeners can actually help you in your application and become an important part of your pencil collection, not just for it's ability to keep your pencils sharp.
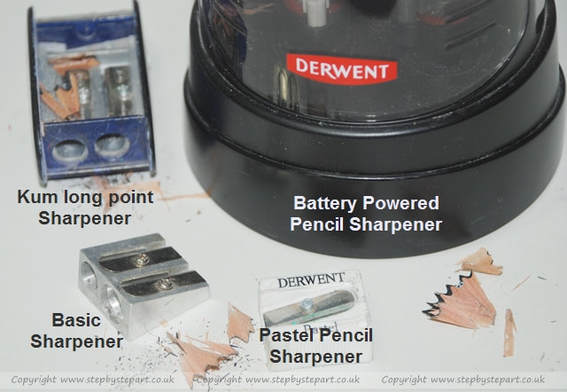
Here are just a few of the sharpeners I have picked out mostly from online searches but also products used for my own pencil work. In this section I will offer some information on each which may offer you some helpful advice on which sharpener(s) may be most suitable for you. Click on any of the tabs below the picture to find out more about each - scroll left and right to view all 10 tabs.
|
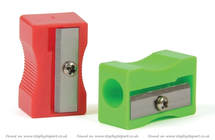
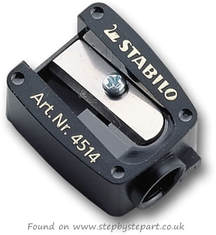
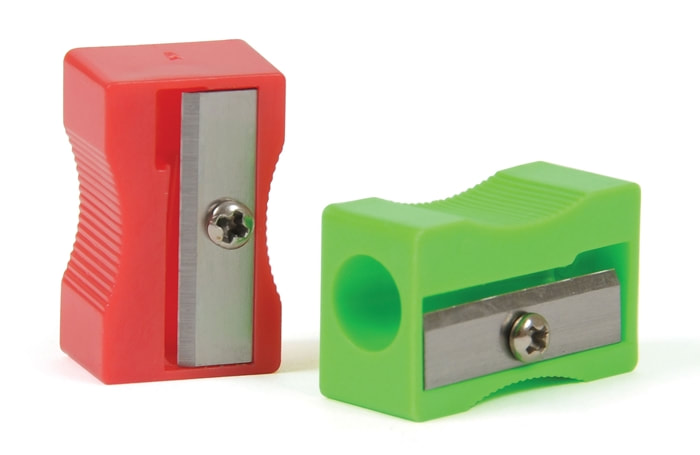
The most common pencil sharpener around, and usually found in novelty sharpeners that will have these plastic sharpeners embedded inside them somewhere. We recognise these most probably from childhood, when most pencil sets came with a pencil sharpener, a little safer than a metal pencil sharpener for little ones but pretty useless for quality pencils.
Not recommended for professional pencils. |
|
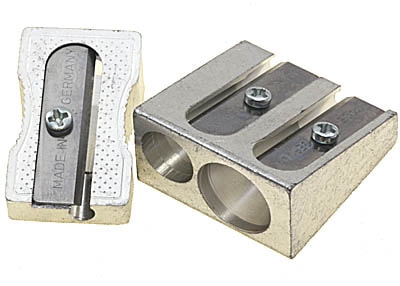
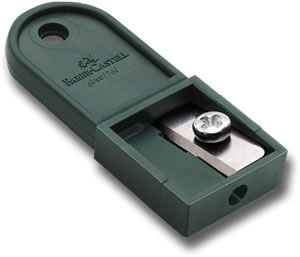
The basic sharpener tends to be a single or double holed sharpener and made of metal.
Far more robust than a plastic pencil sharpener, has a longer life and easier to carry around in a pencil case. Easy to replace blades too. You can tell if the blade is blunt when your pencil sharpens in bits rather than as one continuous piece, change the blade or buy a new sharpener. |
|
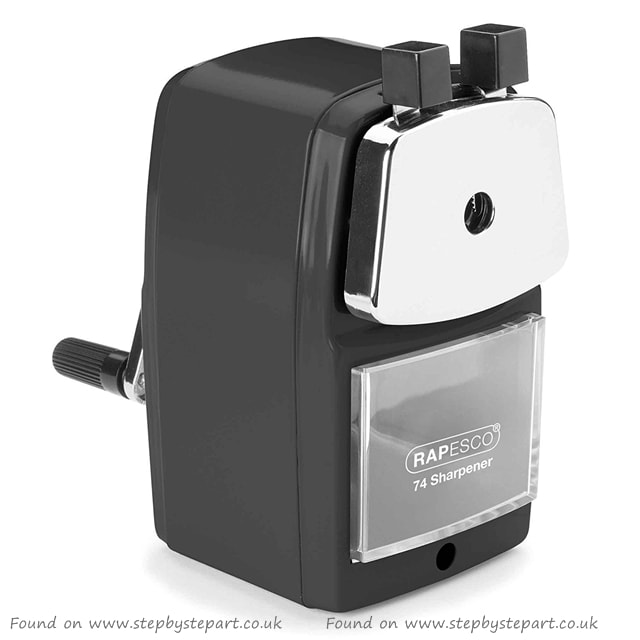
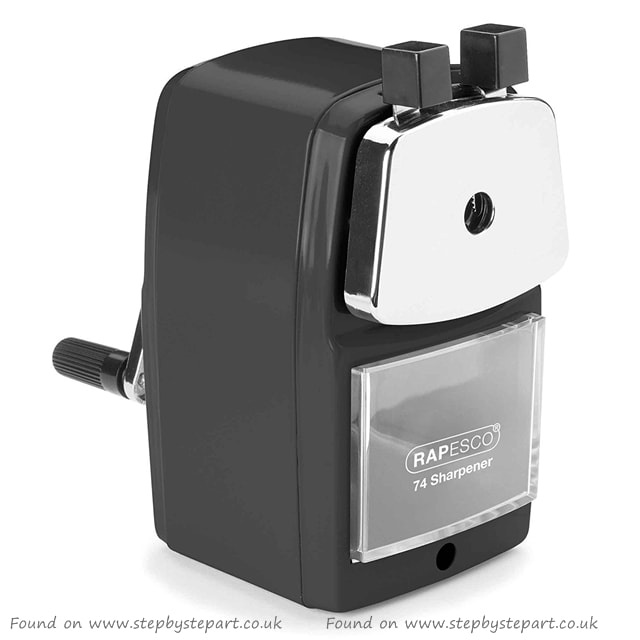
By pressing the 2 black sections at the top of the sharpener together, you can insert your pencil and release to grip - turn the crank handle at the back to sharpen and the sharpenings fall into the clear drawer below. After some research I have seen a few artists recommend this type of pencil sharpener as the blade rotates around the pencil which can minimise pencil breakages - with handheld sharpeners, the pencil is twisted whilst the blade stays still which puts pressure on the 'lead' and this can cause easier breakages.
This pencil sharpener may be a little heavy for sharpening Pastel pencils though. |
|
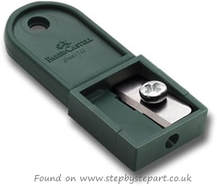
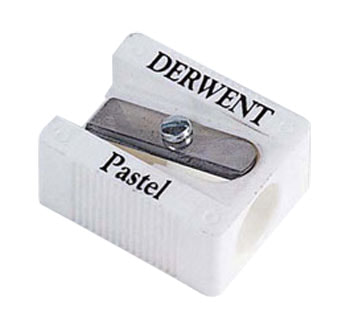
This is the pencil sharpener specifically designed by the company for their Pastel pencils, however I have found over the years that they become more blunt than the sharpeners for their Coloured pencils and I have got through a few in my short time as a Pastel Artist, I would recommend you buy spare blades when possible.
Other companies will also have their own Pastel pencil sharpener too so if you prefer to use a pencil sharpener rather than a craft knife, look out for the brands sharpener too. |
|
If you are buying a brand of pencil be aware that the barrel of the pencil may be thinner or thicker than standard pencils and you may need to purchase the brands pencil sharpener too - as always, ensure you purchase spare blades to prolong the life of the sharpener as well as protecting the wood & core of your pencils.
|
|
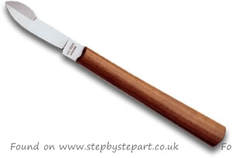
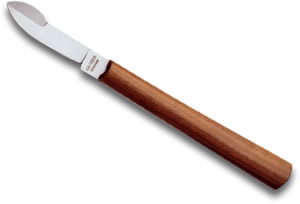
Some Artists prefer to use a craft knife to sharpen their pencils because it allows them full control of the shape and length of their pencil point.
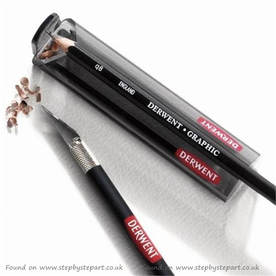
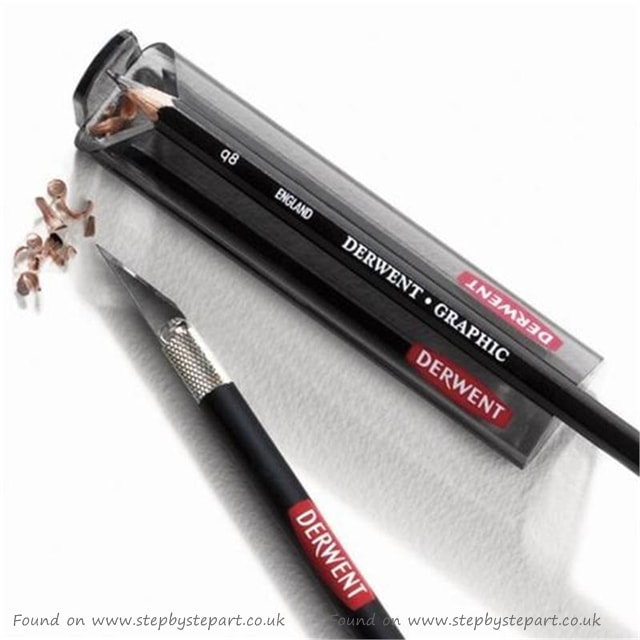
If, like me, you are uncomfortable using a blade for fear of cutting yourself (I'm naturally clumsy), Derwent has created a set which includes a sharpening stand so you do not have to hold the pencil whilst you are chipping away at the tip - a compromise maybe. |
|
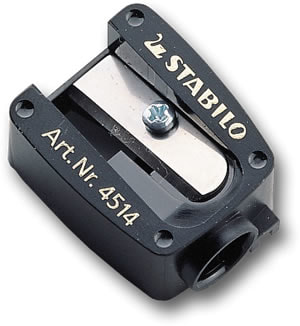
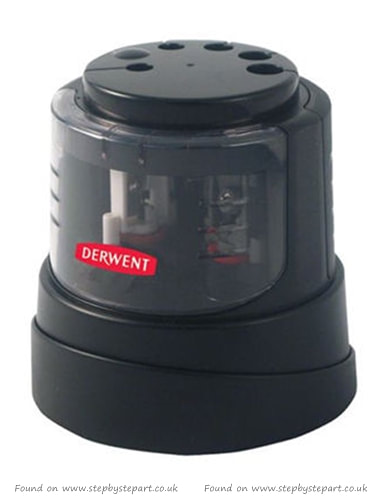
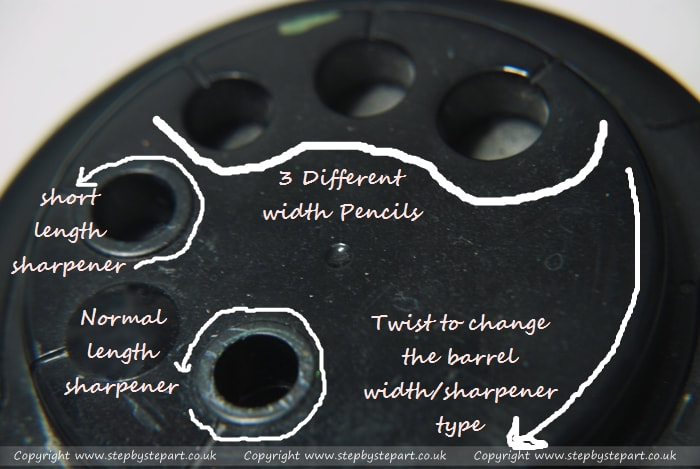
I believe Derwent has now discontinued this black electric sharpener but suspect there are many other battery powered sharpeners like it with multiple holes. The top twists round to allow you to select the sharpener you need. 3 different widths for different pencil thicknesses and a short point sharpener as well as the standard length sharpener.
Electric sharpeners can be quite harsh on soft 'leads' and I would not recommend this for pastel pencils at all. |
|
A pencil sharpener specifically for users of mechanical pencils. Using a standard size pencil sharpener will be far too wide for the thin piece of lead to be safely sharpened but the lead will sit snuggly and safely inside whilst you turn the barrel to sharpen. The Kum extra long pencil sharpener also has 2 mini sharpeners at the top for mechanical pencils, I suspect these offer 2 different tip lengths too which is an additional bonus.
|
|
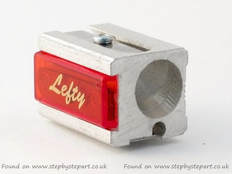
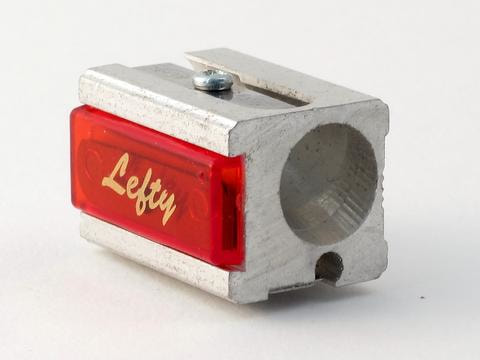
If you are right handed, you probably didn't even think about the necessity of a left handed pencil sharpener, but for artists that are left handed, the blade is fixed the opposite way making it easier for 'lefties' to sharpen their pencils too. There are a wide range of left handed pencil sharpeners out there for those who struggle with right handed sharpeners. Why should right hand use products be the standard anyway! :D
Fact: There are also left handed pencils but this is nothing to do with how they write simply that the text is the right way up (instead of upside down) |
|
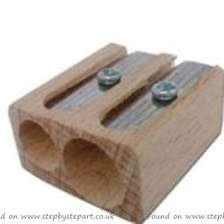
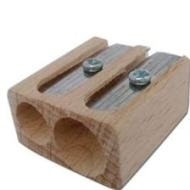
Wood pencil sharpeners may be preferred by Artists who prefer to use/own products that are made from sustainable sources, ones that do not leave as big a footprint on the earth like plastic sharpeners do.
Although there are not as many wooden types available, you may still find wood sharpeners with up to 5 width holes in one, which should fit almost every pencil. |
My own personal choices in pencil sharpeners
Primarily as a coloured pencil artist myself, I use the Derwent battery powered sharpener simply for quickness and minimal mess. An electric sharpener (or a handheld one) can be quite harsh on some pencils and I would not recommend either for pastel pencils as the 'leads' would simply crumble. I work with CARAN DACHE LUMINANCE most of the time but also use DERWENT COLOURSOFT for tonal backgrounds as these are softer than the Luminance range. I tend to sharpen the Coloursoft pencils with the KUM long length sharpener simply because it gives me a longer tip with which to cover larger areas of the paper with as well as a manual sharpener being somewhat gentler to 'soft' core pencils. The metal basic sharpener I have is only used when I have a damaged pencil which I will sharpen to a shorter point using the large hole section to minimise breakage.
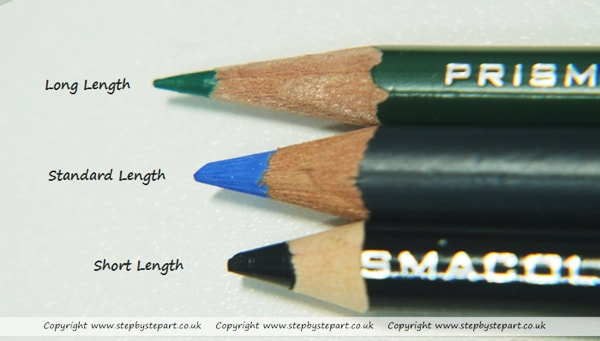
Short Leads |
Long Leads |
|
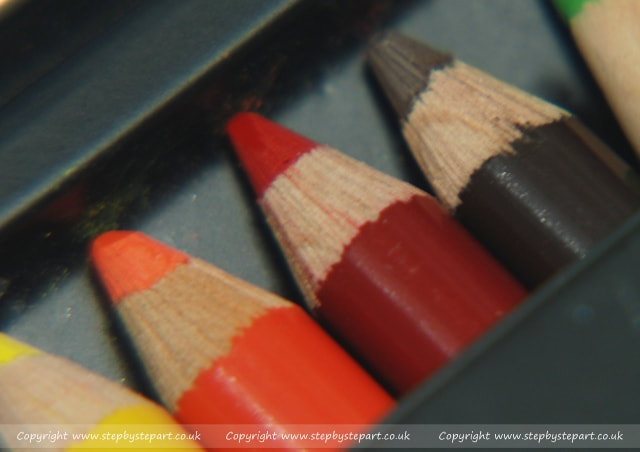
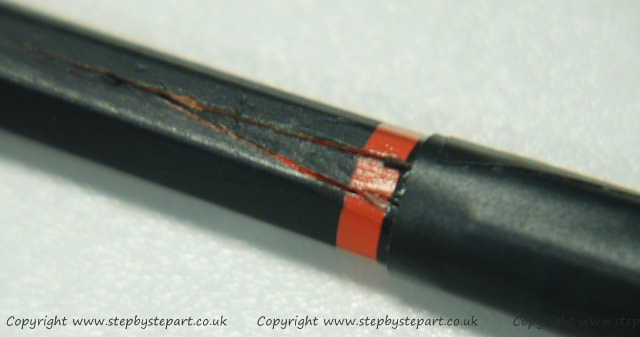
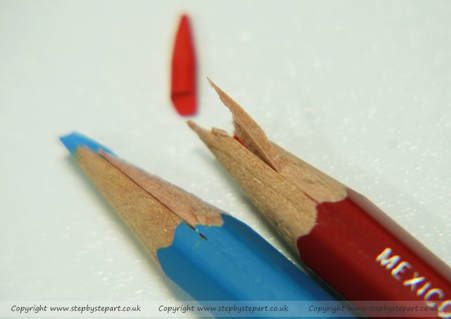
Upon buying a set of 12 PRISMACOLOR PREMIER pencils, I noticed they had been sharpened to a shorter point and suspect the company feels this will minimise the possibility of any breakages due to their soft core. I have come across a lot of complaints online about the Premier pencils breaking easily and I suspect it's because people are sharpening them to a long point which can put unnecessary pressure on the tips and cause constant breakages, although it could also be a faulty batch - these pencils probably have the softest leads around which makes them more vulnerable, and so it may not be so much due to cheap/faulty batches. if you have a pencil with a damaged barrel or damaged 'lead' inside, maybe even both, you may still be able to salvage these pencils simply by only sharpening the pencils to a short point like these.
|
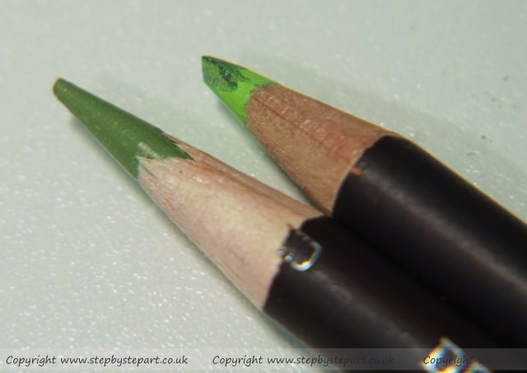
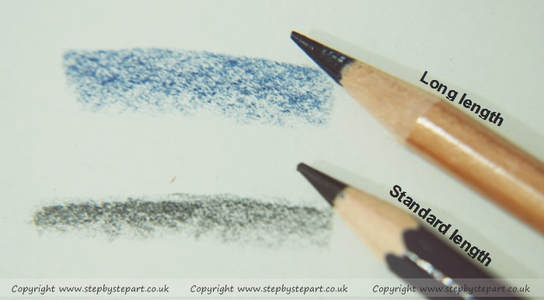
Pencils with a hard core such as oil-based coloured pencils (Faber castell Polychromos) and the graphite H leads are strong enough to be sharpened to a longer point than a standard pencil sharpener. Many other pencils, even with a softer base such as wax based coloured pencils and graphite B leads may also be used with a longer point but be aware that you may need to be a little gentler when using them as they will be more vulnerable. The 2 DERWENT COLOURSOFT pencils above were sharpened to a long point so I could use the full length of the 'lead' to create smooth, tonal backgrounds. The lighter colour shows how it has worn down during use and it is important to keep the edge clean by wiping it along a spare sheet of paper to avoid muddying colours.
|
Why use a long point sharpener?
There are two reasons why a long point sharpener may be ideal for you, the first is it can create an extremely fine tip ideal for very thin lines, the second reason is the one I use in my own work and that is to create a longer nib that will cover a larger section of paper and minimise harsh edges to enable an easier blend of tones, particularly important for tonal backgrounds. I use the KUM brand sharpener although there are other companies out there that sell them too.
Coloured Pencils
|
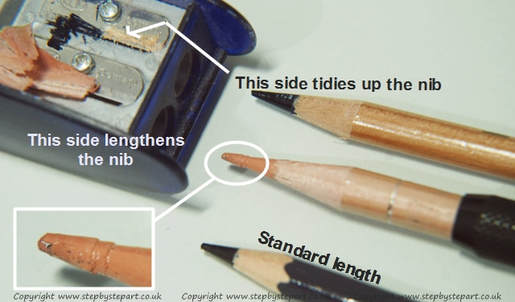
The left side of the sharpener allows you to create an extension of the 'lead' leaving it with grooves depending on how long you wish the 'lead' to be.
The right side of the sharpener smooths out these grooves in the lead and gently smoothes out the wood on the barrel too, leaving you with a smooth edge to apply along your paper. |
If you are working on a portrait where you need to create a tonal background covering a relatively large area, working with a long length tip will cut the time spent on covering this area and can also create a smoother application for a more balanced transition of tones. Using the length of the 'lead' avoids harsh lines which can be left on the paper if creating a tonal background with the tip of the pencil, which you may not be able to blend away.
|
Graphite Pencils
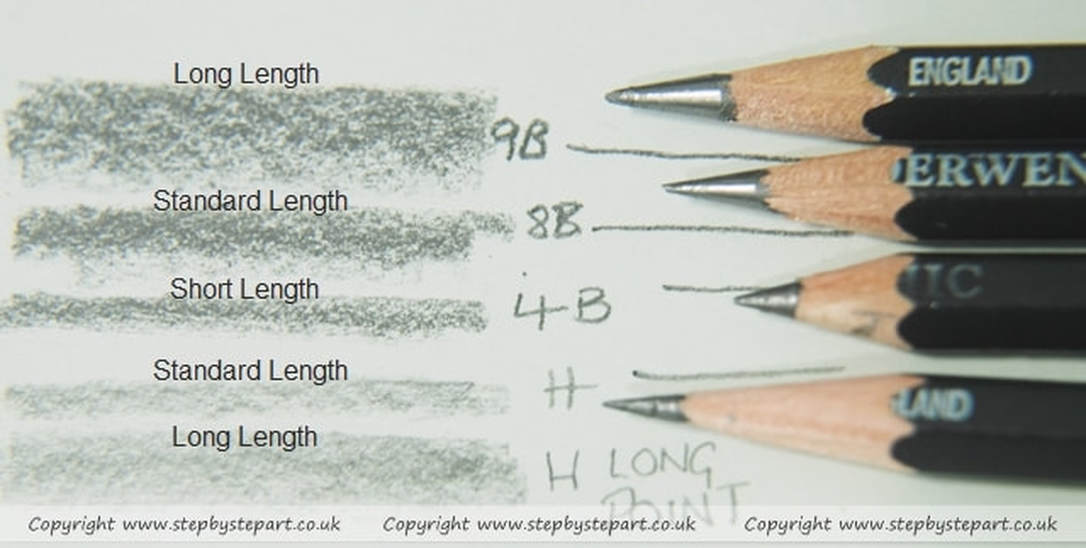
When working with graphite pencils, I will sharpen grades to varying lengths dependent on the size of an area I am trying to cover. A longer lead allows me to cover a large area much quicker than a short or standard length lead point and a short lead can be very helpful if a tonal application is to be applied in a small/thin area. As with coloured pencils, the graphite leads are defined as either hard or soft - the H stands for Hard and is far more robust at a long point and the B leads are softer, getting softer the higher the B number, so care must be taken when sharpening these to a long point as they are more likely to break if too much pressure is applied.
Pastel pencils
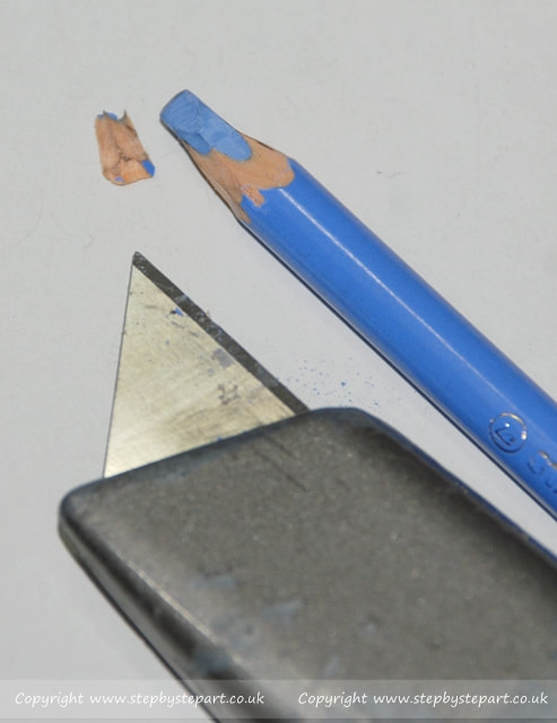
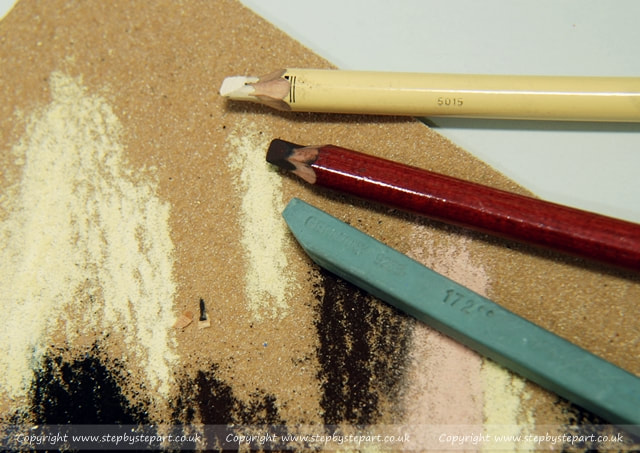
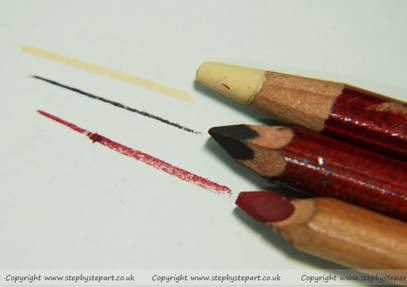
A lot of pastel artists (and pencil artists) opt to sharpen their pencils using a blade as it allows them to control the shape and the length of the core. Ensure the blade is kept sharp to avoid hacking your pencil to pieces and possibly damaging the core of the pencil (as well as the possibility of your fingers) A fine grit sand paper can help to shape the point of your pastel pencil - sandpapers can be purchased from most DIY stores or you can buy a sand paper block from some art stores online. Be careful with soft core pencils as sharpening your pencil with a blade could damage the barrel and the core. Always sharpen the pencil by shaving away from your body rather than towards it. you may wish to create your own sharpening stand that can grip well (like a vice) so you do not need to hold the pencil yourself.
