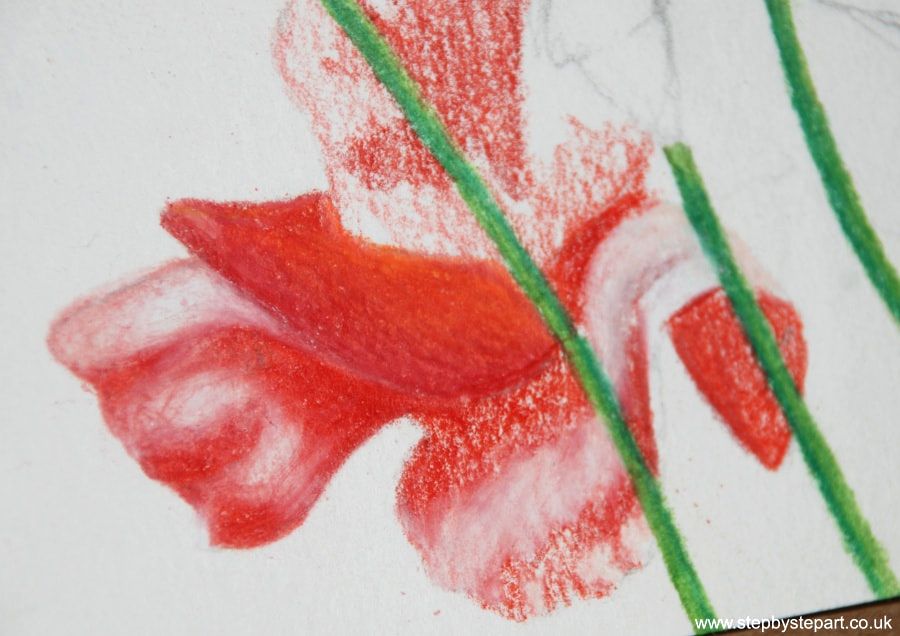
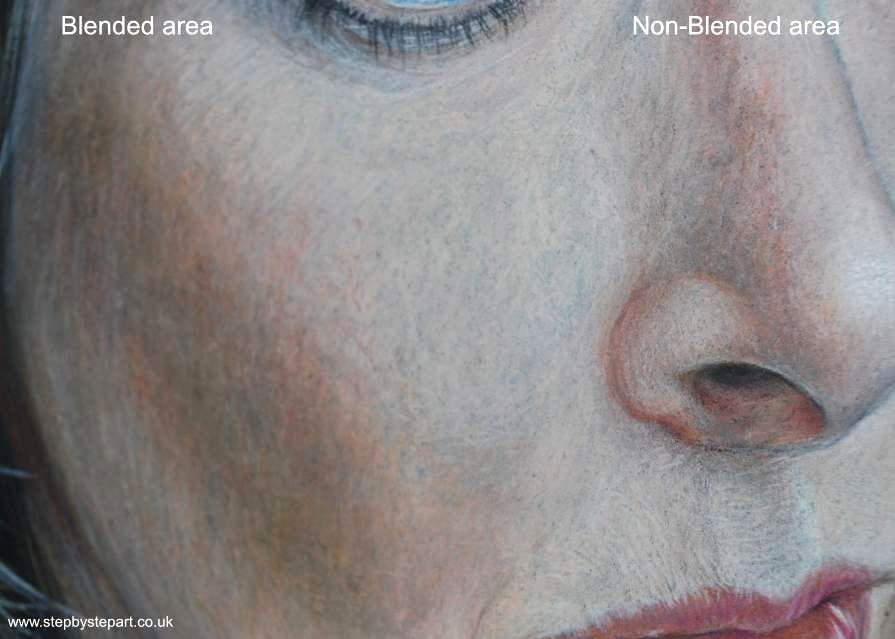
How to blend coloured pencils
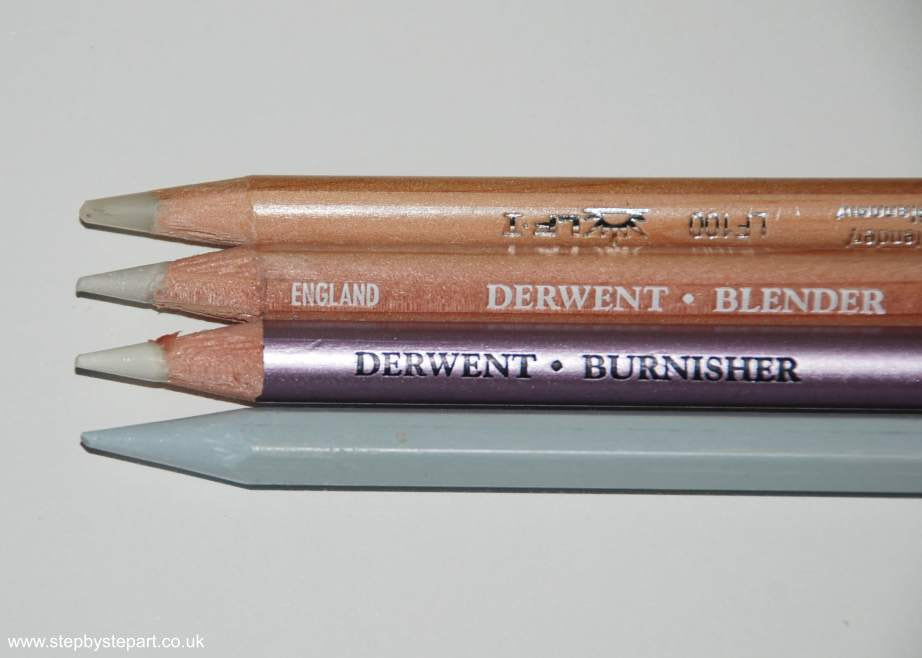
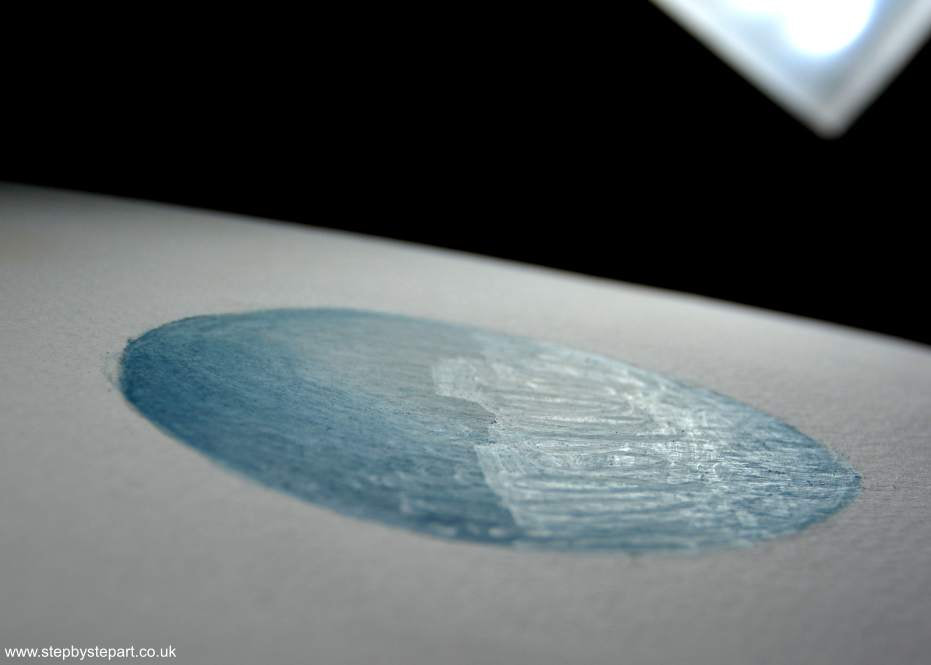
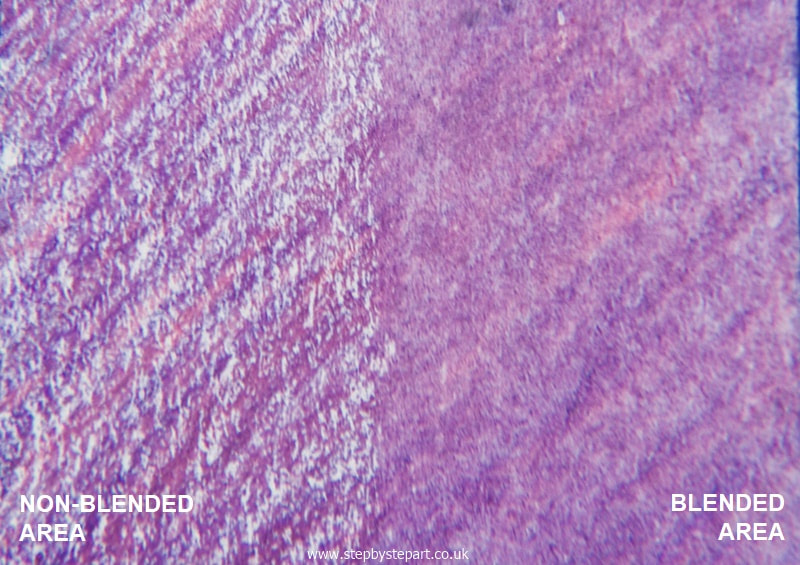
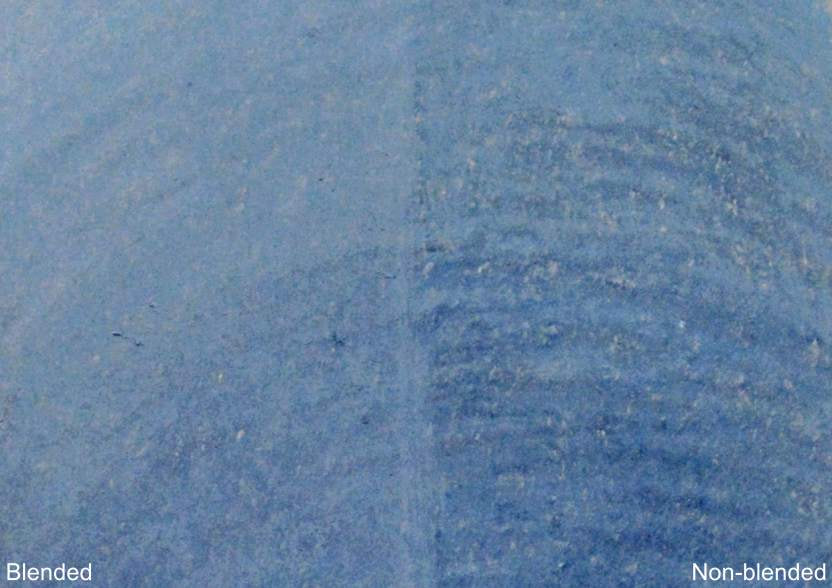
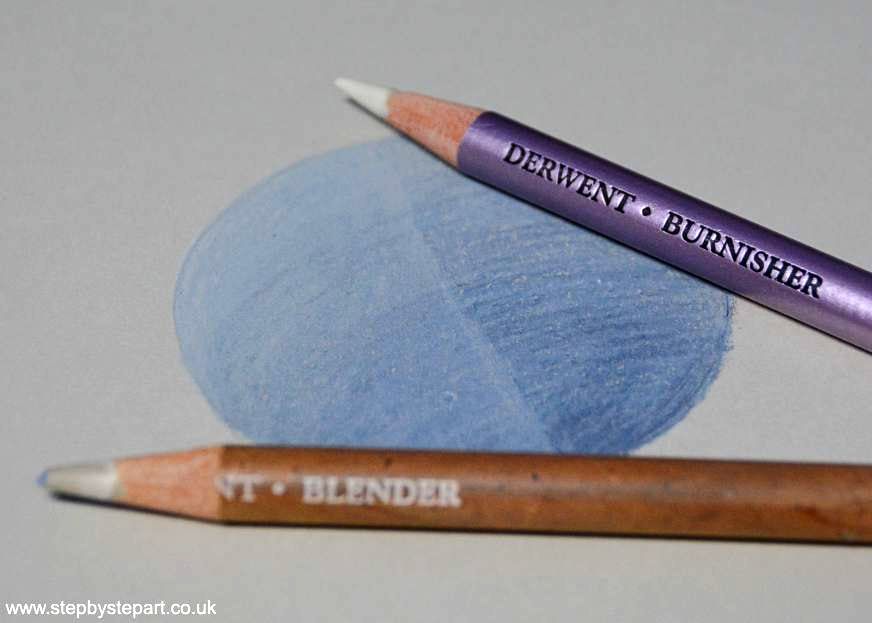
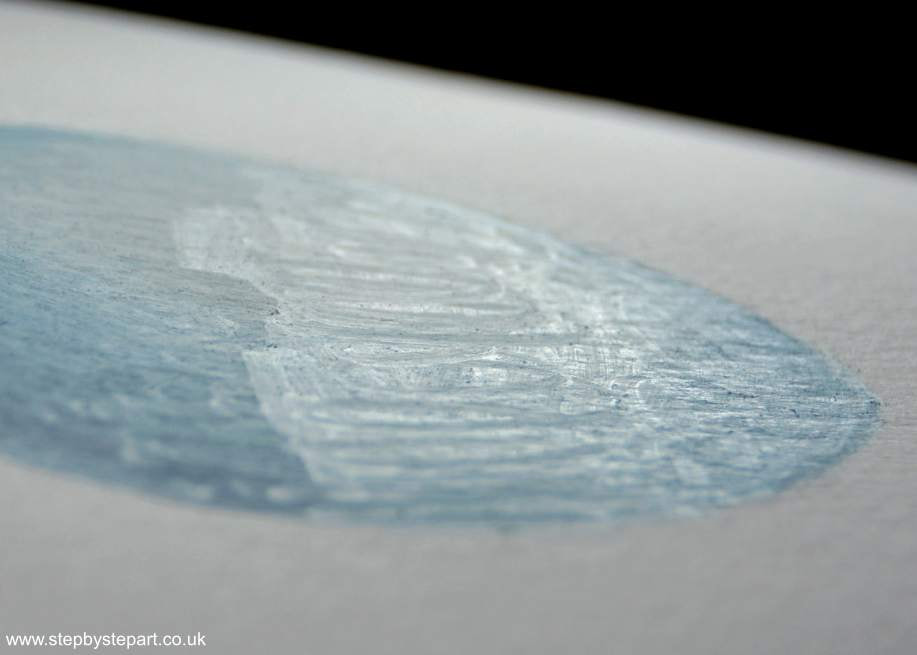
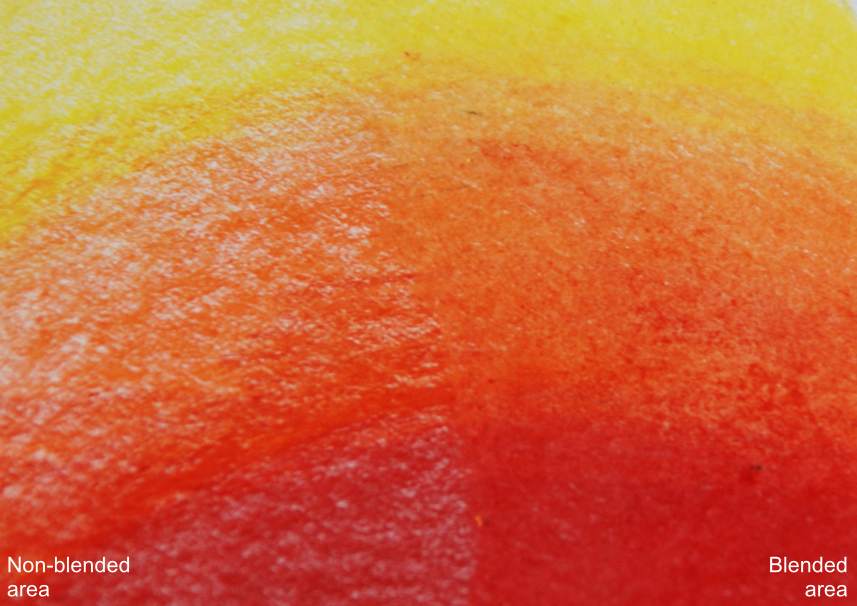
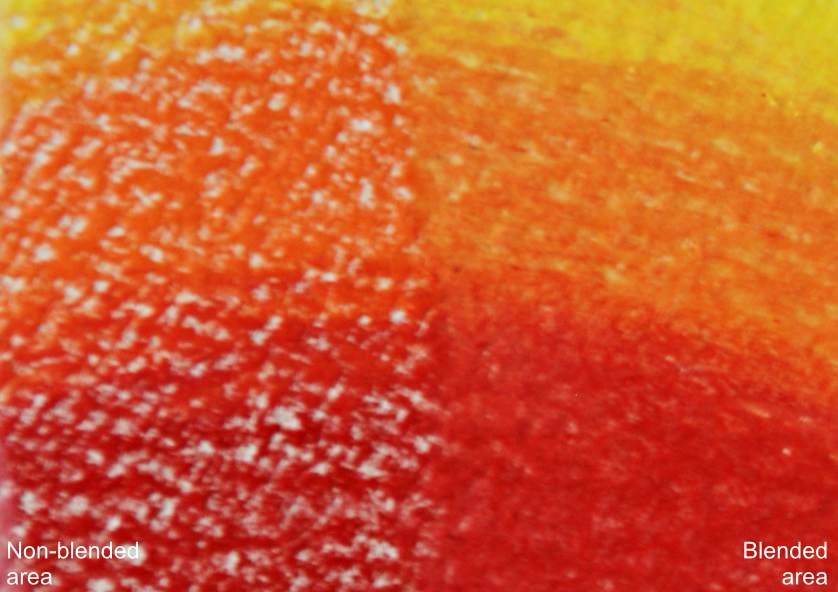
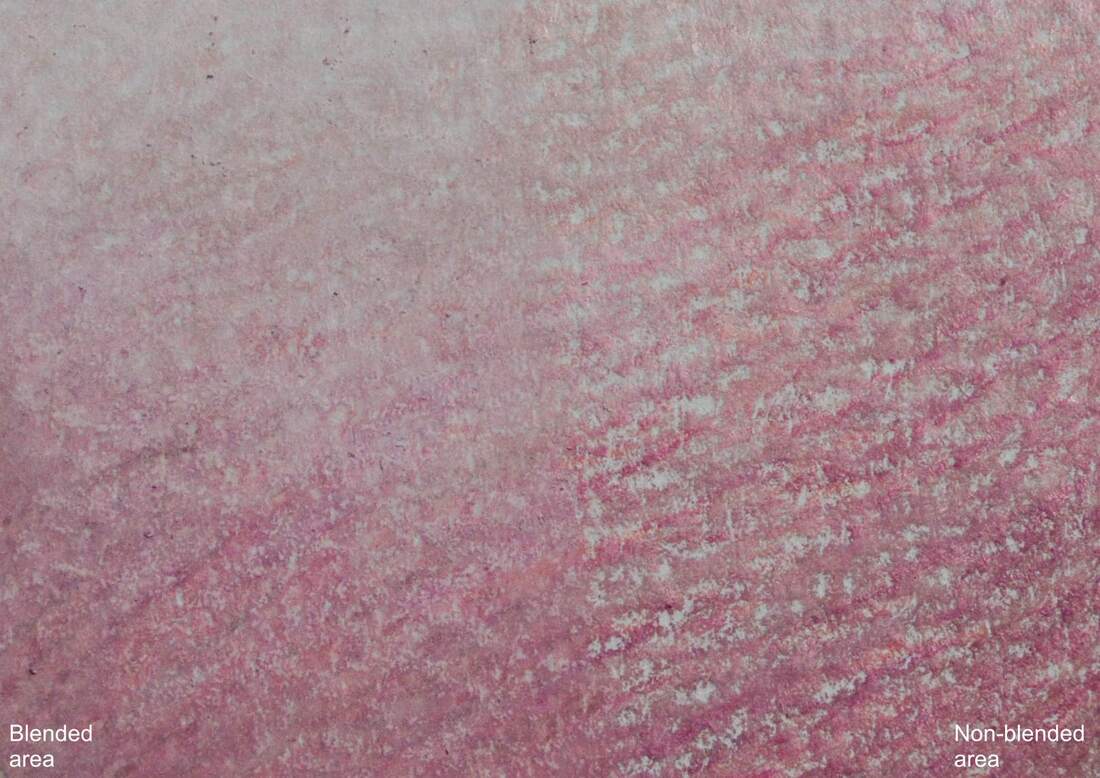
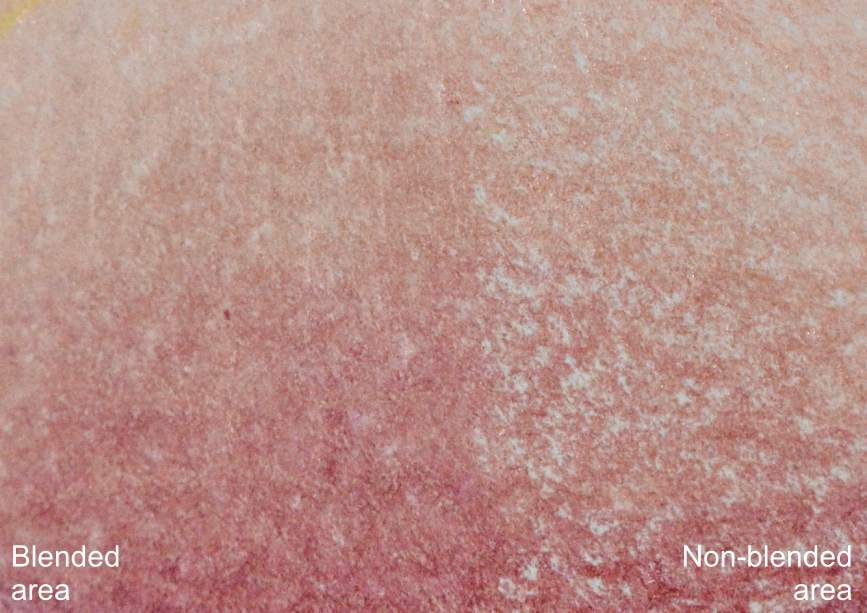
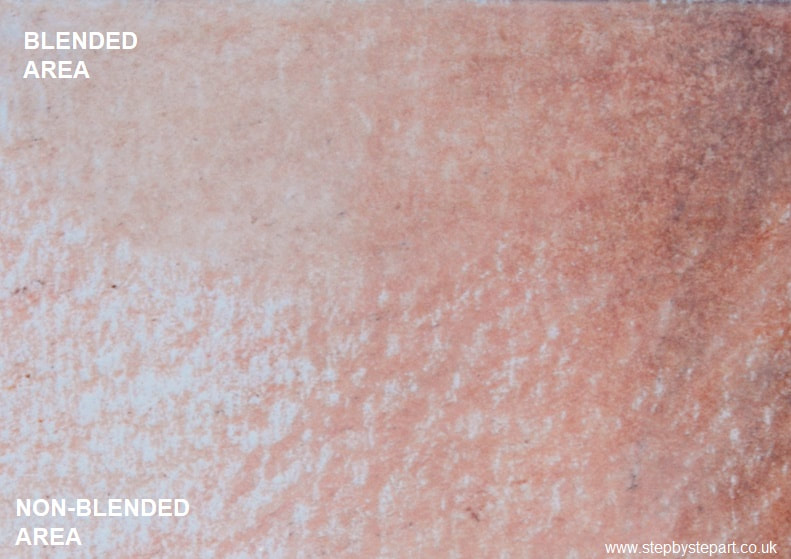
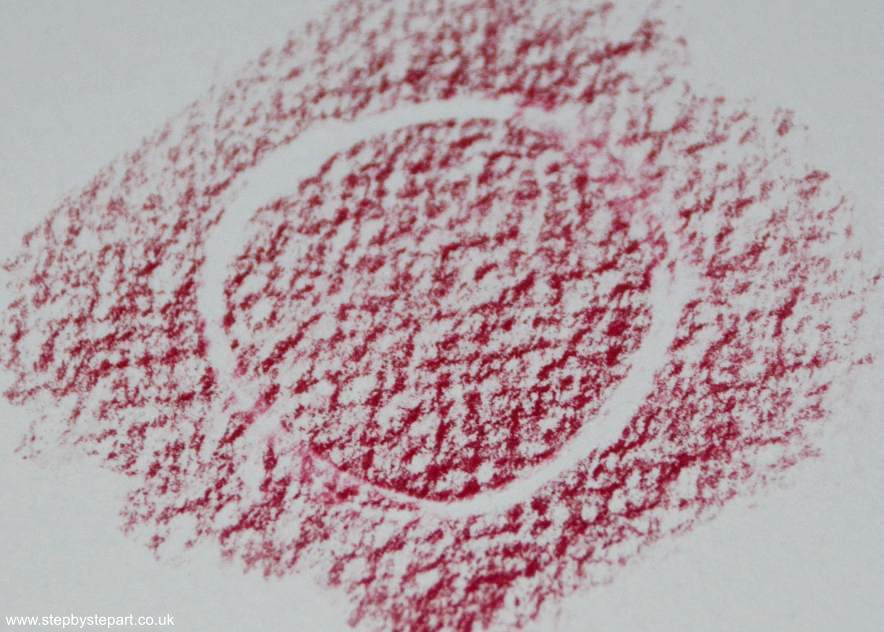
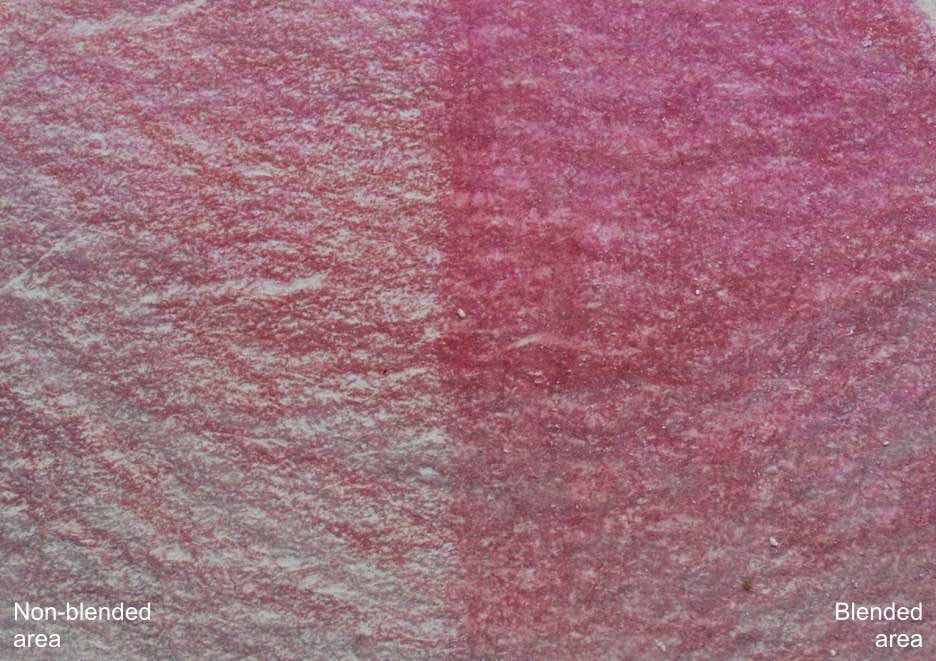
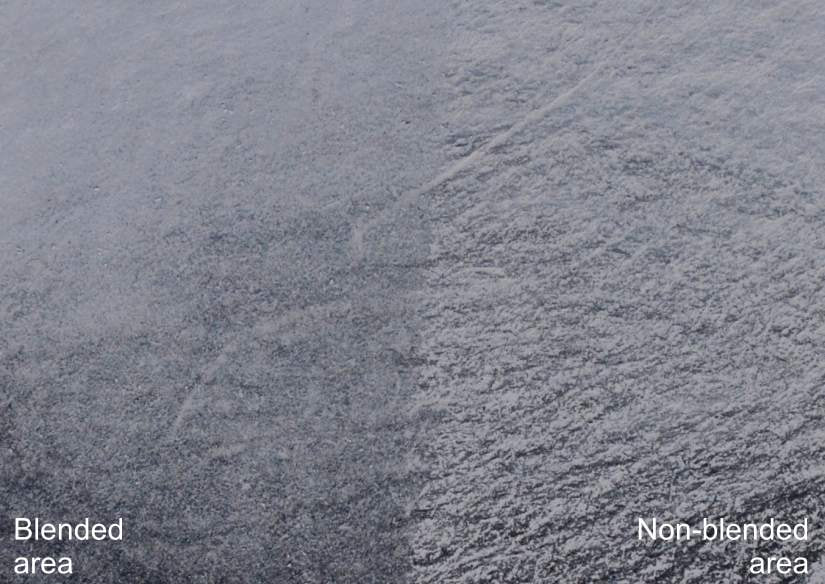
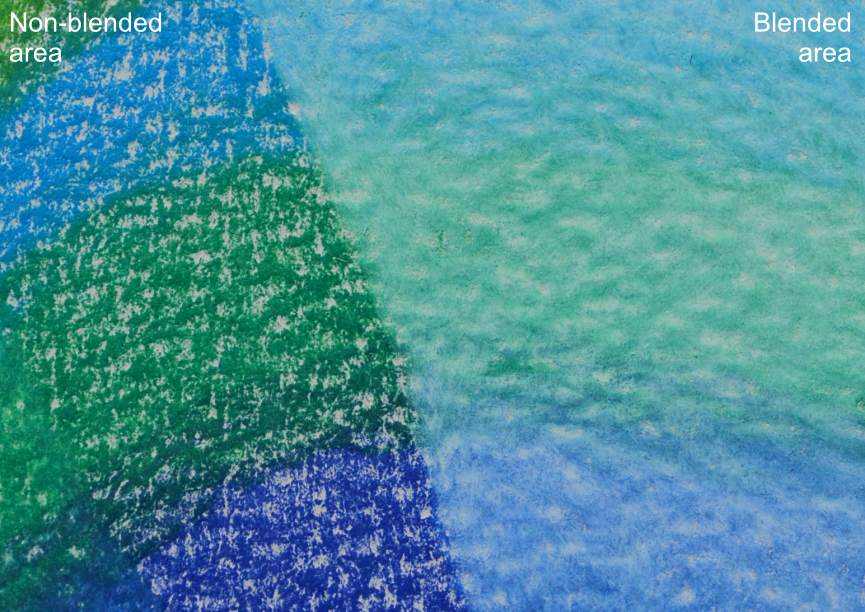
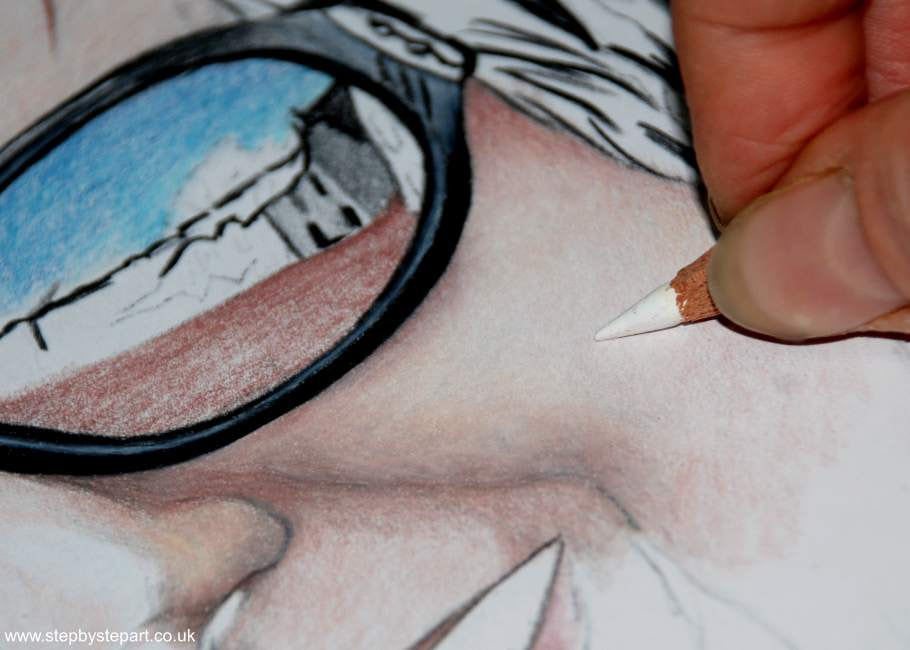
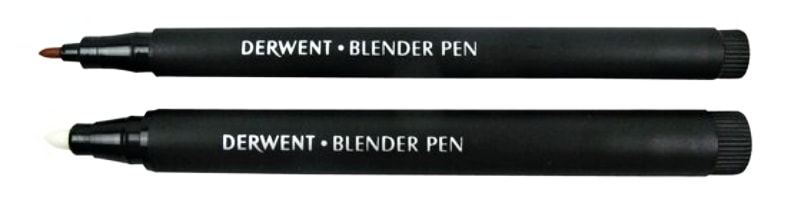
" A blender pencil is a soft colourless pencil made from either wax or oil. It allows you to blend two or more colours together to create a new colour. At the same time it physically mixes and smooths the colours so individual strokes and hard edges are softened. "