|
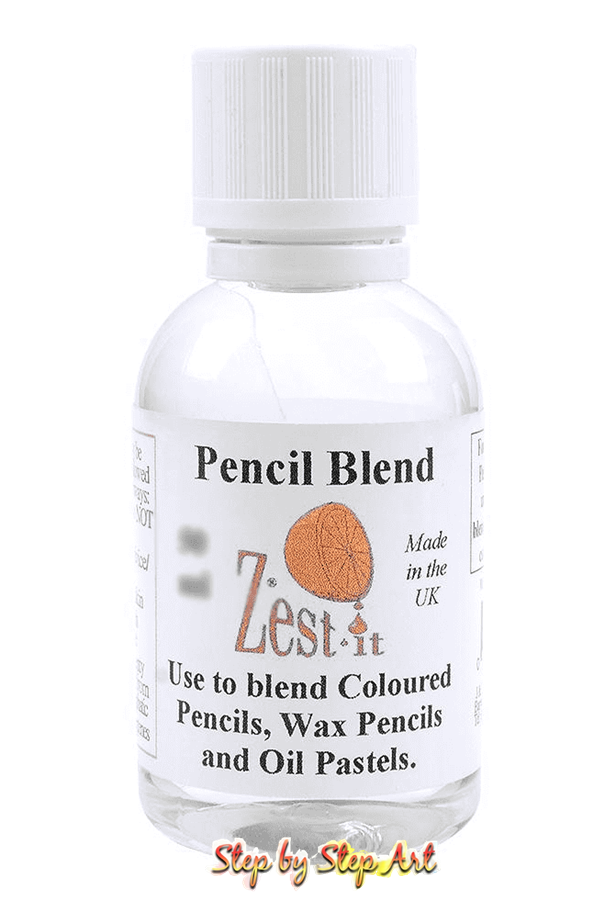
"Our Pencil Blend is non-toxic and non-flammable which many Pencil Artists value for use with their pencils and studio environment. It has been thoroughly tested with many makes of Coloured Pencil for its excellent blending qualities. It leaves no residue in or on the paper once dry, is economical in use as a small amount goes a long way, many prefer the safer aspects of the solvent than odourless mineral spirit or similar solvents" |
|
|
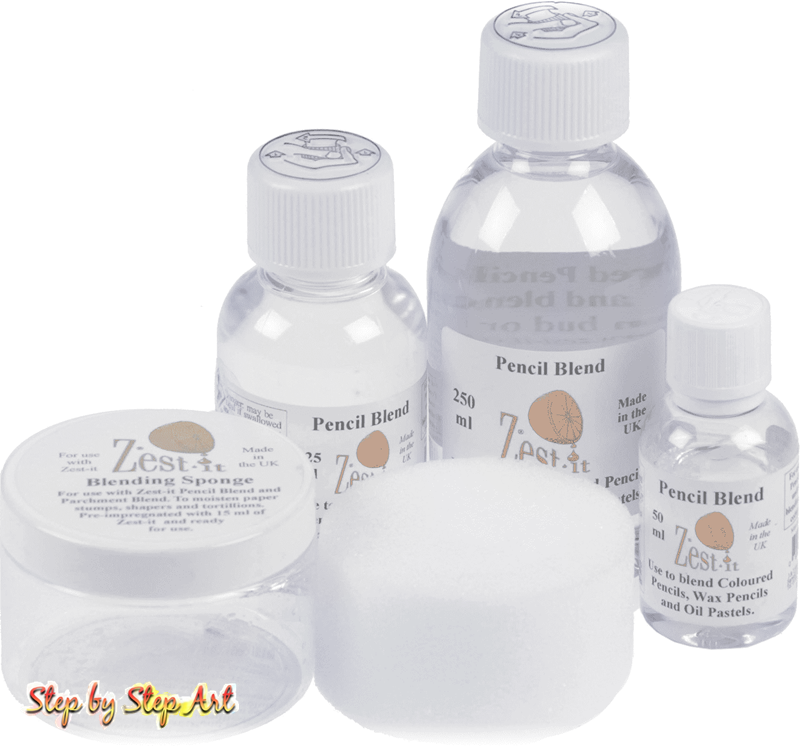
Advantages* Acid free and archival
* Non toxic and non flammable * Available in numerous sizes as well as a sponge version * Helps create smooth transitions and leaves no residue * Nice citrus scent |
Disadvantages* Over saturating the pencil pigment may result in the removal of layers which you may then need to reapply
* Too many applications and you may struggle to overlay the pencil - this was an issue when using the Pastelbord (seen below) * The strong citrus smell may be too much for some (they sell a 'citrus free version too if you find the scent too overwhelming) |
How to use the product to create tonal backgrounds
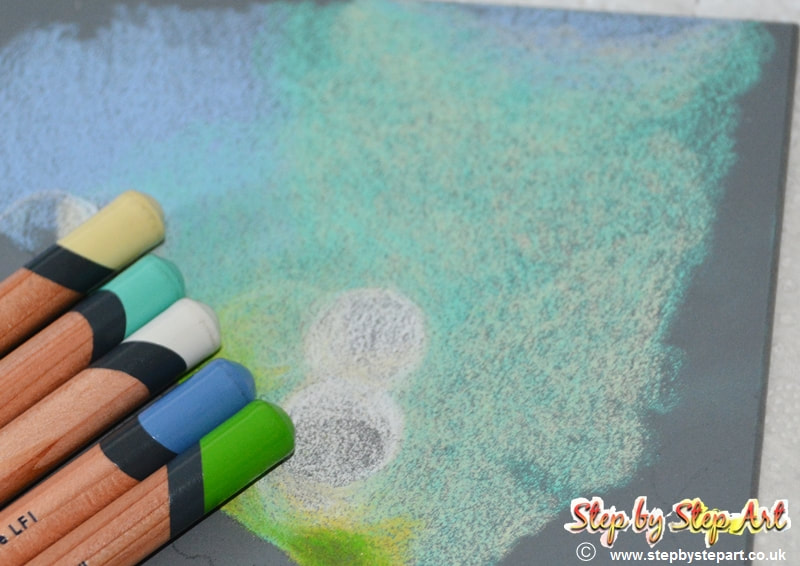
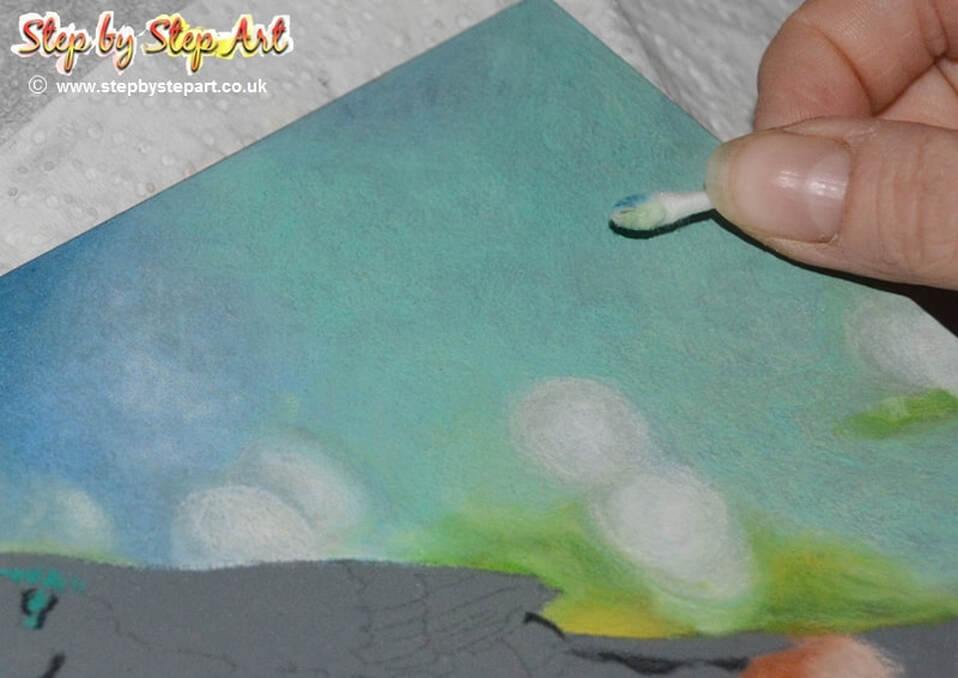
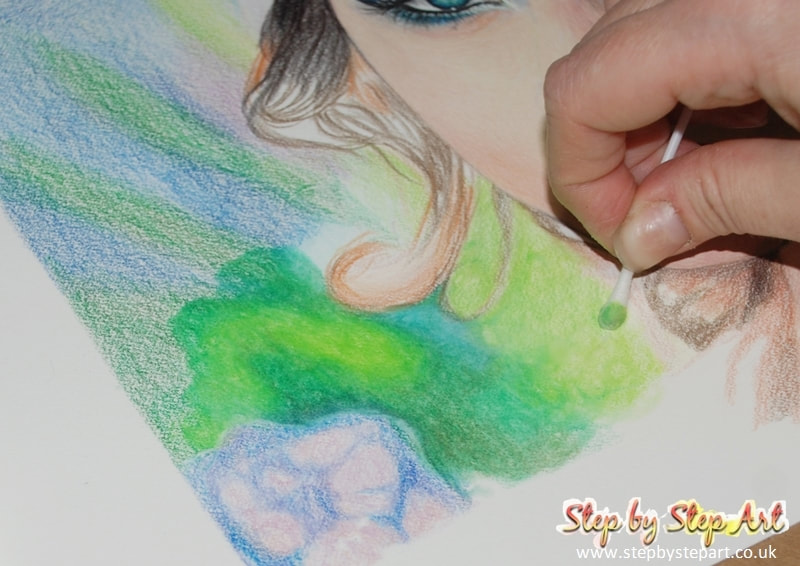
This example includes the use of Derwent Lightfast and Caran d'Ache Luminance coloured pencils on the Ampersand Pastelbord. The process entails loosely laying down all the tones intended for the background. Circular motions ensure the pigments penetrate the surface evenly and cover the board's grain. The pigments are blended with a cotton bud dipped in Zest-it solution after applying all the colours. However, to avoid using cotton buds due to their size and environmental concerns, one can use a paintbrush or a tortillion/paper stump dipped in Zest-it liquid instead. It is pertinent to absorb any excess liquid on a paper towel before applying it to the paper/support. To ensure a uniform application, blend the colours in a circular motion.
The solution is formulated to soften the pigment for smoother blending, which may be challenging with pencils alone. Additionally, it aids in the softening of harsh pencil lines. On a darker surface, applying two to three layers may be necessary to achieve complete coverage. To prevent the lifting of previous layers, each layer must dry completely before applying another. Over-saturating the colours can result in the removal of pigment, making it imperative to avoid such action.
The solution is formulated to soften the pigment for smoother blending, which may be challenging with pencils alone. Additionally, it aids in the softening of harsh pencil lines. On a darker surface, applying two to three layers may be necessary to achieve complete coverage. To prevent the lifting of previous layers, each layer must dry completely before applying another. Over-saturating the colours can result in the removal of pigment, making it imperative to avoid such action.
Before the application of Zest-it pencil blend
|
The 2nd application of zest-it
|
The Pastelbord's beauty lies in its ability to hold pigment with minimal effort. After applying the colours, we blended them with a cotton bud dipped in a small amount of Zest-it. Due to the grey undertones of the board, we had to repeat the layering process two to three times to achieve the perfect balance, as you can see in the second image.
|
|
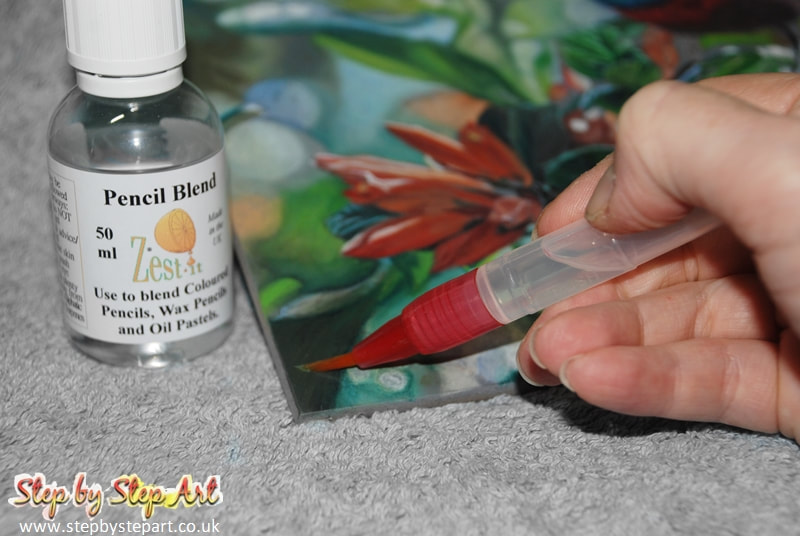
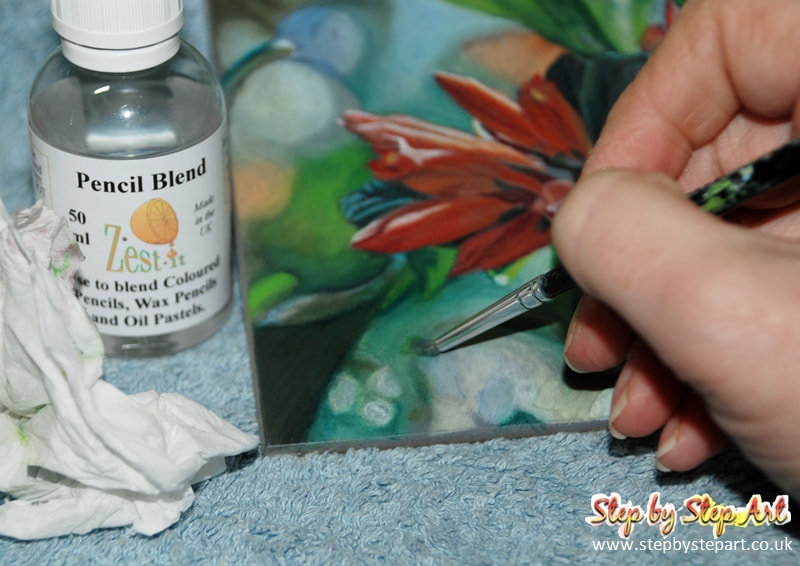
I decided to pour a little of the Zest it solvent into a water pen allowing it to flow through the brush fibres onto the surface, this was easier to use than a cotton bud as the brush stayed loaded. It is important to wipe the tip of the brush often as it will pick up the pigment which can muddy other areas if residue is left. To blend the area I had recently saturated, I used a paintbrush - this will also require constant cleaning and some brushes may become permanently dyed from the pencil pigment so I recommend the use of cheap brushes. Dependant on the size of your canvas, larger brushes and a larger water pen may be better suited.
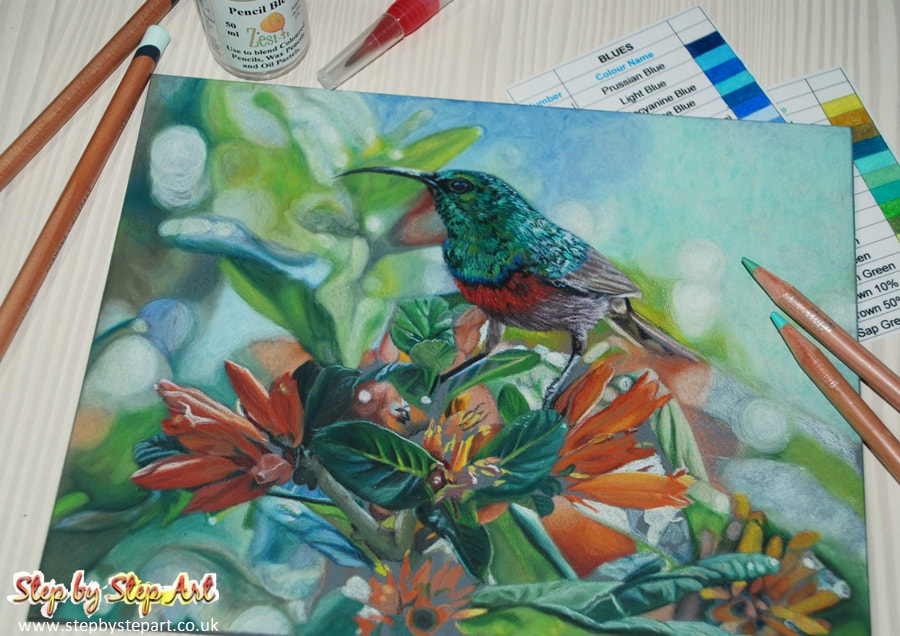
The finished product (well, nearly finished!)
The base tones of the Sunbird were blended with the solvent before the fine details were applied to finalise. There were some adherence issues when trying to apply pencil over this base as I had already used the solvent a couple of times before and so I would recommend that only one layer of the pencil blend is used when working on the Pastelbord surface. I suspect it is caused by the hard surface as it was not a problem when working on the Strathmore paper (see images below)
Related articles that may be of interest
|
Hints & tips on working with Coloured pencils on a textured surfaces
|
Ampersand Pastelbord surface is ideal for pencils, paints & pastels
|
Read a review on the Derwent Lightfast pencils
|
Try out one of our mini Art tutorials in Pencils, Pastels & Acrylics
|
Coloured pencils with Zest-it pencil blend on Strathmore Bristol 500 paper
|

|
I wanted to see how well the pencil blend worked with Coloured pencils on paper and so trialled the Derwent Lightfast Coloured pencils on Strathmore bristol 500 vellum surface as it has a slight tooth which seems to aid the blending process. As the Lightfast pencils are quite soft, the tooth of this paper grabs the pigment immediately and you do not need to apply much pressure. This paper accepts light washes and is suitable for solvents like the Pencil blend which softens pencil layers immediately and leaves a matt finish which gives the appearance of soft pastels. You can continue to apply more layers over the top once the last layer has fully dried. It mixes much better when there is more than one colour to blend and also deepens the colours which can be a bonus.
Zest-it on abrasive surfaces
Clairfontaine Pastelmat
|
|
Can you use Zest-it pencil blend on Clairfontaine Pastelmat paper?
You can, but there are negative outcomes, which makes it better to avoid. The solvent breaks down the pigment extremely well, but it turns any tonal gradations into one solid colour, which is not ideal. As Pastelmat is water-resistant, the Zest-it solvent, simply sits on the surface of the paper, leaving a greasy layer behind, allowing the pigment to be smudged.
HINT: Search for abrasive papers which have a watercolour surface. Papers like Canson Mi-tientes 'Touch' and Art Spectrum Colourfix, are good examples.
PET 1 REUSABLE LOW VOC PRODUCT BIODEGRADABLE PRODUCT OZONE FRIENDLY NO CFC'S NOT TESTED ON ANIMALS
Written: December 2019
