Autumn Leaf in Soft Pastels
Artist level: Beginner
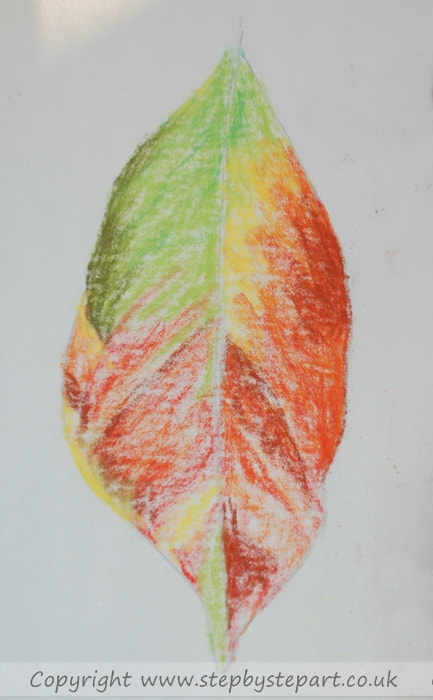
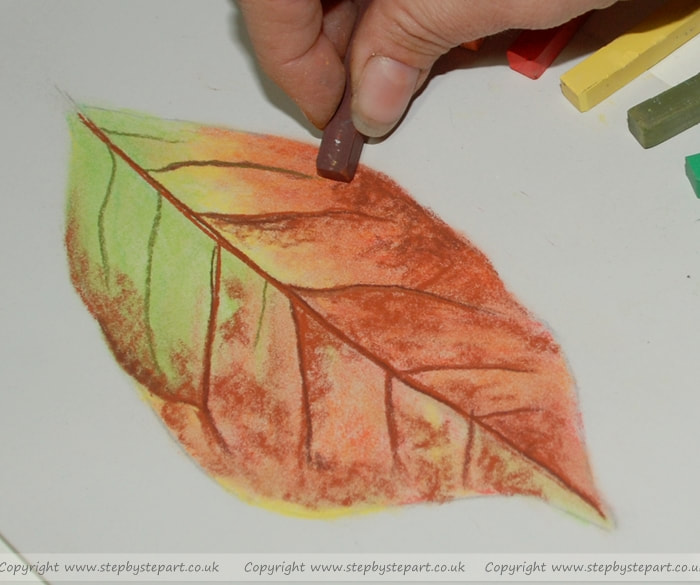
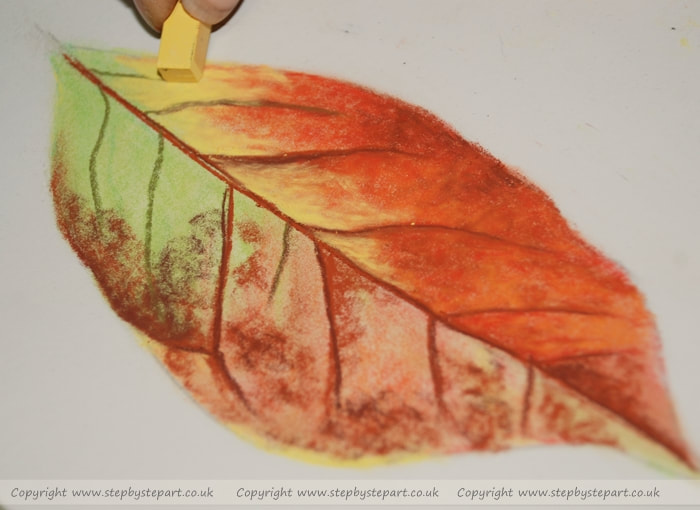
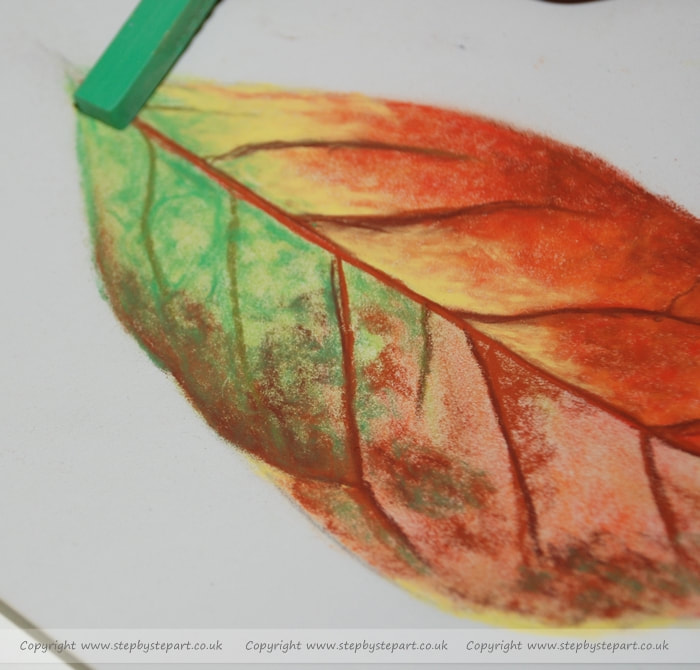
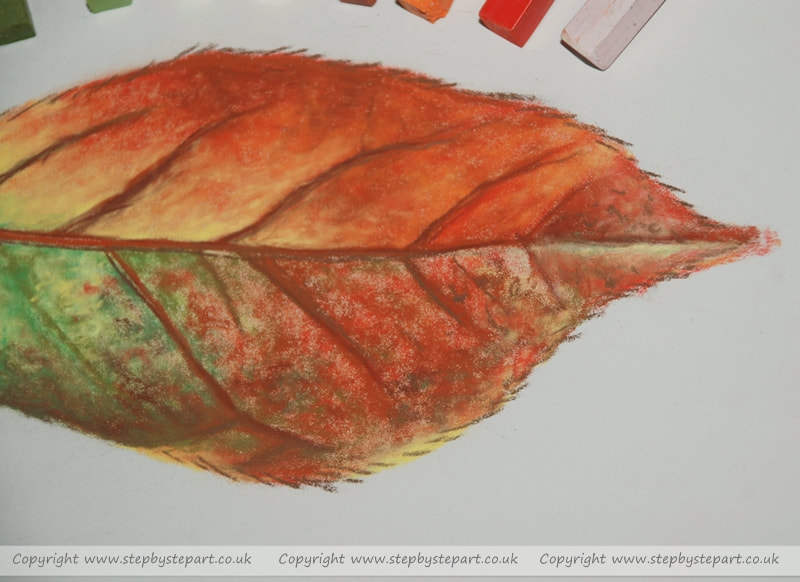
Welcome to this Step by Step Tutorial of an Autumn Leaf in Soft Pastels on White Pastelmat paper. The tutorial below is for those looking to learn how to layer with soft pastels to create fine detail and is based on my own working preferences however it is not the only way to work with Pastels, different artists will have their own way of working and you will probably acquire your own style the more you do. Pastels are a great medium as you can easily cover up mistakes by simply applying another colour over the top and are fun to work with.
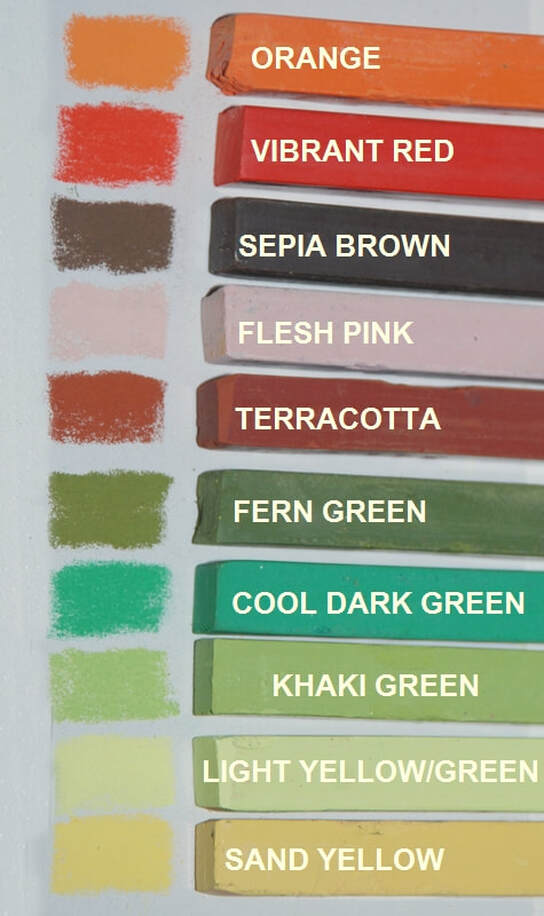
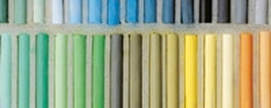
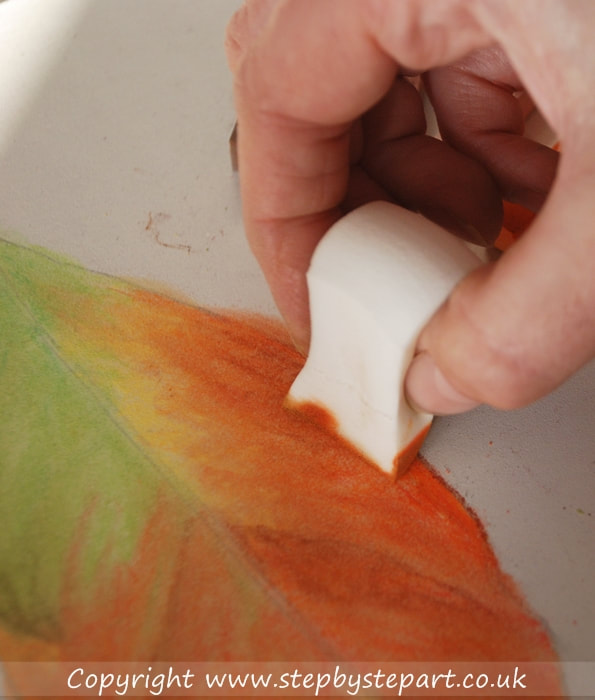
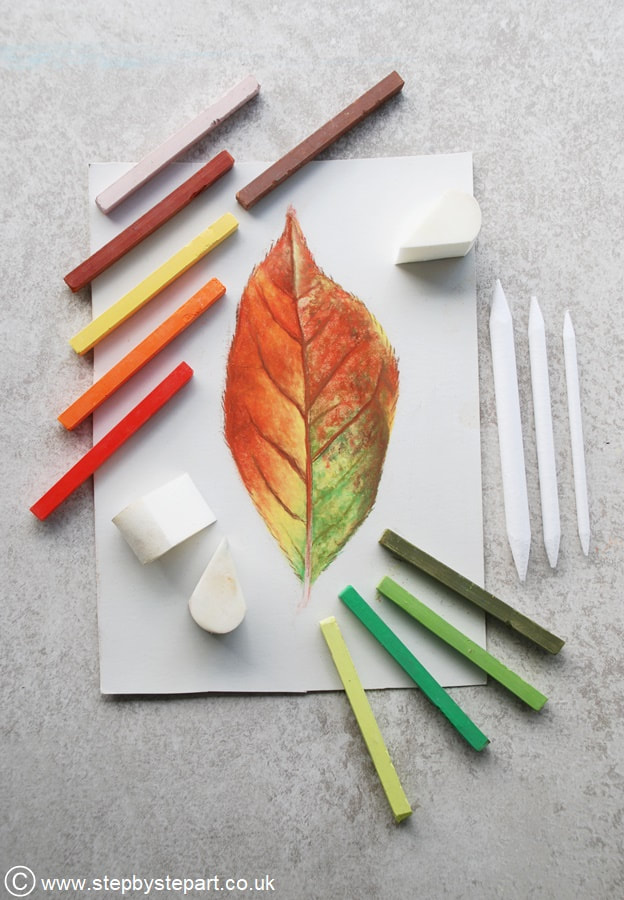
The pastels used in this demo are the student quality Prismacolor Nu Pastels, but any brand can be used. A colour chart is found below but it is not important to match precise colours, simply use as a guide. You can work with a wider colour palette than those used in this tutorial if you wish as the more colours used, the more effective your results will be. The Pastelmat paper is ideal to begin with as it is smoother than most, allowing easier layering and blending, however if you cannot access Pastelmat or have some other brand to hand, you can use that instead, just be aware that results can vary. I don't blend pastels using my fingers as this can be achieved by overlaying tones, however I used a sponge to soften the initial base tones.
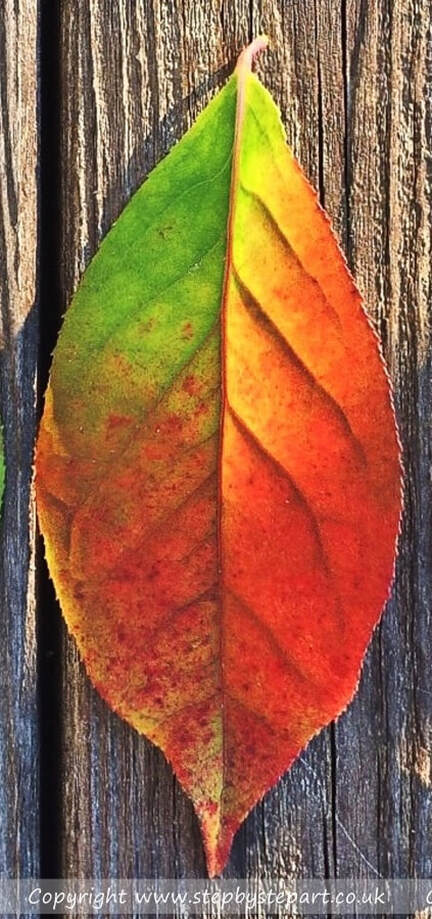
The reference image can be found below, which you can screen grab and print out or view on a tablet whilst reading the instructions on a smartphone or computer.
I hope you enjoy this tutorial and if you would like to request a subject for inclusion of a future mini tutorial, please get in touch!
The Products you will need
Paper Used: Clairfontaine Pastelmat Pencil range Used: Prismacolor NuPastels
Pastelmat white - Soft pastel sticks
Soft sponge - Damp cloth - Dry towel
Paper Used: Clairfontaine Pastelmat Pencil range Used: Prismacolor NuPastels
Pastelmat white - Soft pastel sticks
Soft sponge - Damp cloth - Dry towel
IMPORTANT TIPS:
* Working with long length pastels are ideal for large portraits, for smaller ones you can break the pastels in half using one side for covering large areas and the other side for fine details.
* This medium can produce a lot of dust so it may be recommended that you wear a mask or if you will be using pastels on a regular basis, ensure you work in a well ventilated room or purchase a filter system to eliminate as much of the airborne dust as possible.
