An introductory tutorial for graphite pencil artists | The layer-and-erase technique
Artist level: Beginner
Welcome to this Step by Step tutorial showing you how to get the best results out of graphite pencils using the layer-and-erase technique. Discover the art of applying, blending, and erasing gracefully through this simple yet practical guide. Following these steps, you can begin a fulfilling artistic journey towards creating lifelike graphite portraits.
If you're new to graphite pencils and need help figuring out where to begin or how to make the most of them, this tutorial will provide you with some useful information. If you've enjoyed graphite pencils for a while, this tutorial may help you explore new techniques and possibilities. Different techniques are used when working with graphite pencils, and the method we will discuss may be unlike other tutorials you've come across. Every artist has their preferences, and we have found this method to be highly effective in our own work.
We use the Bockingford watercolour hp paper, a smooth surface perfect for pencil users. While we prefer the Derwent Graphic brand, you can use any graphite range, providing the offer the same grades.
The Products you will need
Smooth white art paper (hot pressed paper is a good option)
Spare sheet of clean paper to place between hand and paper to avoid smudging
Clean Eraser, Clean tissue,
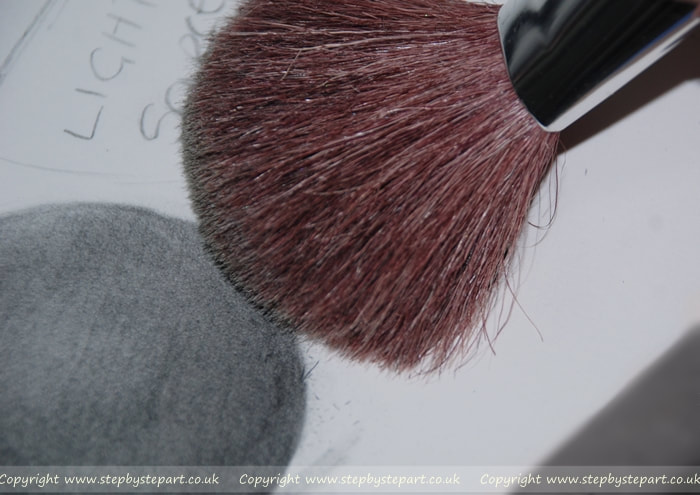
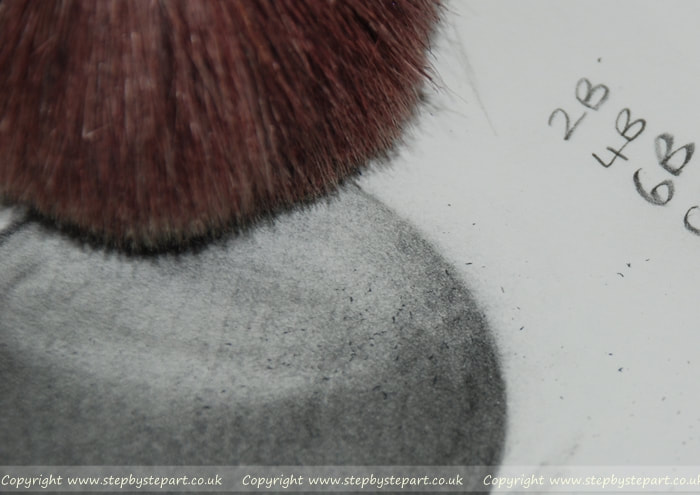
Soft brush (a blusher brush is best)
Graphite pencils needed: 2B, 4B, 6B, 8B
Spare sheet of clean paper to place between hand and paper to avoid smudging
Clean Eraser, Clean tissue,
Soft brush (a blusher brush is best)
Graphite pencils needed: 2B, 4B, 6B, 8B
Let's get started
Draw your circle
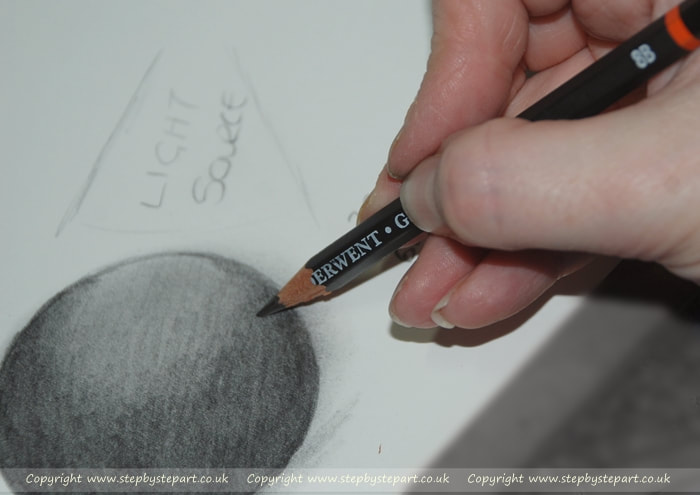
If you want to draw a perfect circle, it's best to use a template such as a glass. Once you have the outline, strengthen it using a 7B pencil. This will help you keep track of the outline as you blend. When applying each layer, use the entire length of the pencil lead. Begin with light strokes and gradually increase pressure with each subsequent layer.
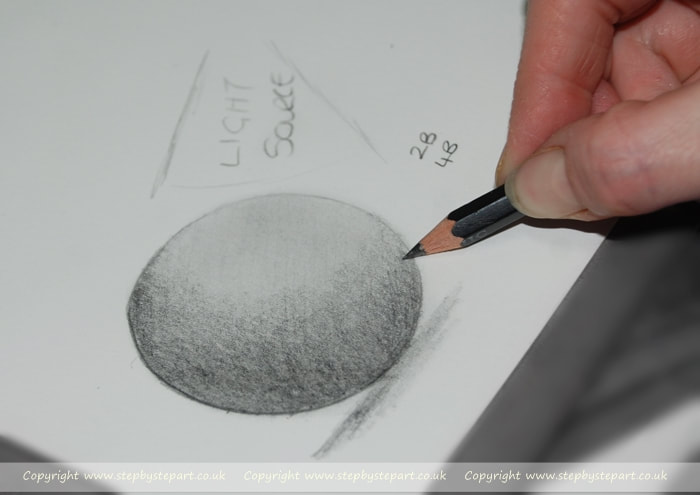
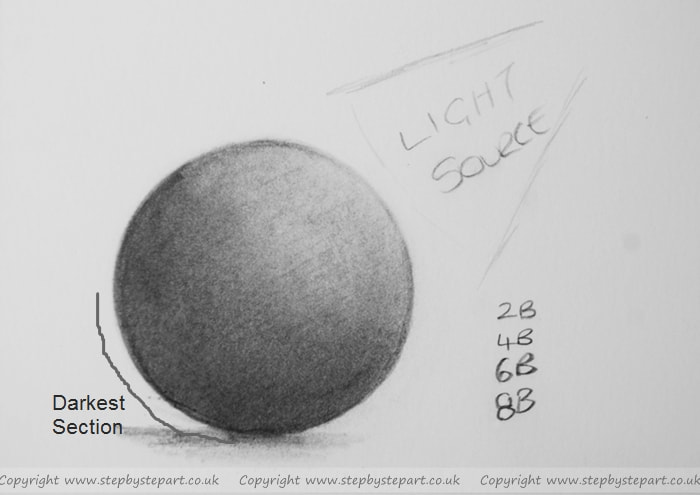
To transform your circle into a 3-dimensional ball, you must first determine the location of your imaginary "light source." You can mark it on your paper to aid in this process. By following this tip, you can maintain a proper balance between highlight and shadow, and understand the significance of achieving the right balance.
IMPORTANT TIPS:
* Ensure your pencils have been sharpened before starting. The side of the lead will be used to apply the layers.
* Graphite pencils smudge easily and to avoid transferring natural oils onto your art paper from your hands, have a clean sheet of paper to lean your hand upon whilst creating your art.
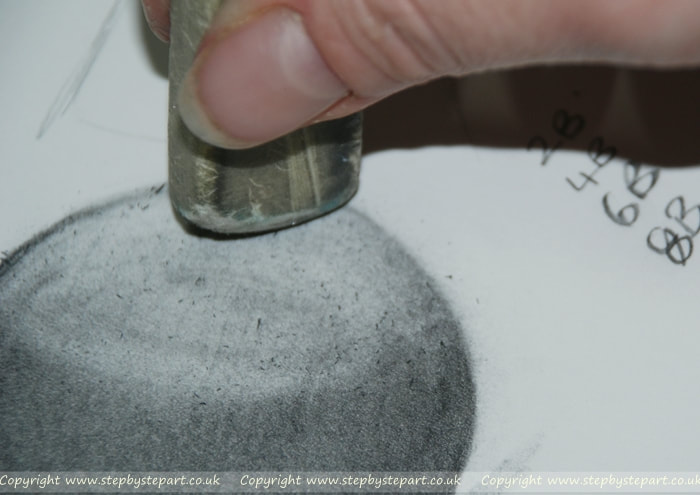
* Never blow onto your paper after erasing. Natural oils from your skin and saliva can damage your artwork which you may not be able to repair.
Stage 1 - Base layers
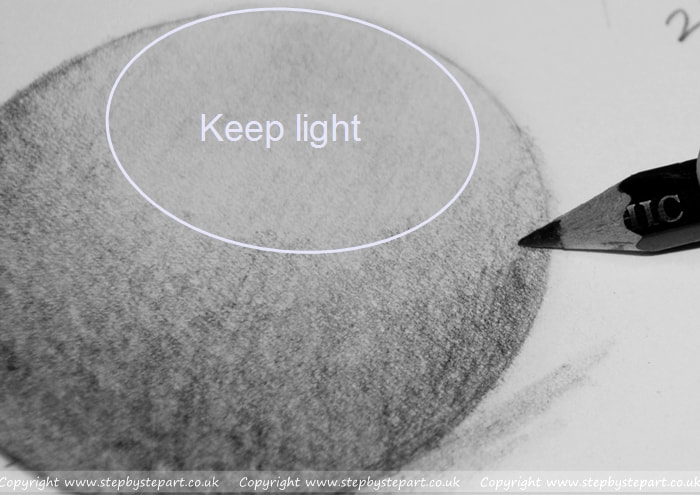
To begin, use a 2B pencil to create the first layer. Apply each layer gently, starting from the left side of the circle and working your way down. Apply more pressure over the darker areas to create more depth. At this stage, you do not need to apply one continuous line from edge to edge or top to bottom. You can execute it in sections. Although this may result in uneven bars, these lines should disappear once blended if you haven't applied too much pressure.
Stage 2 - Blending
|
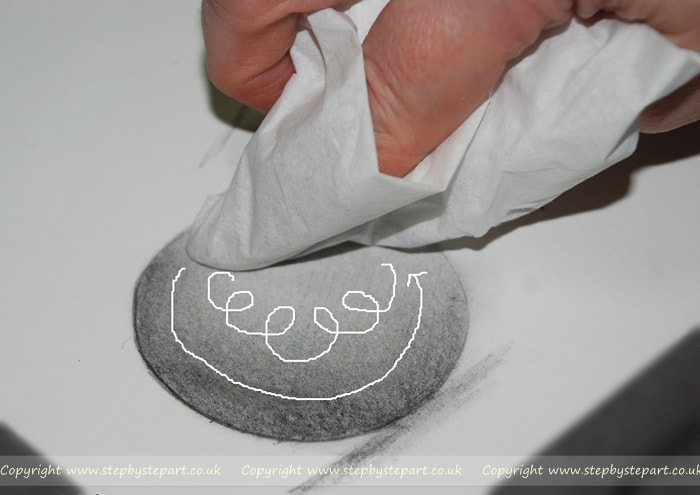
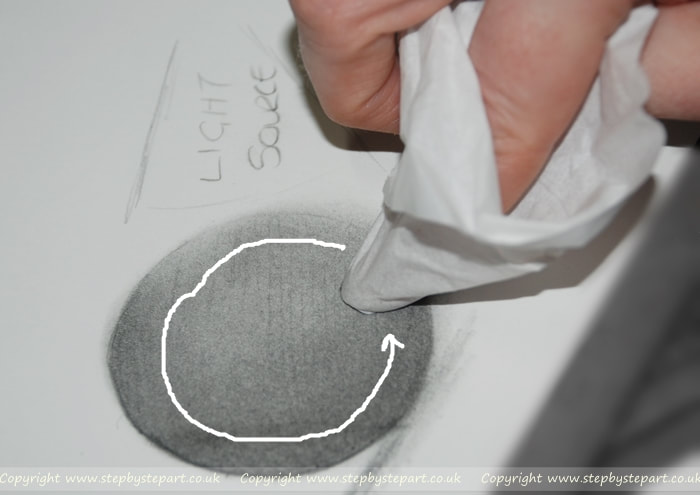
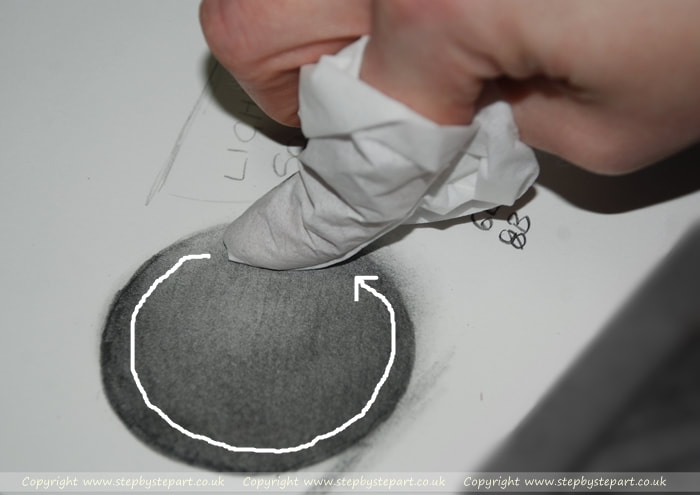
To blend your drawing, fill the circle with a 2B pencil. Then, take a clean, white tissue and wrap it around your finger. Blend using circular motions, consistently applying equal pressure throughout. Using this technique helps to smooth out excess lines left behind. Next, use a 4B pencil and apply slightly more pressure. The 4B pencil is softer, which creates more delicate lines. Repeat the blending process in a circular motion, using a new section of the tissue.
|
First, use a 6B grade pencil and make strokes following the circle's shape. Begin at the darkest point and work upwards towards the lightest end. Reduce your pressure as you approach the light point. Blend with a tissue. Layering this way is crucial for creating smooth transitions and creating form. To achieve the desired effect, the unlit portion of the circle opposite the light source needs to be much darker. Repeat with the 6B grade to accomplish this, adding more depth.
|
Stage 3 - Contrasts
|
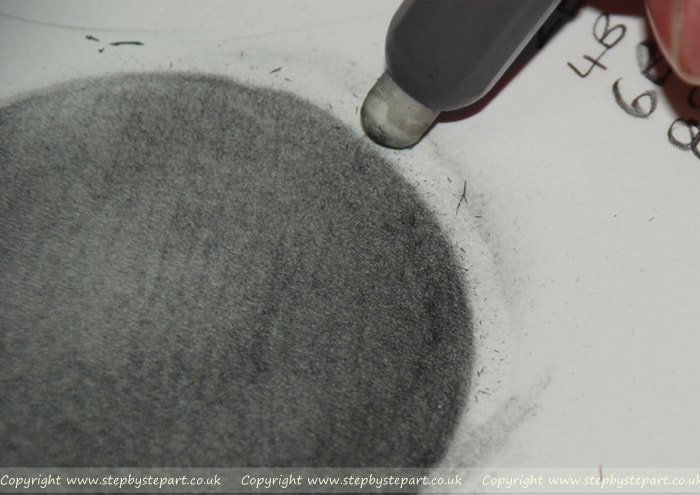
Next, using a fresh tissue, gently blend in circular motions, to achieve smoother pencil lines. Keep in mind that this technique may shift some of the graphite into lighter areas, but the blending is subtle and excess layers can be easily removed.
|
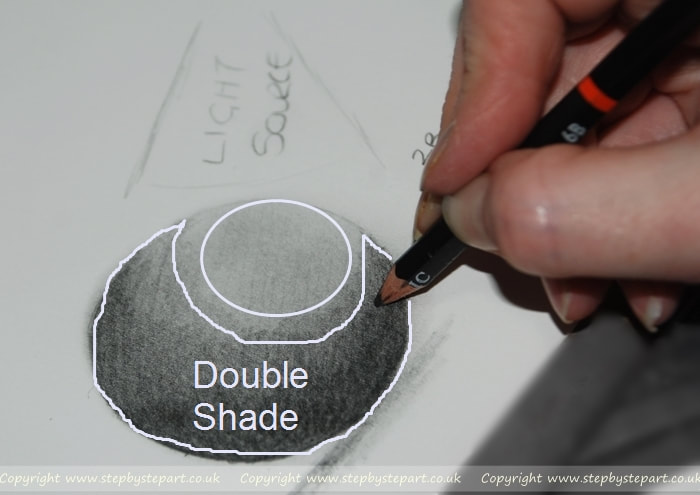
To enhance the darker contrasts, proceed with using the 8B grade. Apply it similarly to the previous step and then add another layer to the base, which is the darkest part. Check the image to determine the correct placement for the second application. The 8B grade is dark but as the lead is soft, blending will result in a lighter shade. Apply a third layer if you want to further darken the drawing.
|
