Graphite pencils | A helpful guide for graphite pencil artists and beginners
Starting a new journey with graphite pencils and need some advice?
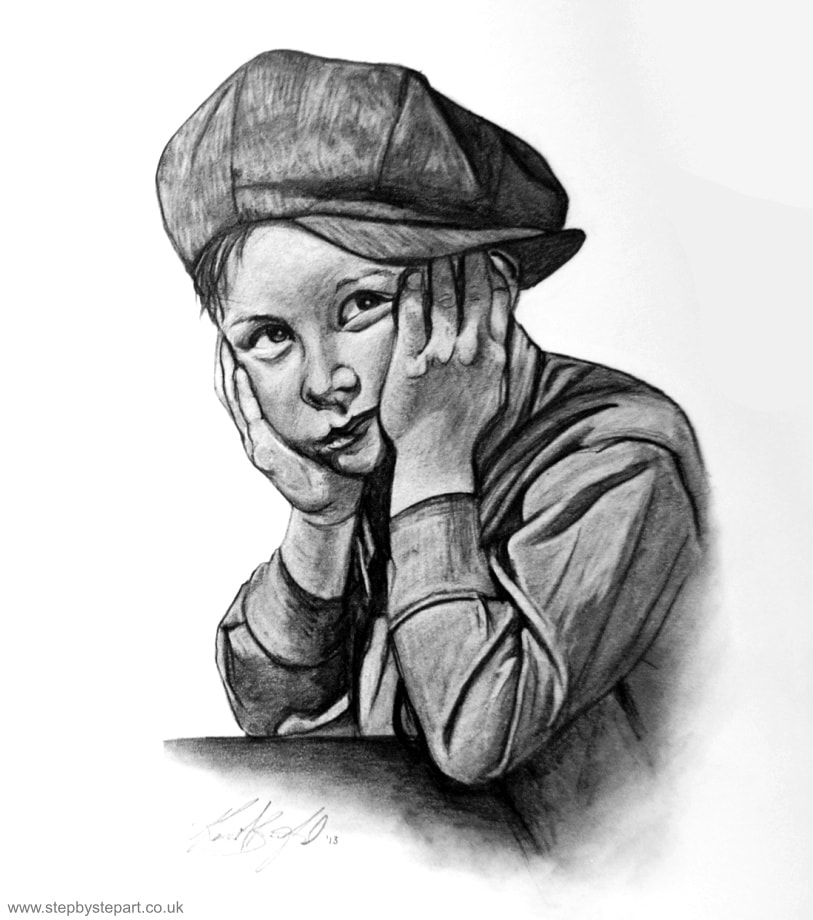
Graphite pencils are a wonderful medium. You can create impressive designs with a little knowledge on layering and blending using various grades of pencil and the introduction of accessories. Graphite pencil art provides contrast to add impact and drama in your drawings, where the introduction of colour can draw attention away from the impact of a subject.
Starting your journey with graphite pencils does not mean breaking the bank, in fact, it may be the most economical of mediums. In this article you will find some great ideas & recommendations for starting out with graphite, we provide you with a list of useful products, some you may wish to purchase at a later date. There is no point spending a fortune on the best quality products if you find that this medium is not for you.
Starting your journey with graphite pencils does not mean breaking the bank, in fact, it may be the most economical of mediums. In this article you will find some great ideas & recommendations for starting out with graphite, we provide you with a list of useful products, some you may wish to purchase at a later date. There is no point spending a fortune on the best quality products if you find that this medium is not for you.
1. Graphite pencils
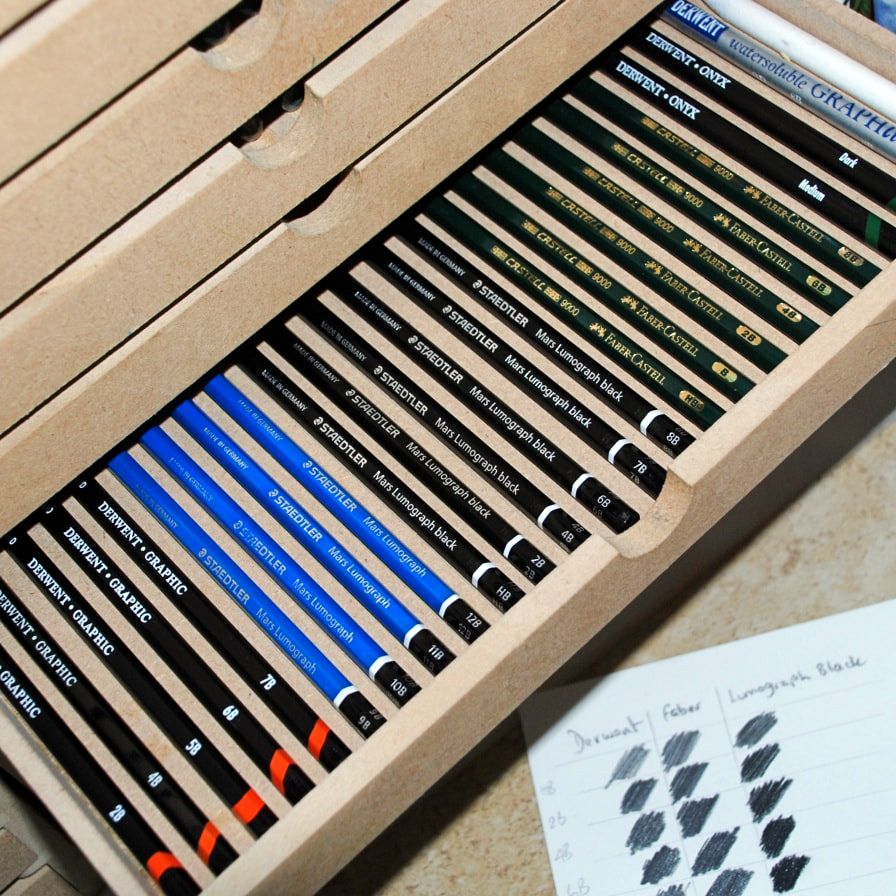
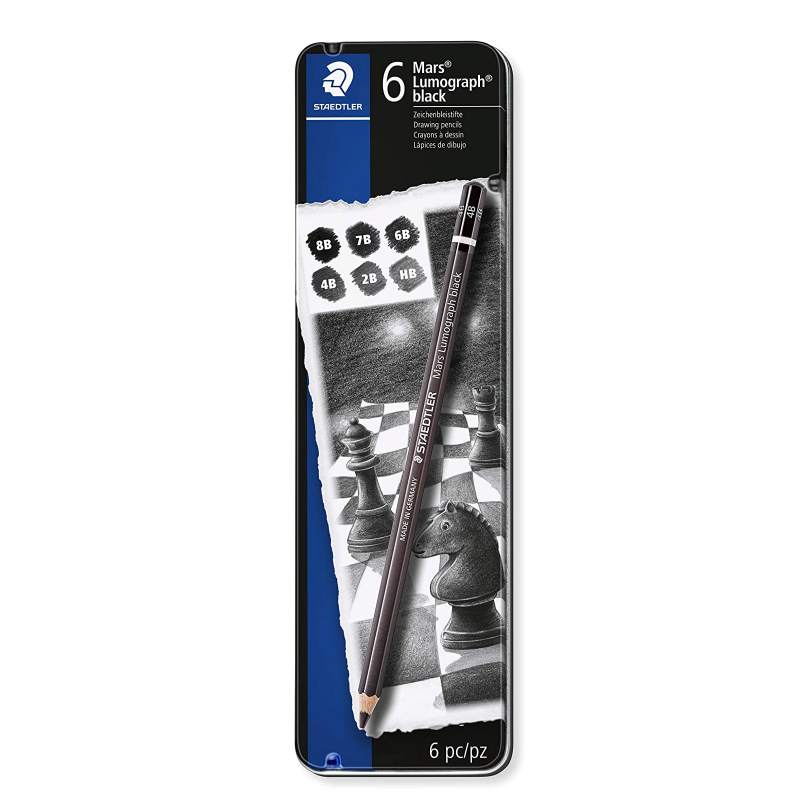
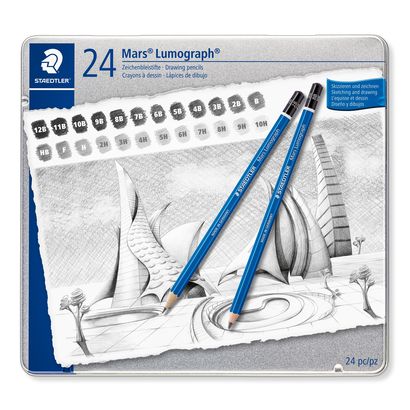
The first thing you will need is a set of graphite pencils. With many brands out there, it is just a case of individual preference. But how do you decide which to buy? The truth is, there is no 'perfect' solution. Many artists own various ranges and use them interchangeably, there is no 'miracle' brand that will suit every artist. Many art companies have a graphite pencil in their collection, but dig a little deeper and you may be surprised to find that there is more to the graphite pencil than meets the eye. Across the brands, grades can vary. Some may be slightly lighter or slightly darker. Staedtler has a range called Mars Lumograph Black, which contains a high proportion of carbon, providing a matt, jet black finish to your work. The standard pencil leaves a polished finish. Other brands are water-soluble, allowing you to create washes. The Derwent Graphitint range mixes graphite with a hint of colour, made more vibrant by mixing with water. So, not all graphite pencils are the same. The grades in a large, standard graphite set range between 9H - 9B (Derwent Graphic) or a 10H - 12B like the Staedtler Mars. Below we discuss some of these brands.
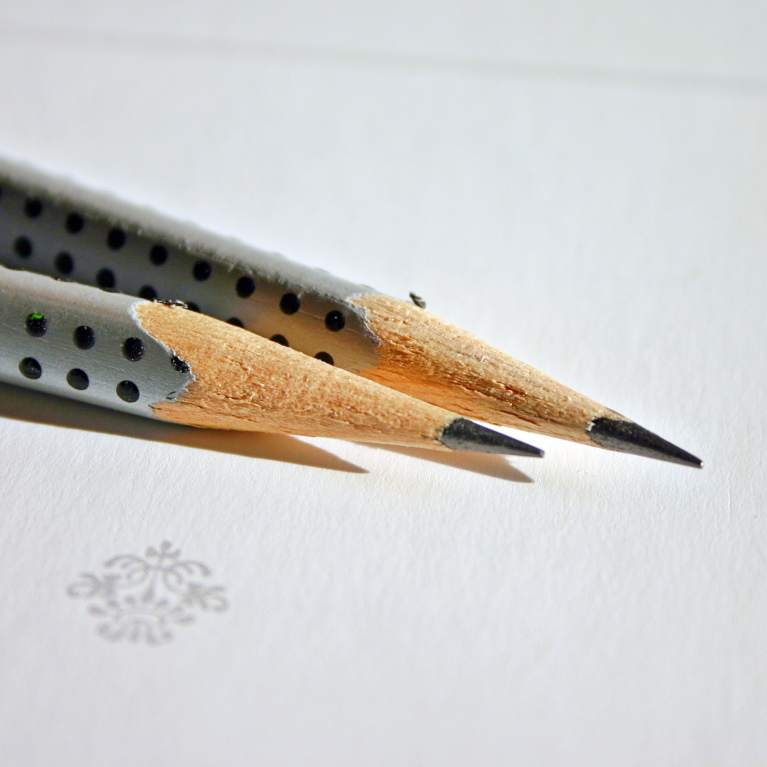
Graphite pencilsA graphite pencil, is not actually graphite, but a non-toxic form of carbon. It is a type of pencil in which a thin graphite core is embedded in a shell of other material, most commonly, wood. The first lump of graphite was found in Keswick, in the UK back in the 1500's. Resistant to moisture, ultraviolet radiation, and natural aging. Grades range between 9H and 12B.
|
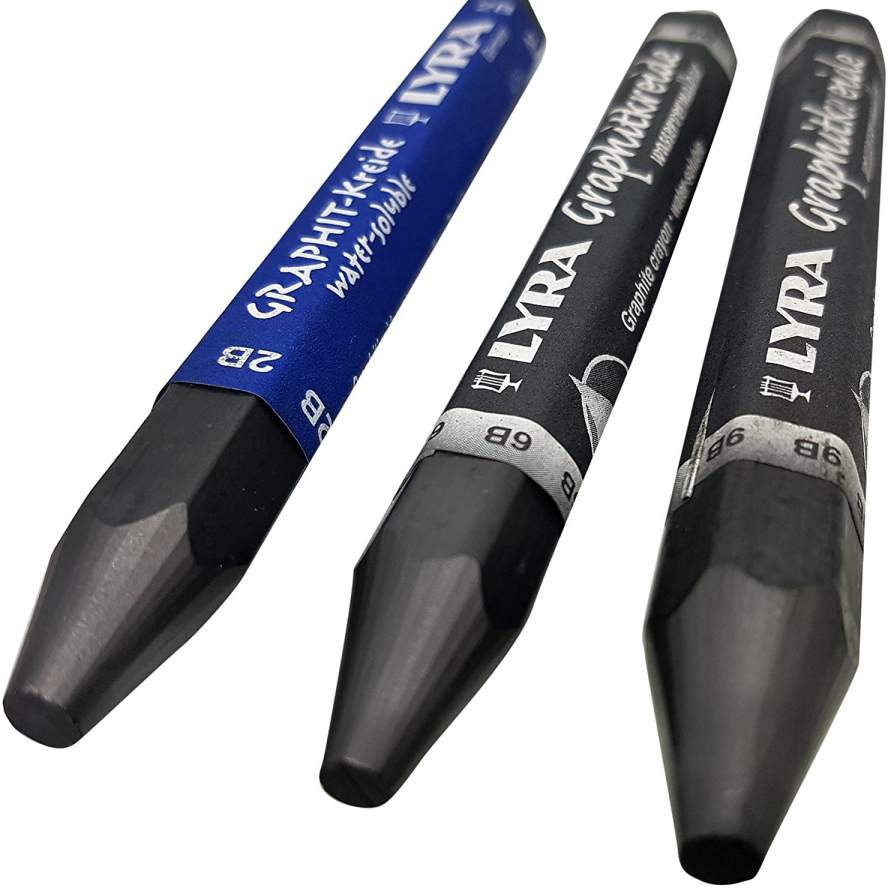
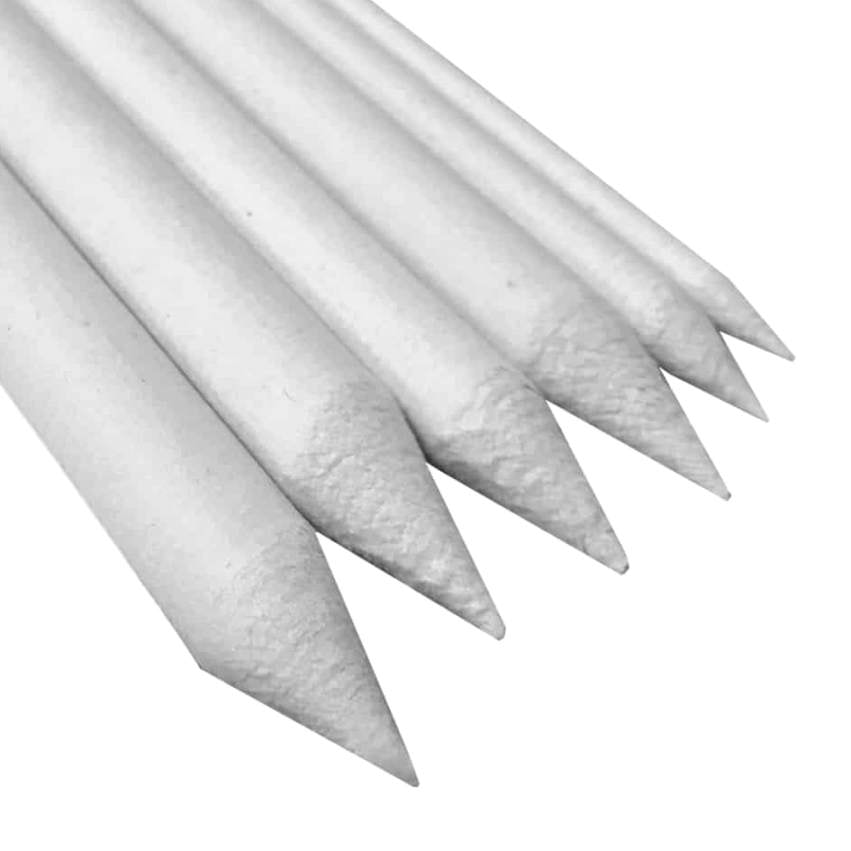
Water-soluble graphite pencilsA chunky graphite stick like the Lyra Graphit pencil allows the user to cover large areas more swiftly. They are highly economical as the whole of the stick can be utilised. Suitable for people who find a larger grip more comfortable to use. Paper coated, these solid sticks of graphite are soluble in water and are fantastic for monochromatic watercolour applications.
|
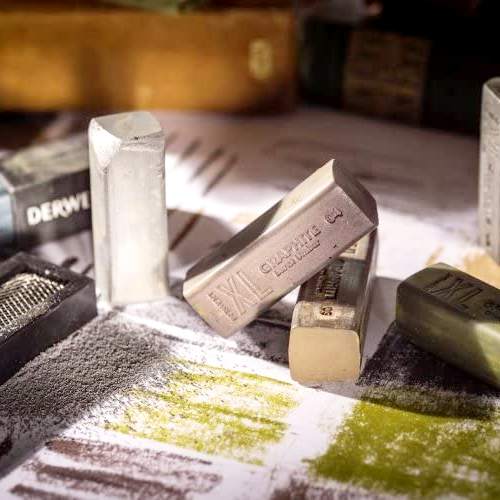
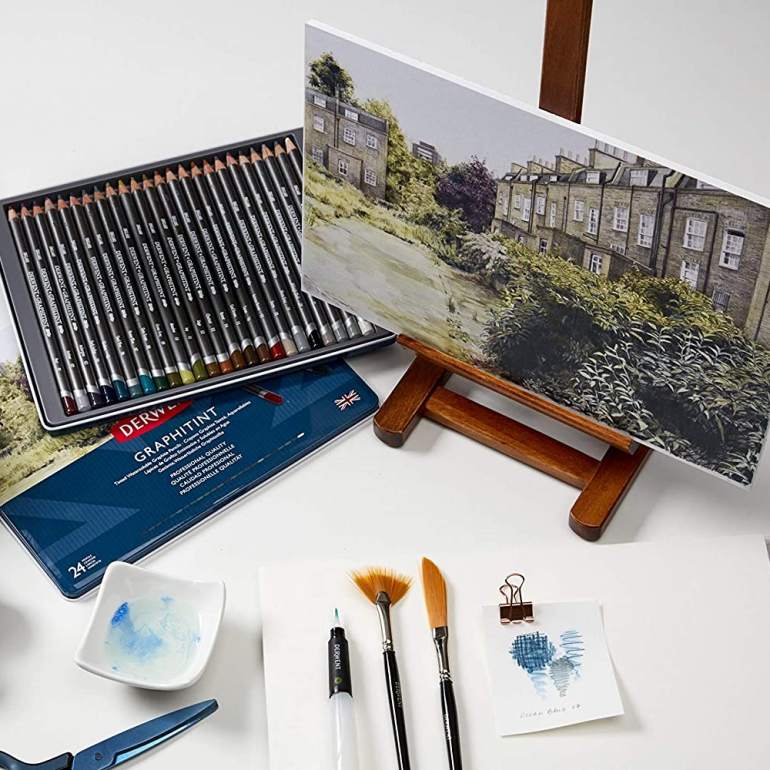
Tinted water-soluble graphite blocksTinted water-soluble blocks and pencils offer a little more to the pencil artist than shades of grey. The blocks allow you to create a wide variety of textures and effects by using on their side, edge or corner and can easily be blended/smudged. The water-soluble pencils like Graphitint allow you to create finer details or mix with water to create watercolour portraits.
|
2. Paper/support
There are many surfaces available for pencil artists that it is difficult to know which one to choose for your early attempts. A hot pressed watercolour paper is always a good starting point and you can always buy a budget pad from a brand like Winsor & Newton. Recommendations are helpful, but a brand that works for one artist is not always going to work for the next. Some artists prefer very smooth paper, others prefer ones with a tooth, which adds interest to their work. If the paper is too smooth, the pencil won't grip as well. Too gritty and you may struggle with detail. It is all about personal preference and we suggest that you buy a trial pack so you can test a selection of popular brands for yourself and choose the one you like the most. Here we explain three different paper options.
Smooth paperA bright, white surface is the most effective surface for graphite portraits. The brighter they are, the better the contrast in your values. Choosing a very smooth paper can make work arduous, as the pigment cannot grip as well, so you need to add extra layers. Papers like Strathmore Bristol plate, Bockingford or Fabriano Artistico are very popular. All are archival, so they will not discolour over time.
|
Textured paperTextured paper provides a toothy surface which helps the pigment to grip better. This lets you create darker values, leaving the highlights looking brighter. Textured paper is not suitable for every graphite artist, especially if you create hyper-realism. This type of paper would just be a hindrance. However, fine grit papers like Strathmore Bristol vellum can provide a good balance.
|
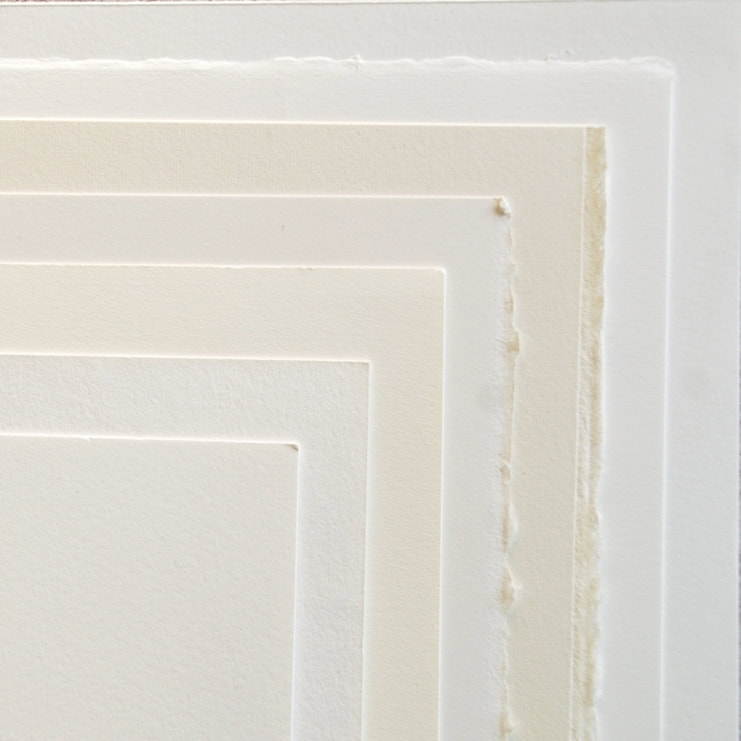
Watercolour paperWatercolour paper is ideal for graphite portraits, particularly so if you are using a water-soluble product and you need paper that easily absorbs water during colour-mixing. Watercolour papers come in assorted shades of white. A bright white paper will help to intensify the highlights in your pencil work. If you work on a commission basis, make sure your paper is lightfast and archival.
|
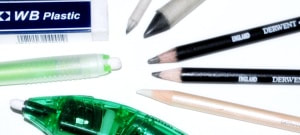
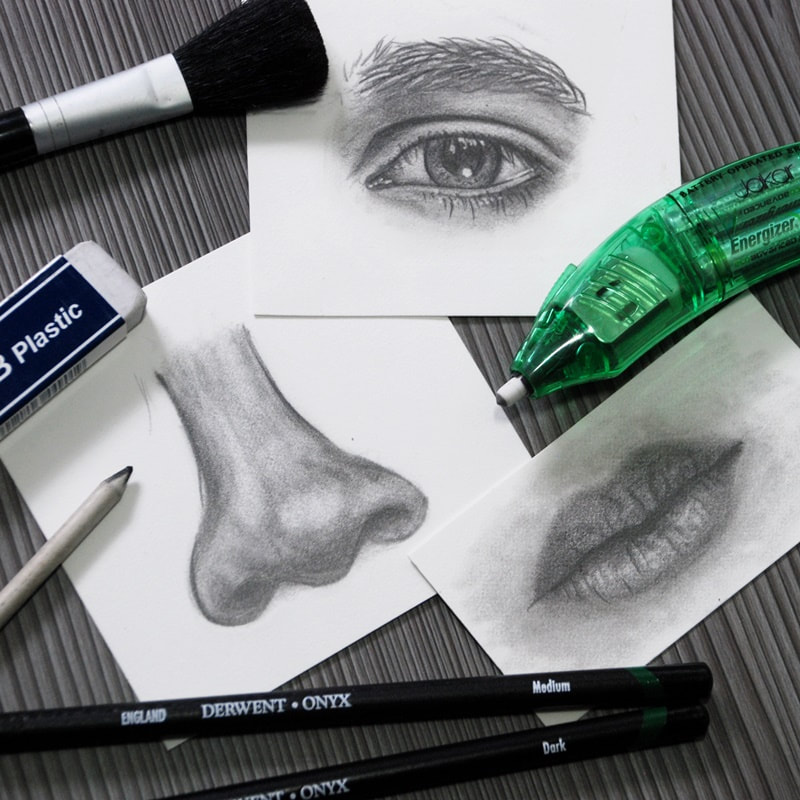
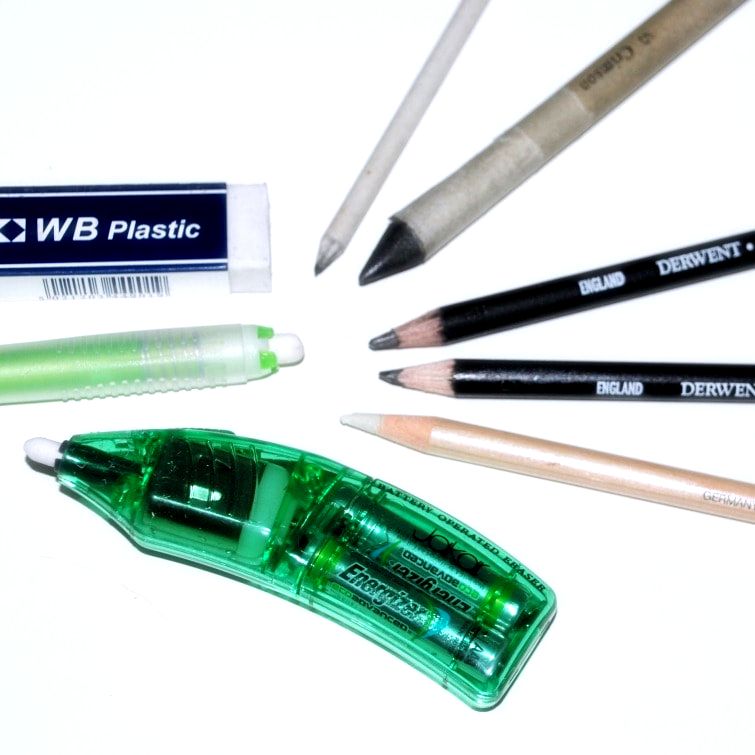
3. Rubber/Erasers
Using one eraser in your work is not going to be convenient for every section of your drawing, which is why there are so many types available. Novelty erasers are not useful for artwork, especially the coloured ones. The pigment can actually transfer to your paper and you may not be able to erase it. Pencil form and battery powered products are very useful in your collection alongside the standard eraser, but are by no means the only ones we recommend. Here we explain the uses and benefits each can offer.
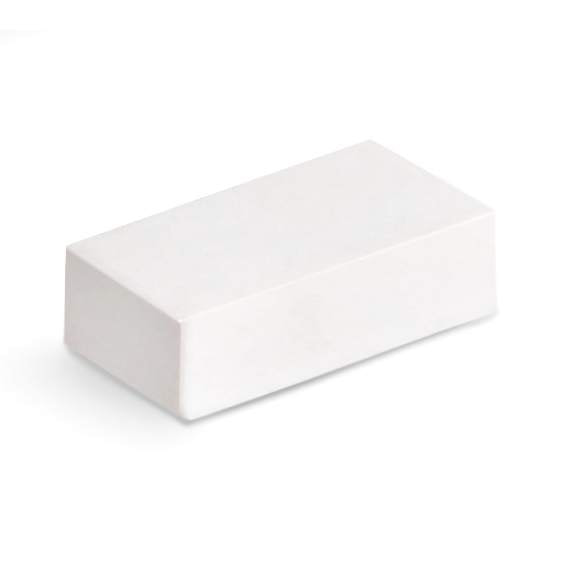
Polymer eraserThe most cost-effective option for an artist. If you spend a lot of time creating art, particularly large portraits, it is more economical to buy a whole pack. You can use the corners for removing small segments and the long edge for the large areas. Most importantly is ensure you keep your rubber clean so wipe the soiled areas of the eraser on a spare sheet of paper.
|
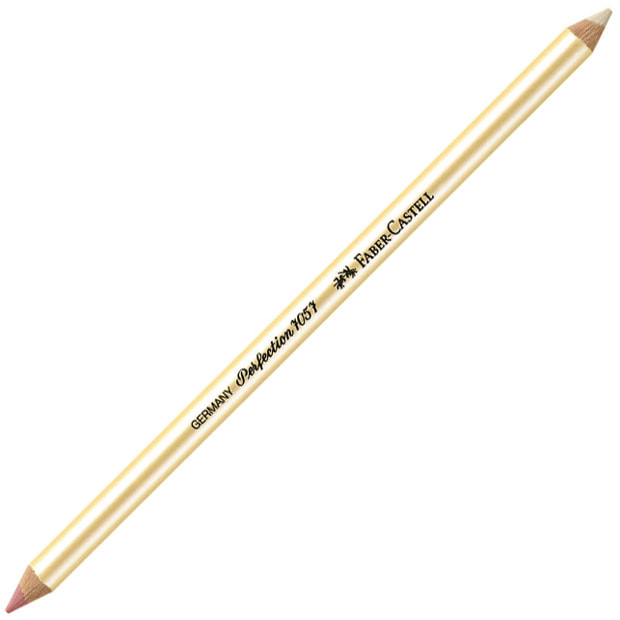
Pencil eraserThe pencil eraser is a standard shaped barrel consisting of an eraser core running through the centre. The Faber Castell 'Perfection' range has four options available. The white core is firm, suitable for ink removal or hard lines. The pink core is soft and suitable for most pencil work. There is a double edged version providing both options in one pencil and the fourth option is a white core with a black brush on the end to brush debris off the paper.
|
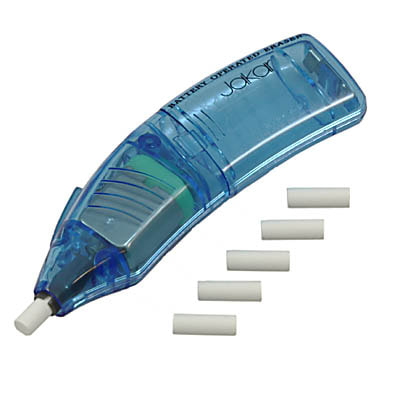
Battery-powered eraserThese are a must-have tool as they are so practical. If you are trying to pull back the whites of your paper for highlighting and creating catchlights, they have the power to remove almost all the pigment from your paper. Refill packs are available so you can replace the tip whenever it becomes too blunt or dirty. You can easily change the tips so you can use it with other mediums, which will avoid cross-contamination.
|
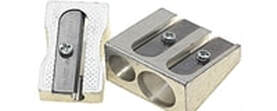
4. Useful tools for applications
During the creation process, there are specific tools that can help you get the most out of your art and help you create high-realism and others that can help you achieve smoother blending. A pencil sharpener is much more than simply providing a sharp tip with which to work with, the type of sharpeners you use and how you sharpen your pencil can make a huge difference to your applications. Here we provide information about some must-have tools and a link to our useful guide to sharpening pencils.
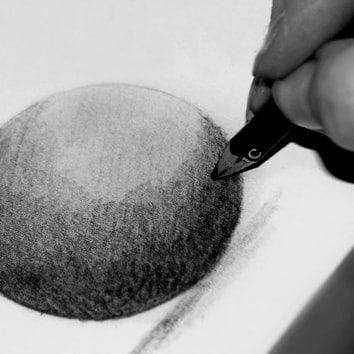
Blending StumpsBlending tools are an absolute must for the pencil artist. You can also use a tissue, but a tortillion or blending stump is easier to use. Ideally, have them all in your kit. Blending stumps come in assorted sizes. The slimmer ones are ideal for blending small areas and the thicker ones for large areas. Tissues can be used when blending large areas too. Never use your fingers to blend due to natural oils that may transfer to your paper.
|
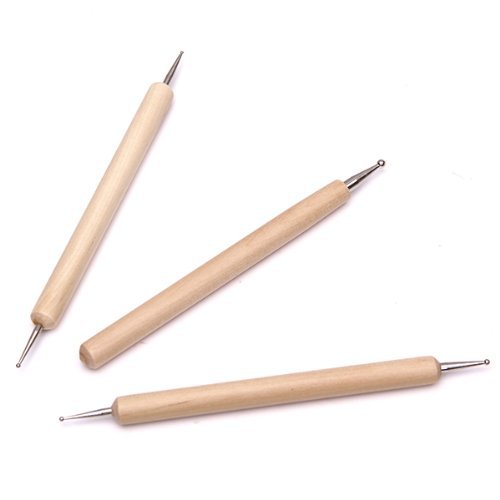
Indent ToolsEmbossing tools are invaluable for the graphite artist, particularly if you work in realism. They can be used to indent the paper for the creating highlights and fine detailing. They have rounded tips which help to protect the paper from tearing. They are available individually or in a set, some with single and others with double headed tips of varying sizes. Suitable for use with other mediums too.
|
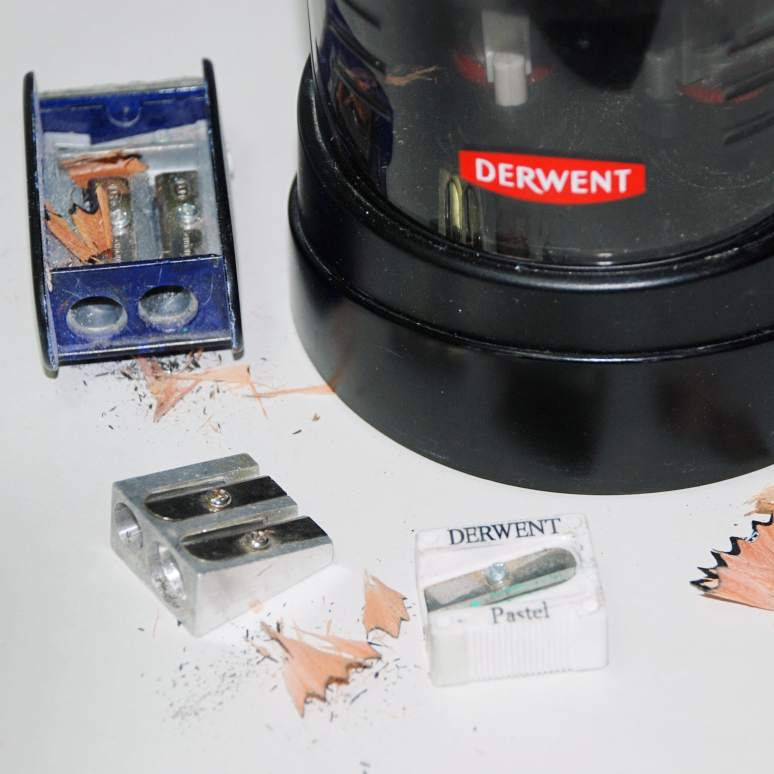
Pencil SharpenerThe basic sharpener tends to be a single or double holed sharpener and made of plastic or metal. The metal brand is far more robust than a plastic one as it is stronger, easier to replace the blades and adds less pressure on the wood in your pencil due to the robustness. Manual sharpeners and battery powered offer less pressure on the hands. Click the image above to find out how the pencil sharpener can be used to improve your art.
|
5. RECOMMENDED ACCESSORIES
These products are recommended as they are an important part of the graphite tool kit. As we do not recommend you touch your paper, a soft brush is useful for the removal of debris. The glassine paper is a grease-resistant paper that can be cut to size and placed between your hand and drawing during each session. Finally, a fixative is ideal for protecting your finished drawing to stop accidental smudging. If your drawing is to be framed behind UV glass, you may prefer not to use fixative at all. We explain these products in more detail below.
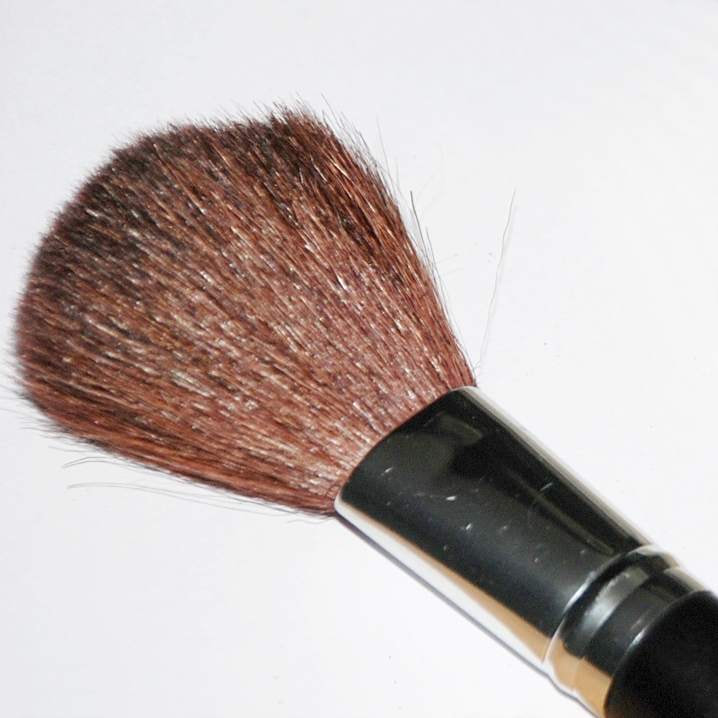
Soft BrushA soft brush is a must for every pencil artist. When you erase or apply heavy applications of pencil, this creates dust. Removing it with a soft brush is far more preferable than using your hands, as you can transfer oils onto your paper or if you try blowing the debris away, you may spray droplets onto your drawing and spoil your work. Ensure you keep your brush clean and use a different one if working with a different medium.
|
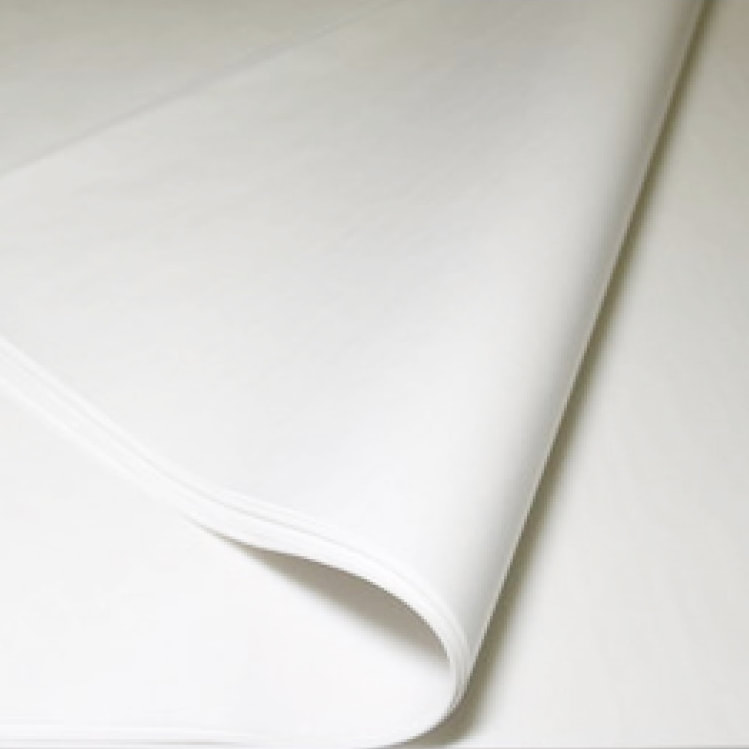
Glassine PaperA smooth and glossy paper that is air, water, and grease resistant. It is also acid-free and has multiple uses for an artist. Use it to package or store your drawings or use it as a protective layer between your artwork and your hand to avoid the transfer of any oils. You can also use it to cover your drawing when you aren't working on it too. A multi-functional product and cost-effective when purchased as a pack.
|
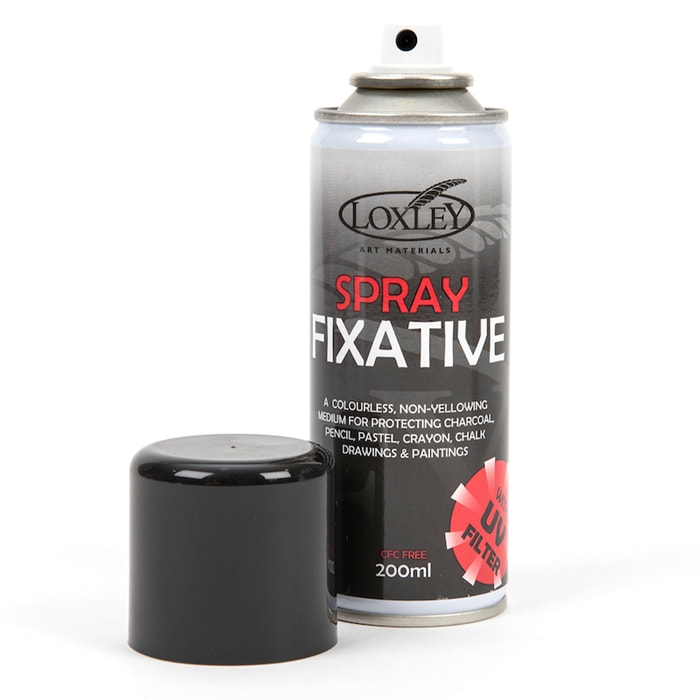
Aerosol FixativeA fixative is useful to protect your finished drawing from atmospheric damage caused by moisture and the suns UV rays. It also helps to prevent accidental smudging until your drawing is put into a frame or safely stored in a folder. The Loxley spray fixative 200ml is a high quality, colourless, non-yellowing protection medium with UV Filter and is CFC free. Click the image to read our blog post on this product and see how it can help you in your work.
|
6. USEFUL PRODUCTS FOR GRAPHITE ARTISTS
The following products are offered as product suggestions rather than stating they are a necessity. As you may already have a suitable desk and storage system, you also may not wish to use an aid to create your outlines. With this in mind, we provide you with information on each should you find the information useful.
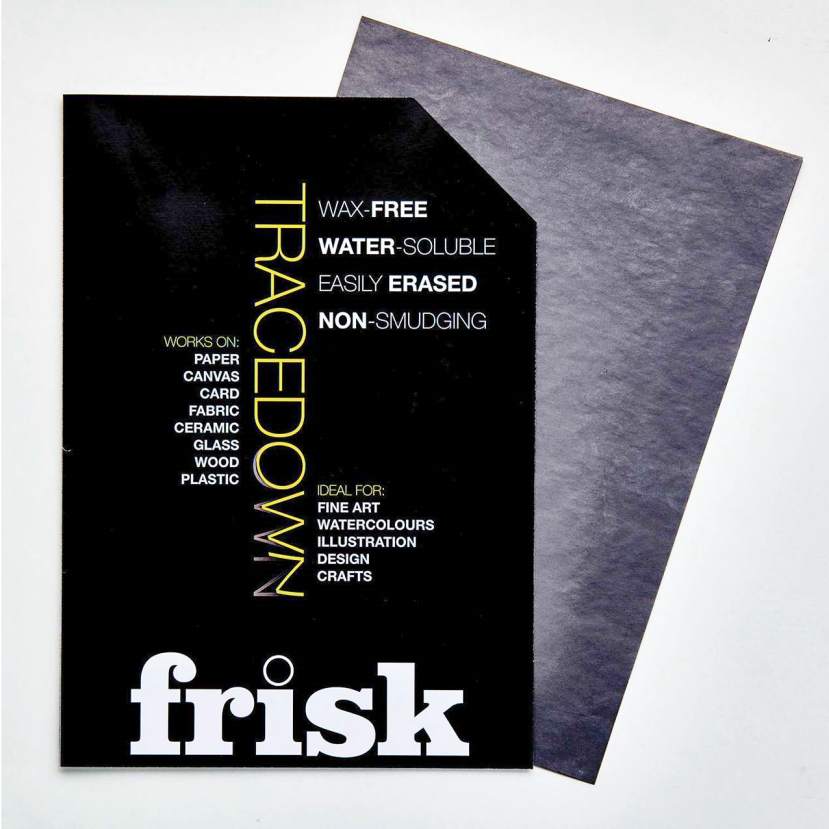
Tracing outlinesGraphite sheets and transfer sprays like Ghiant, offer an effortless way of creating your outlines before you begin your work. The Tracedown sheets are placed beneath your reference photo and placed on your drawing paper. The Ghiant transfer spray is sprayed over the back of the reference image. Secure the reference image onto your paper with tape, or a paperweight if you do not wish to damage the paper, then draw over the outline of your photo.
|
|
Hints & Tips
Here are a few recommendations of what to do and not do when working with graphite pencils. This list is not exhaustive and the more you create, the more you will learn what works best for you and what doesn't. The main takeaway when working with pencils is not to touch the paper with your hands due to the natural oils. Have a sheet of paper or glassine sheet beneath your hand at all times. This will help to stop smudging too.
|
DON'T: X Avoid leaning onto your working paper. Place a blank sheet of paper underneath your hand to avoid smudging your pencils whilst you work. X Avoid touching your paper with your hands. Natural oils can transfer to your paper which can damage your work. Use tools instead. X When erasing, don't blow the bits from your paper. Dust away with a soft brush instead. |
DO: √ Use a pencil eraser to remove tiny mistakes √ Use a paper stump/tortillion or even a tissue to blend instead of using your fingers. √ Use a soft brush to dust away eraser bits rather than your hand, so you don't transfer natural oils to your paper. √ Use a heavyweight paper (220gsm+) if you create high detail or photo-realism art as you can apply more layers. Lower gsm papers are ideal for sketches. |
Related articles that may be of interest
5 Must-have art products for the graphite artists
|
View all our graphite articles and tutorials
|
Find out how pencil sharpeners can aid your pencil techniques
|
Advice for becoming a commission based artist
|
Pencil grading explained
What do the numbers and letters all mean?
All graphite pencils are numbered, followed by a letter which are stamped or printed onto the barrel/sleeve. Below we explain what this information means and where best to use the pencils in your work.
H means HARD. They have a hard core and are paler in tone than those grades above them. They allow the user to create very fine lines. They are most suited to sketching and graphic design work.
B means BLACK. They have a soft core. The higher the number, the darker the tone and the softer the lead. This makes them more vulnerable, and extra care should be taken particularly during the sharpening process. These grades are ideal for creating realistic art via multiple layering to achieve a high level of contrast between the highlights and shading.
F means FINE - Grade wise, it is found between the H and the B and used for fine outlines. Deeper in tone than the H grades, this can be used for whiskers, hair and general outlines for preparation work.
HB means HARD BLACK which is where the two grades join. It sits between the F and the B grades and is most commonly used in schools. It provides a balance of firmness in application and dark in tone.
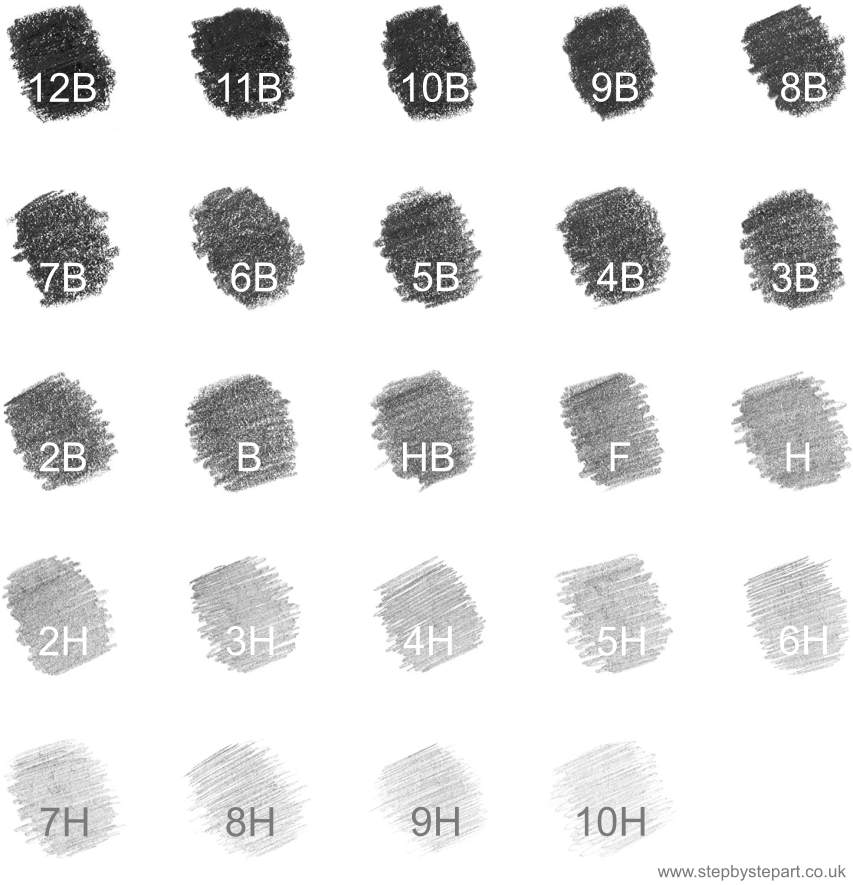
The chart above displays the grades from the Staedtler Lumograph Mars graphite pencil set and offers the widest selection of grades. Note how fine and light the H pencils are compared to the deeper and thicker B grades.
|
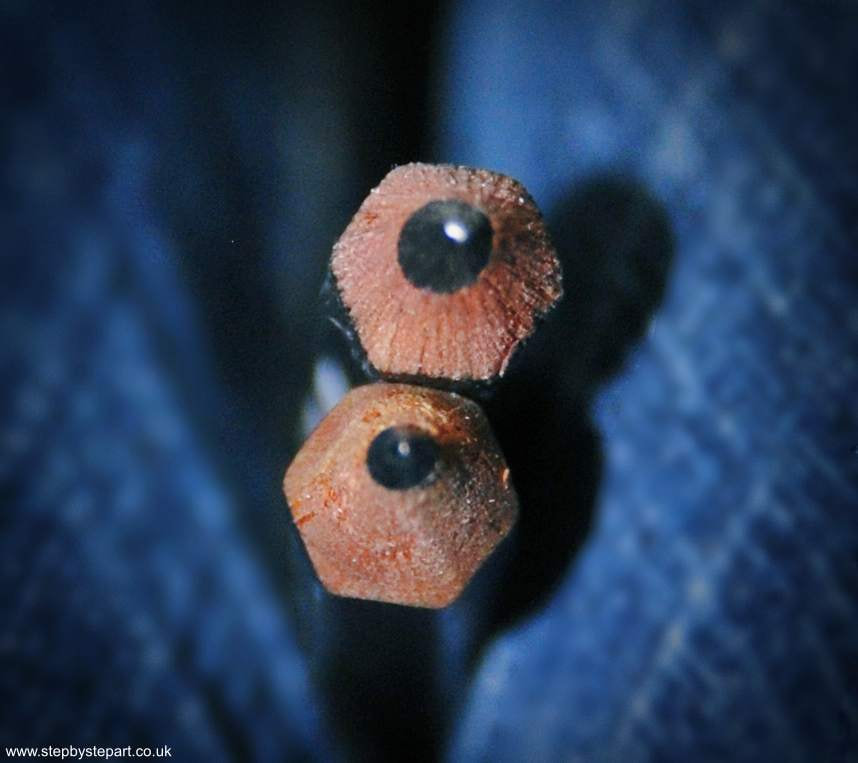
Note how the lead of the H pencil (bottom) is thinner than the B grade. This is due to the fact that there is less 'binder' in the B pencils so they tend to be softer and require more support in the thickness of the lead.
|
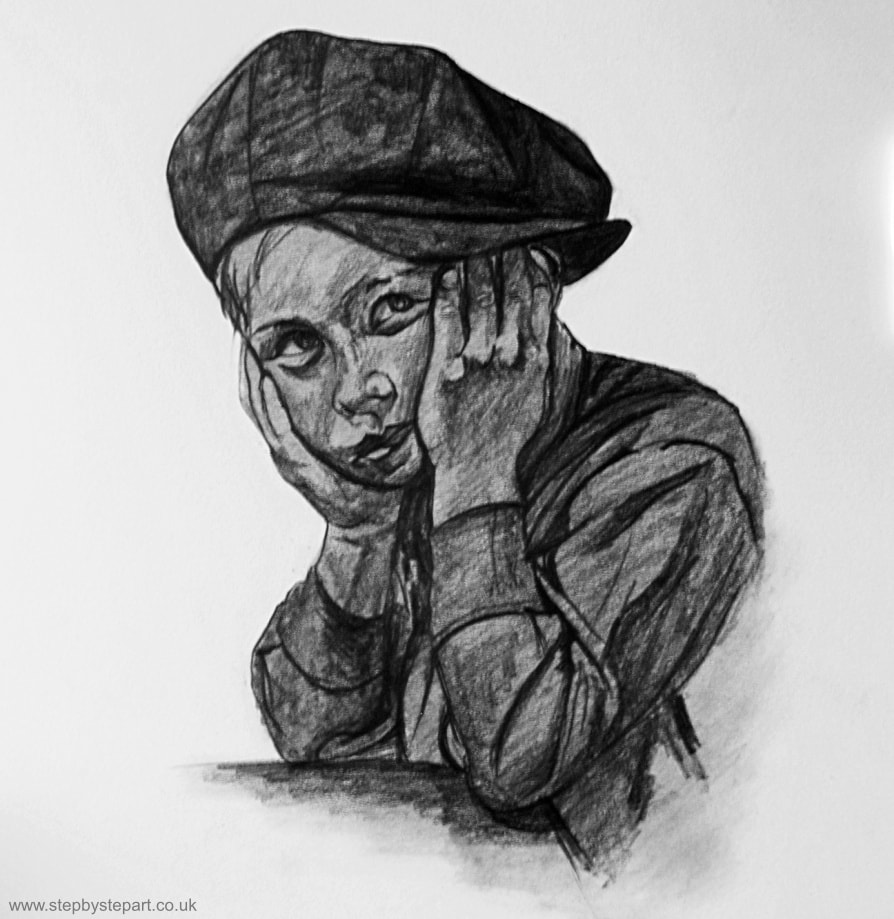
Do you really need a lot of products to create great art?
No, you do not need a huge collection of products to create great art. For this example, we only used a 5B pencil. Manipulating the pressure where needed helped to achieve the depth and the eraser helped to achieve the highlights. We blended using a paper stump or to create a home-made one, wrap a tissue around the end of your pencil to achieve the same effects. To create the highlights, we used various erasers to achieve this, using the pencil eraser to get very fine highlights - you can simply use the pointed corner of your eraser instead. The trick to achieving realism is by creating natural transitions. This can be achieved by softening edges with a blending stump or tissue. Why not give one of our free tutorials below a try? Take your time and enjoy the process!
* 5B graphite pencil * * Hot-pressed watercolour paper * * Spare sheet of clean paper * * Clean Eraser *
* Pencil eraser, or battery-powered eraser * * Blending stump &/or tissue * * Soft brush *
* Pencil eraser, or battery-powered eraser * * Blending stump &/or tissue * * Soft brush *
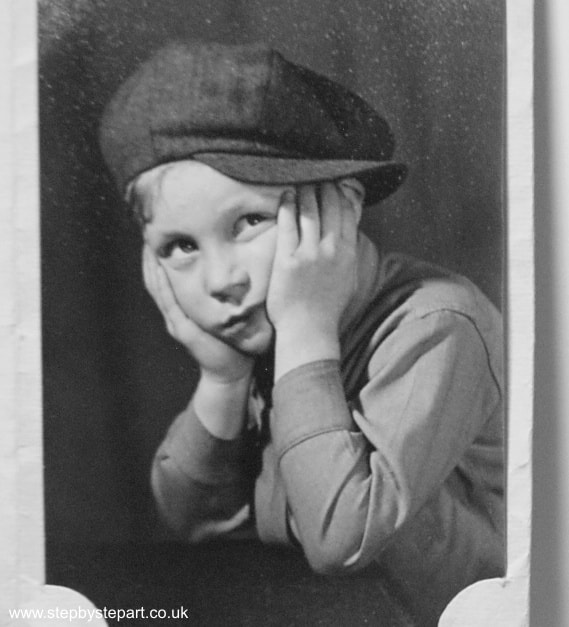
Reference photograph - late 1940's
|
Base layers applied and outlines defined
|
Drawing completed
|
Why not try one of our graphite pencil tutorials
Our tutorials are created with each artist in mind regardless of calibre. We provide easy-to-follow, written explanations alongside images which allow you to easily recreate in your own portrait. We offer guidance on which pencil grade to use and at which stage you should use them, we also show you how to build up your layers, when you should blend and how you can create the finer details in your drawing which will help to achieve the realism in your work. If you are new to graphite pencils, we would recommend you begin with the first tutorial which explains the blend and shade techniques working along the line to the last one which is more challenging.
Enjoy!
Enjoy!
MORE GRAPHITE PENCIL TUTORIALS WILL FOLLOW
Why not request a subject?
Graphite pencil brands
We have articles on the different types of graphite pencil. If you wish to find out more about them, click the images below to visit the article. Some are not yet available as we continue to add to this list, but will follow.

Derwent Graphic pencilsThis range is trusted by professional artists worldwide and suitable for all art and design purposes. Read our article about these pencils and see what they can achieve.
|
Derwent GraphitintThis unique formulation provides a hint of colour, but adding water transforms them into rich shades with a graphite sheen. We test out these pencils, see how we got on.
|
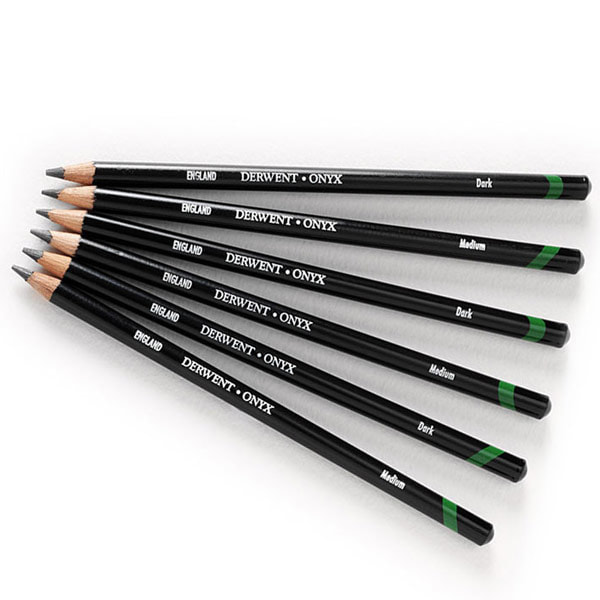
Derwent OnyxA personal review on Derwent's Onyx graphite pencils. Are they as black as Derwent claims? What can they achieve? Find out here.
|
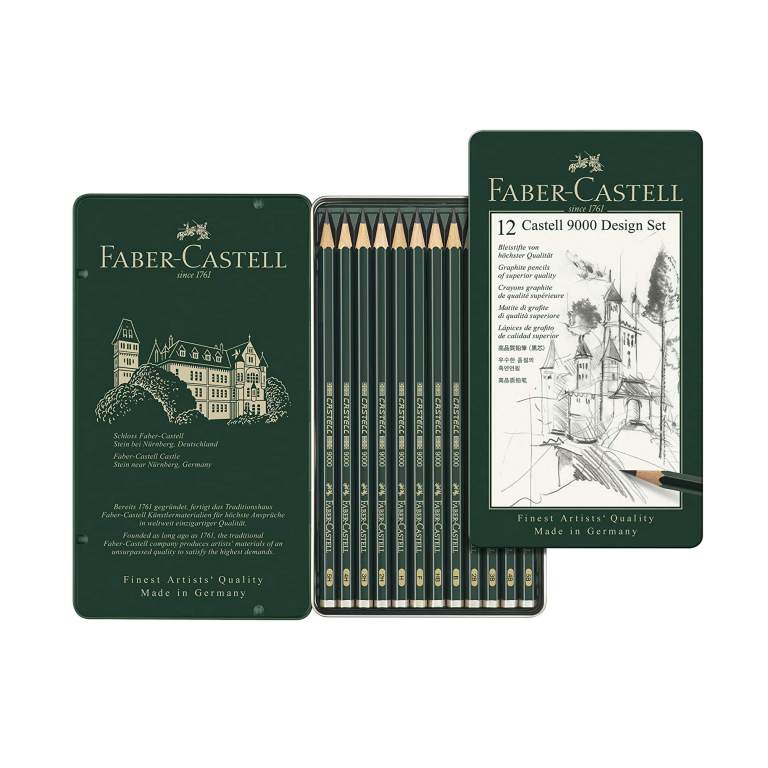
Faber Castell 9000ARTICLE TO FOLLOW
|
5 MUST HAVE PRODUCTS FOR THE GRAPHITE ARTISTAre you a graphite artist, or trying graphite pencils for the first time? In this blog, we discuss five must-have accessories for the graphite artist.
NEW - OCTOBER 2022 |
Staedtler Mars BlackARTICLE TO FOLLOW
|

Derwent BlocksARTICLE TO FOLLOW
|
Staedtler Mars LumographARTICLE TO FOLLOW
|
Article updated: February 2022
