Snow Leopard eye Step by Step Coloured pencil Tutorial
Artist level: Intermediate
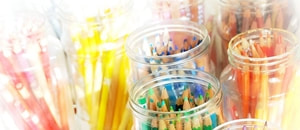
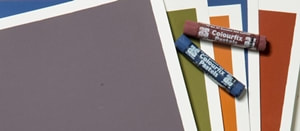
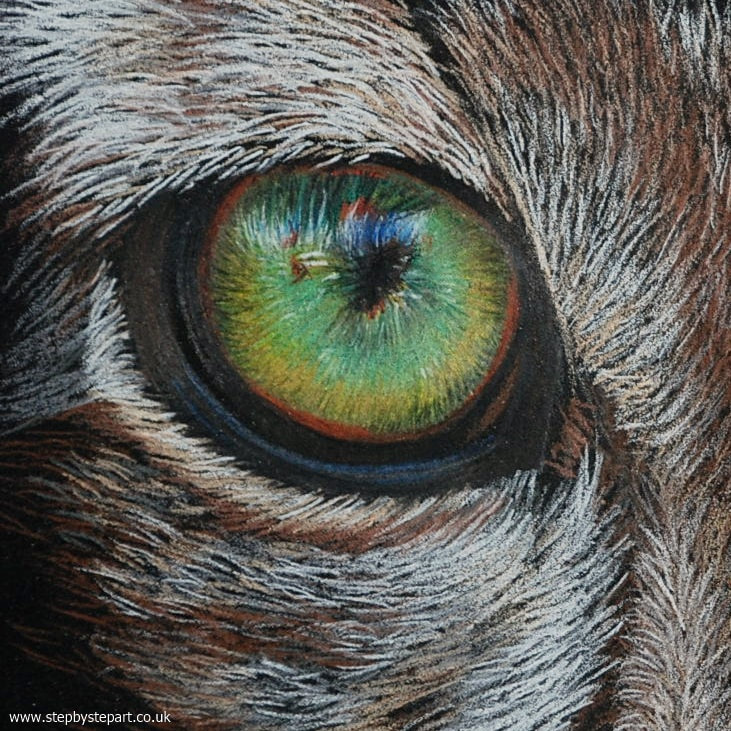
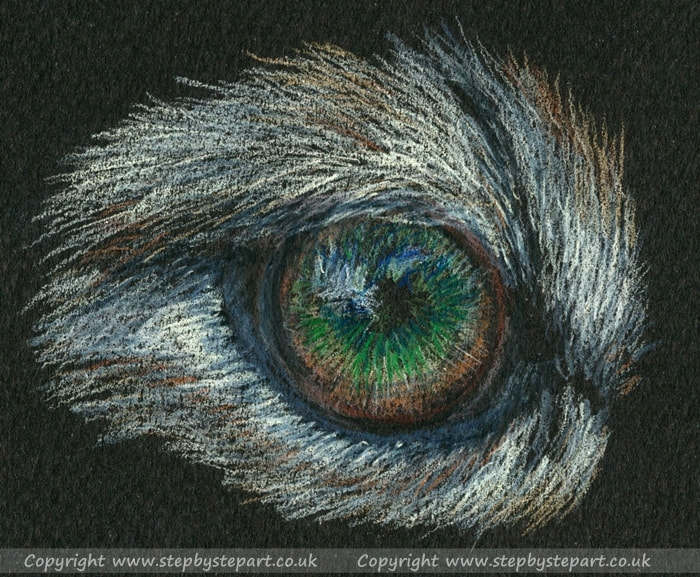
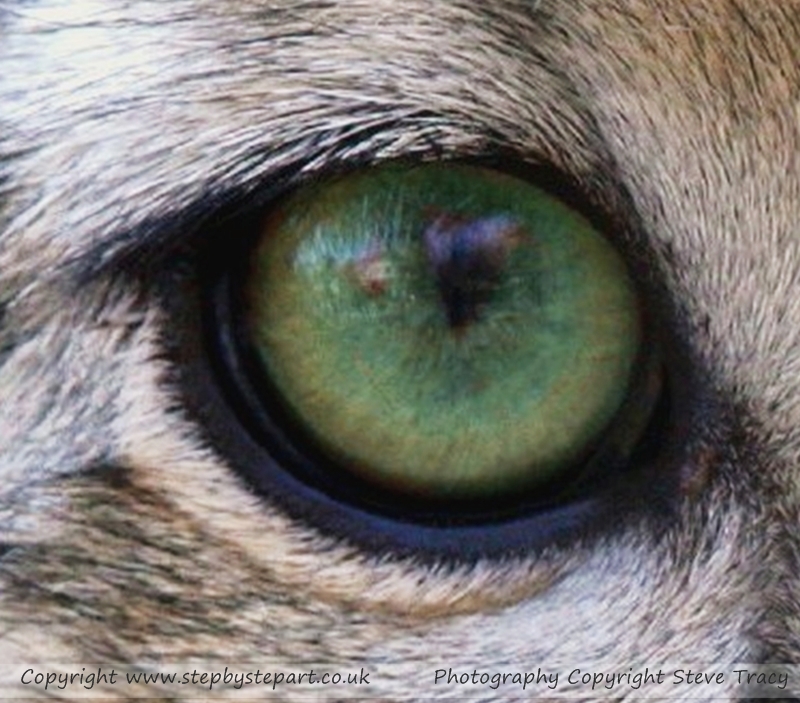
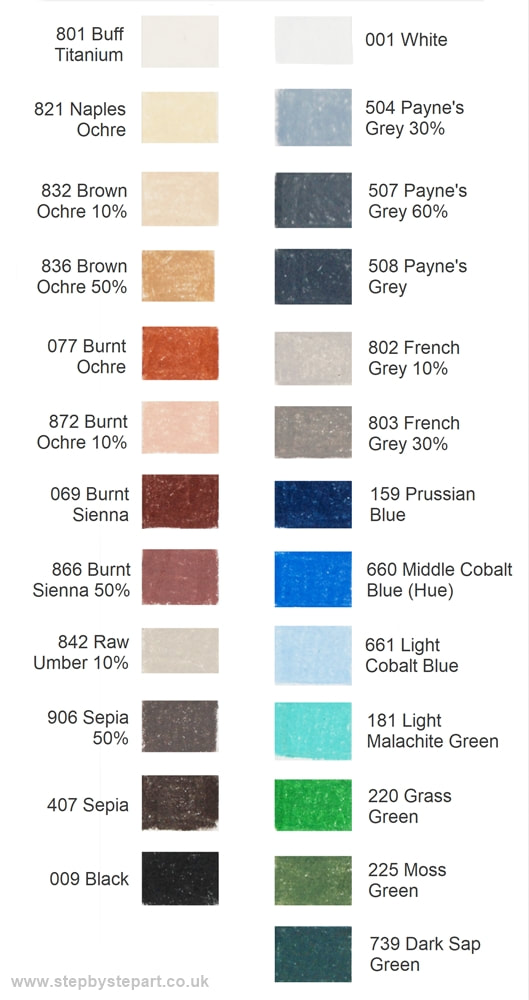
This tutorial covers the process of how to create a detailed drawing of a Snow Leopard eye. It was completed using the Caran Dache Luminance pencil range but we have provided a colour chart beside the reference image so you can select the pencils from your own range. It is not important to match colours precisely. The paper we used for this tutorial is the Art Spectrum Colourfix in Black. You can use a different textured paper in another colour or smooth black paper, it is more important to learn the techniques.
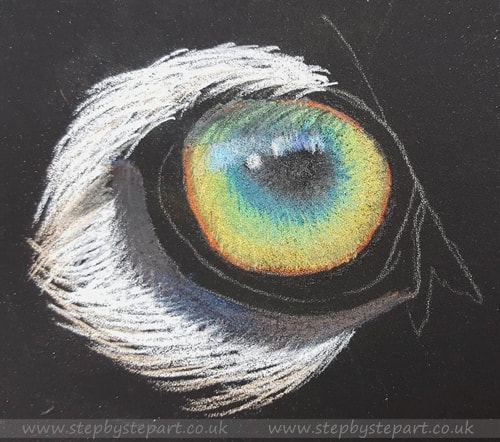
Each stage is offered as a series of images and written explanations so you can see how each section is created. Using a group of tones will give you more realism than only using a couple of colours and although the process may look rather complex, following the guides below will help you create an effective drawing.
The reference image is found below, which you can screen grab and print out or view on a tablet whilst reading the instructions on a smartphone or computer.
I hope you enjoy this tutorial and if you would like to request a subject for inclusion of a future mini tutorial, please get in touch!
|
|
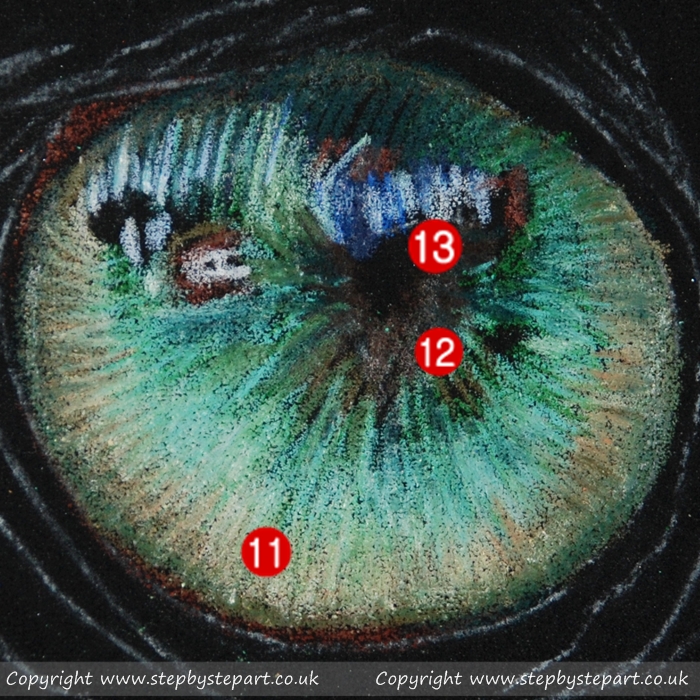
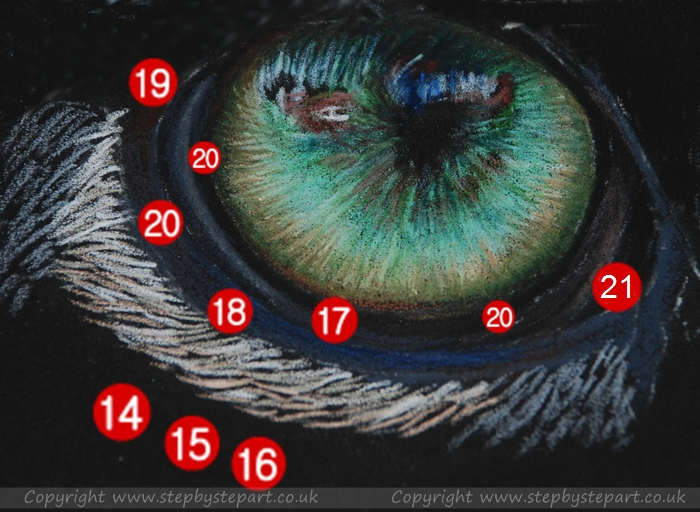
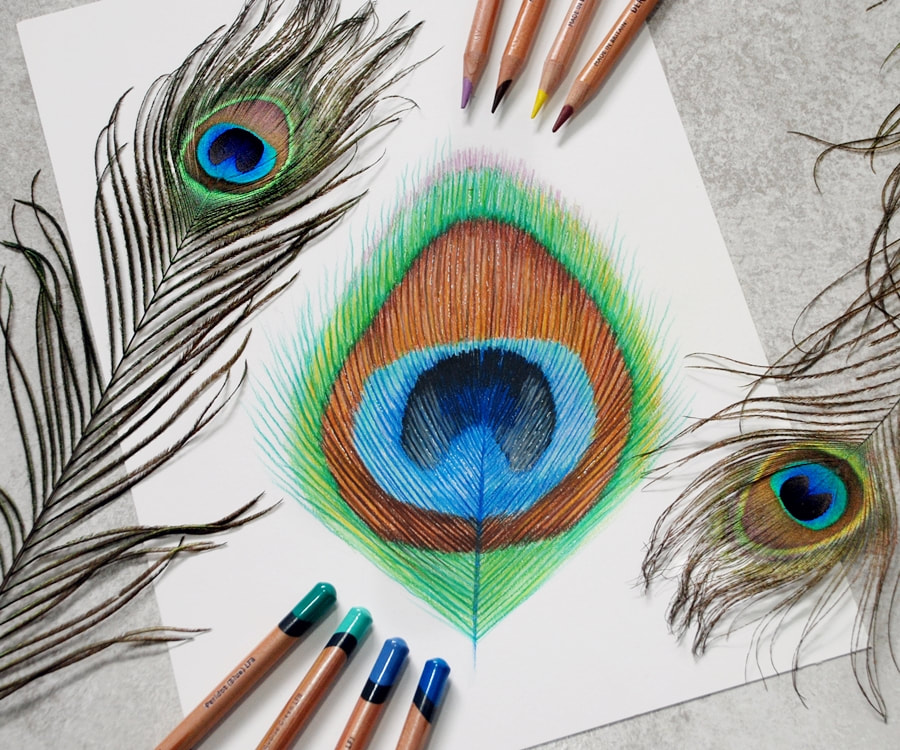
Step 1 - Catchlight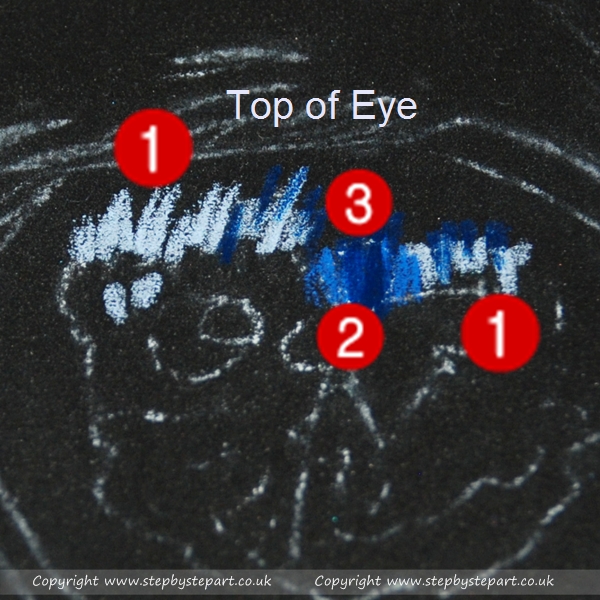
COLOURS: Blues 661, 660 & 159
Begin the eye by placing the colours in the catchlight, beginning light to dark. Each colour has been numbered and is depicted in the image above with the following colour names:
1. Light Cobalt Blue 661 2. Middle Cobalt Blue 660 3. Prussian Blue 159 |
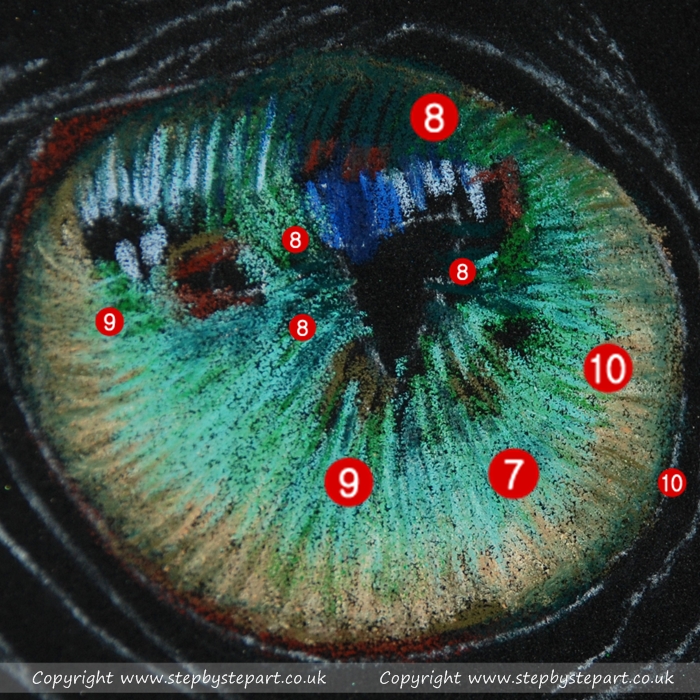
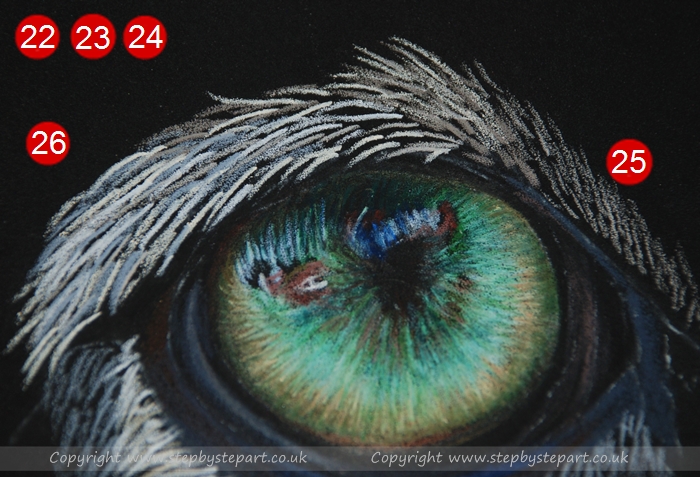
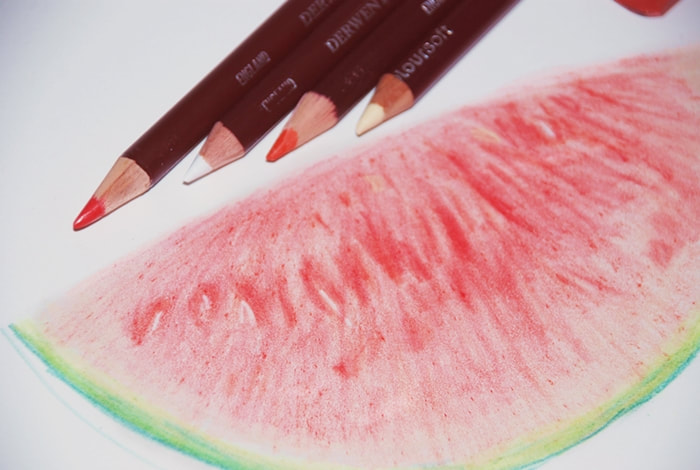
Step 2 - Iris sunshine layer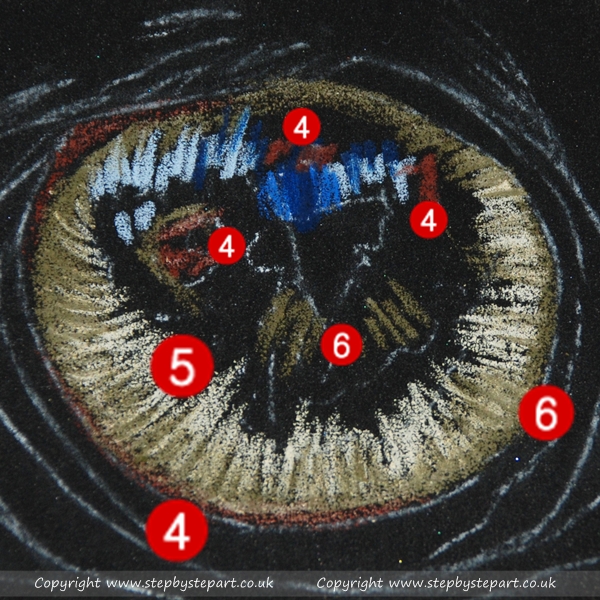
COLOURS: Brown 069, Yellow 821 & Green 039
Apply an outline around the outer edge of the Iris (Bottom & left only) and No.4 areas above using Burnt Sienna 069. Apply individual lines around the Iris working from the edge in towards the pupil (as 5 above) using Naples Ochre 821 - follow this up with Olive Brown 039 (No.6) to darken the outer edges of Naples Ochre and apply to the other No.6 area.
|