Creating waves in Coloured pencils
Artist level: All
Written: December 2019
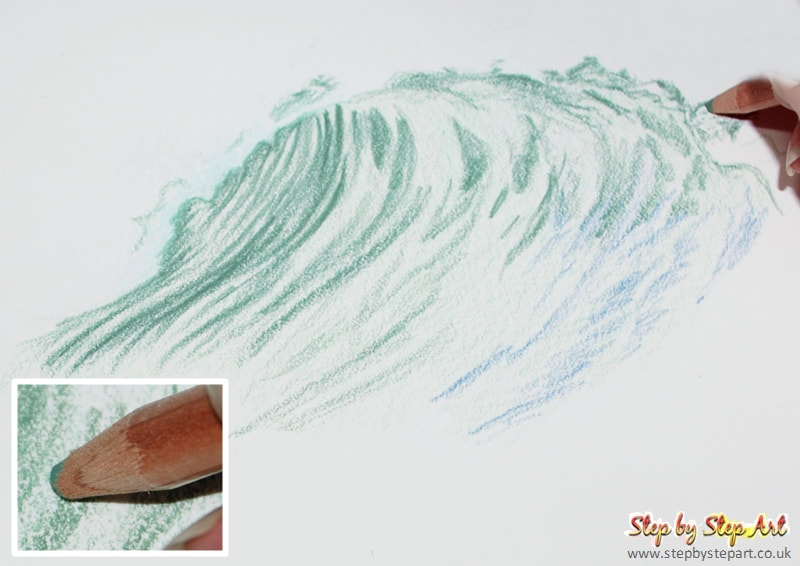
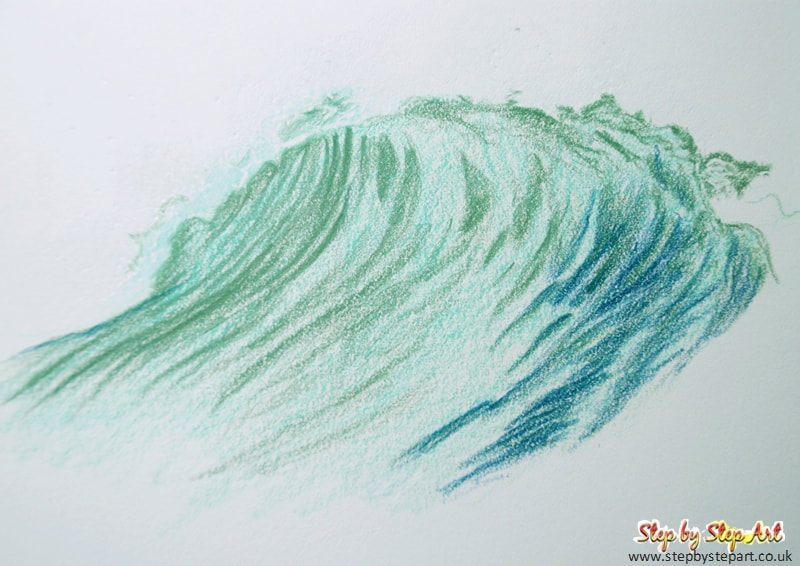
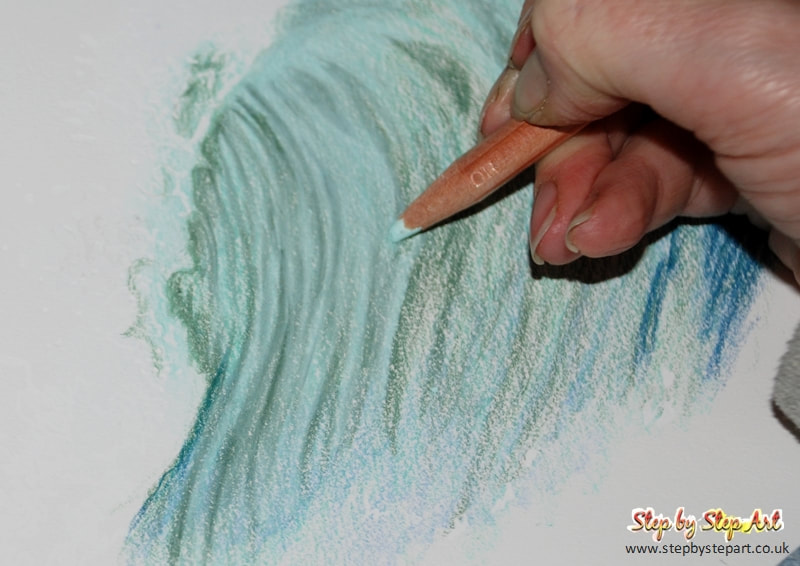
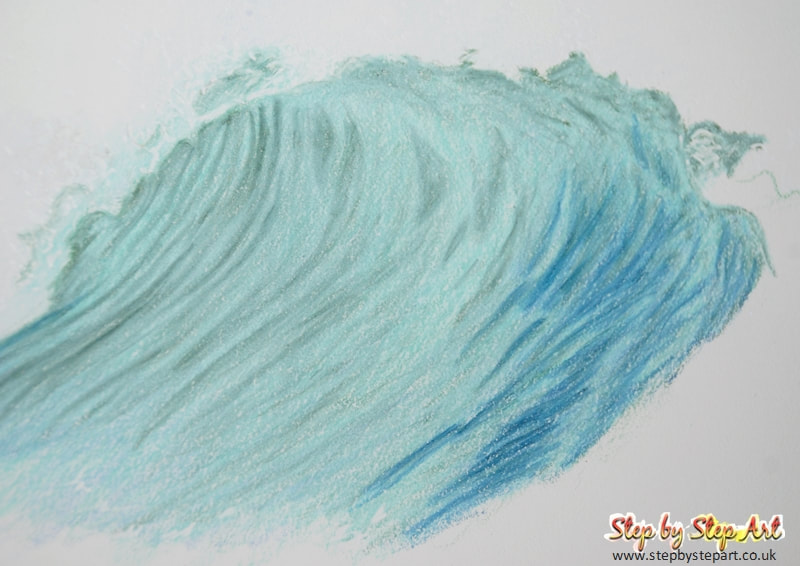
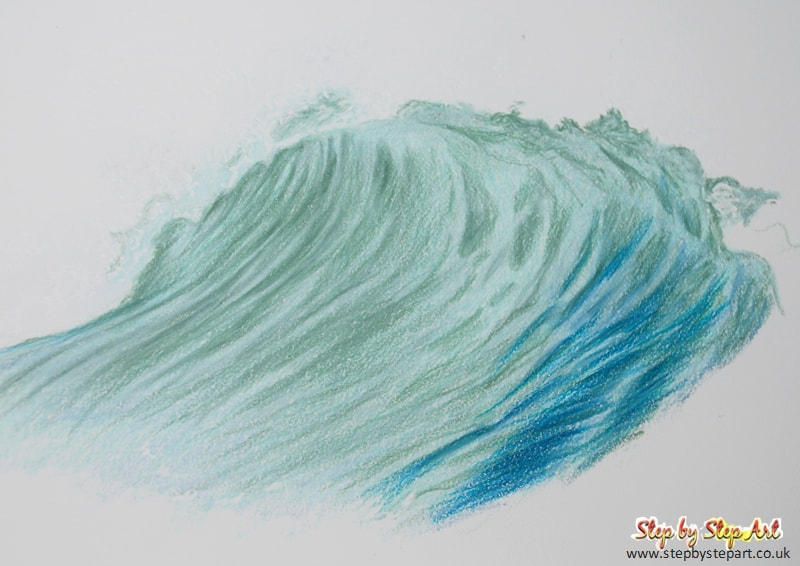
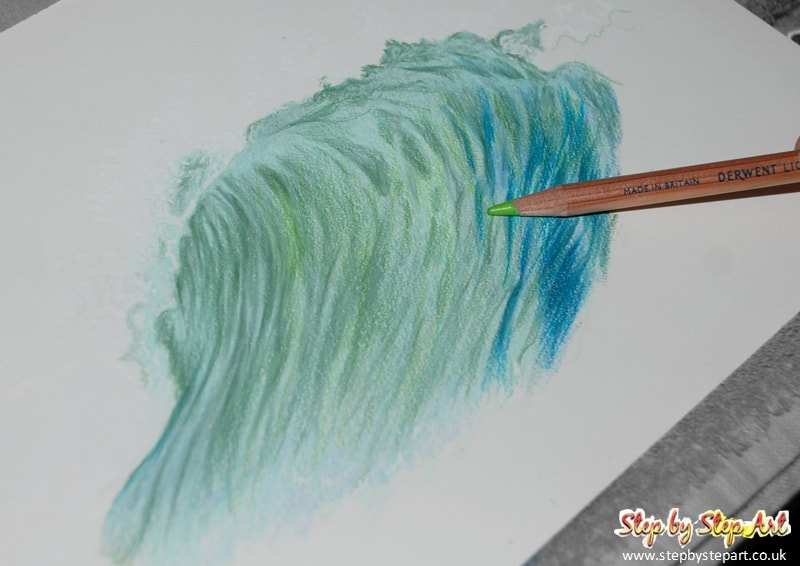
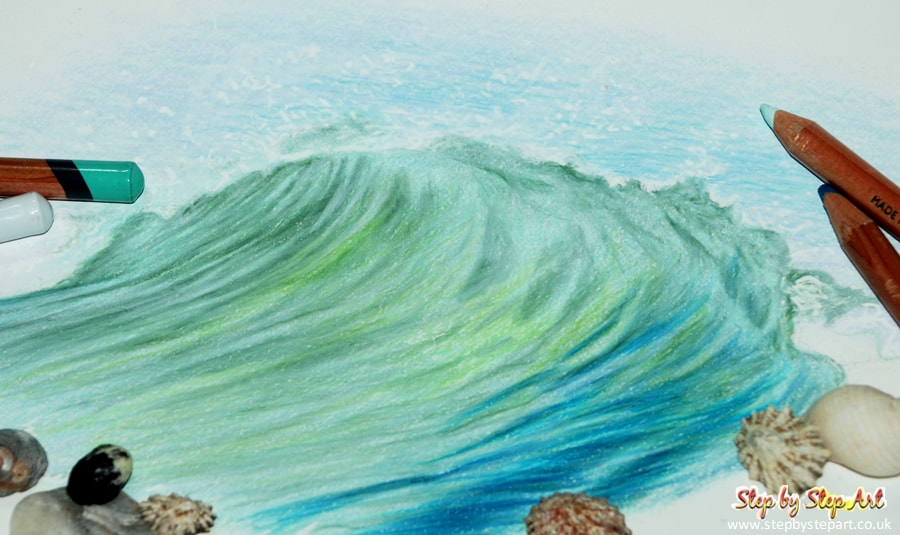
This mini tutorial explains the process required for creating effective washes using coloured pencils to achieve realistic looking waves. Each stage is offered as a series of images and written explanations so you can see how each section is created and why we recommend you use the length of your pencil tip to apply your layers. Blending dark tones with a pale coloured pencil will help to soften the lines which are initially applied to create shape and depth in the water.
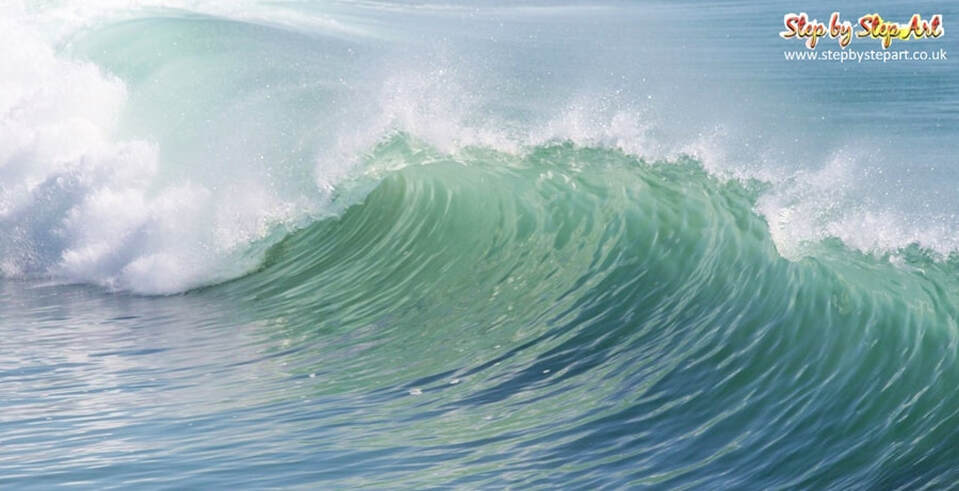
The reference image can be found below, which you can screen grab and print out or view on a tablet whilst reading the instructions on a smartphone or computer. The 8 colours used in this demo are the Derwent Lightfast range, however you can pick similar colours from your own preferred pencil collection if you do not have the Lightfast ones.
I hope you enjoy this tutorial and if you would like to request a subject for inclusion of a future mini tutorial, please get in touch!
The Products you will need
Smooth white Art paper - Coloured pencils
Spare sheet of clean paper - Clean Eraser - Soft brush
Paper Used: Daler Rowney Smooth Heavyweight Pencil range Used: Derwent Lightfast
Spare sheet of clean paper - Clean Eraser - Soft brush
Paper Used: Daler Rowney Smooth Heavyweight Pencil range Used: Derwent Lightfast
The reference image
IMPORTANT TIPS:
* Ensure your pencils have a long lead before starting, the side of the lead will be used as opposed to the point of the lead.
* When applying your undertones at the beginning, use a blunt pencil to avoid harsh lines so you can soften them easily when blending.
* To avoid transferring natural oils onto your drawing from your hands, have a clean sheet of paper to lean on whilst applying colour. Natural Oils from your skin and saliva can damage your Artwork which you may not be able to repair.
Colours used:
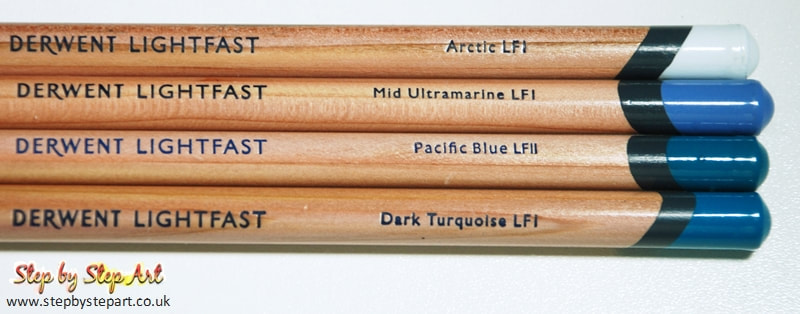
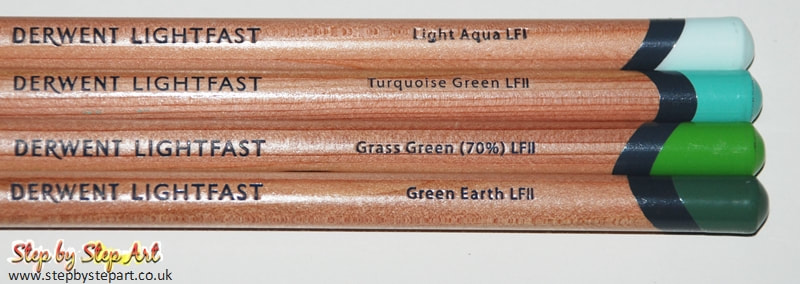
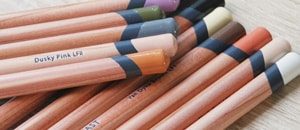
There are only 8 colours needed for this tutorial, although the Derwent Lightfast pencils were used here, you can use any brand of pencil. It is not important that your colours precisely match, but the 2 paler colours used for the blending stages will help you achieve an over all softer colour tone You could use a pale green and then overlay with white to create the same effect if you do not have this colour in your own pencil collection.
Stage 1 - Outline, shading & first base tone
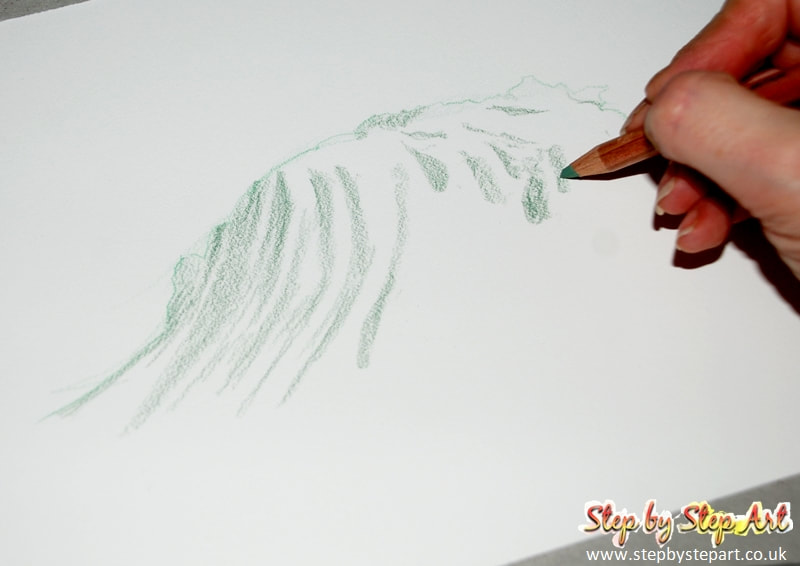
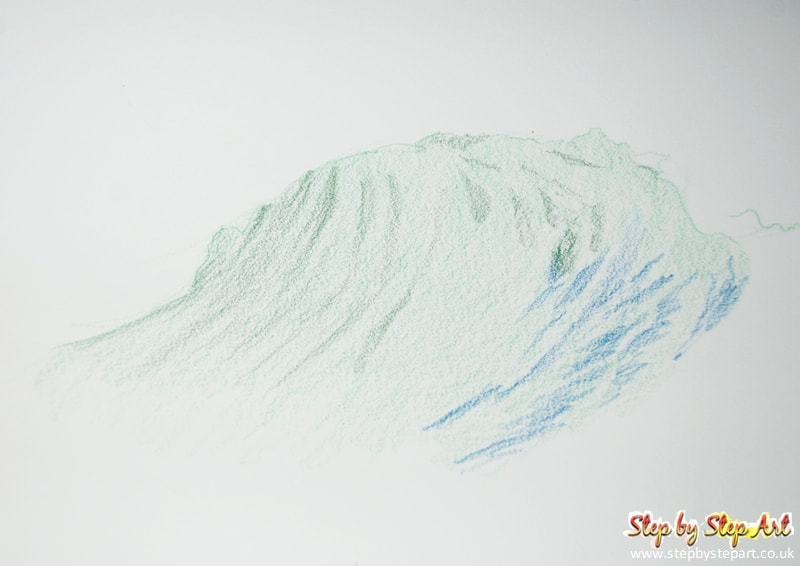
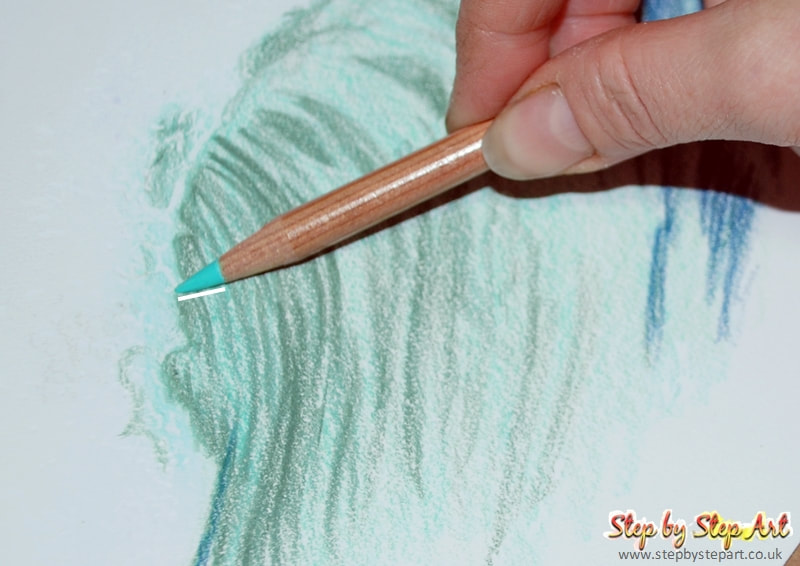
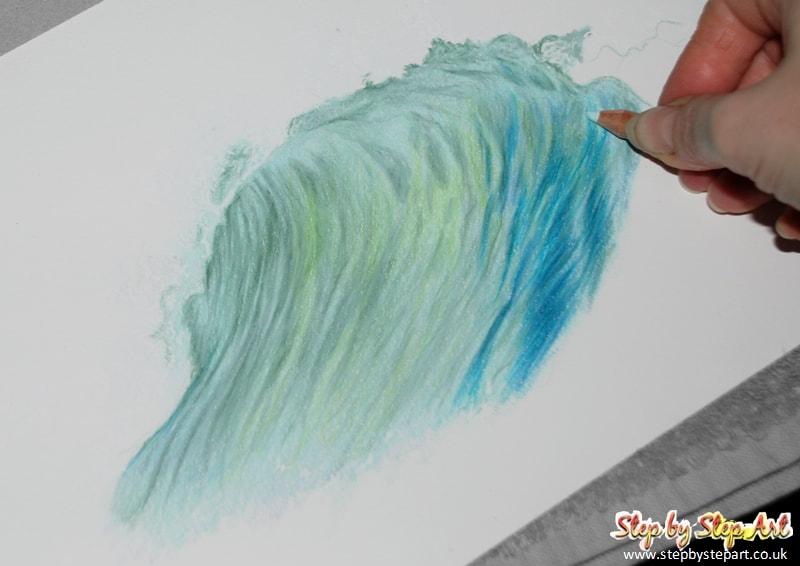
GREEN EARTHBegin by laying down the darker green markings that will create the shape of the waves later. These pencils grab the pigment well and so you do not need to apply very much pressure. Try and avoid applying heavy lines that you may struggle to blend later on.
|
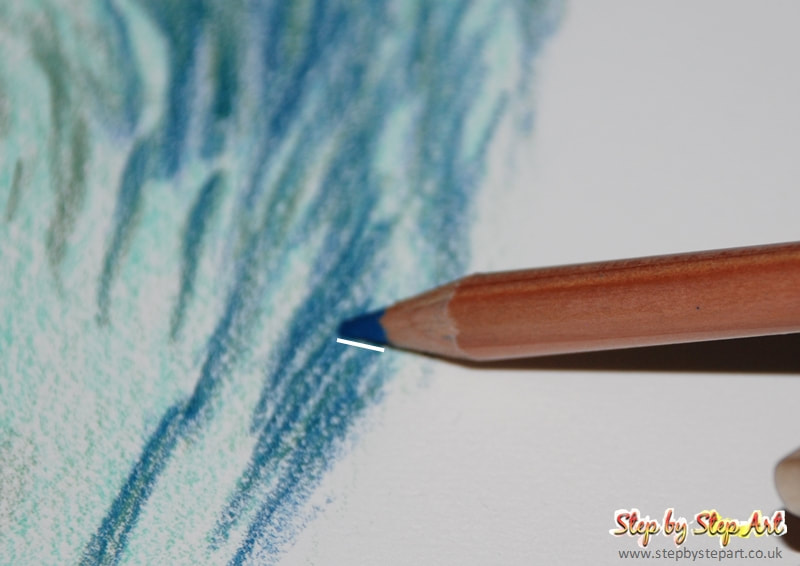
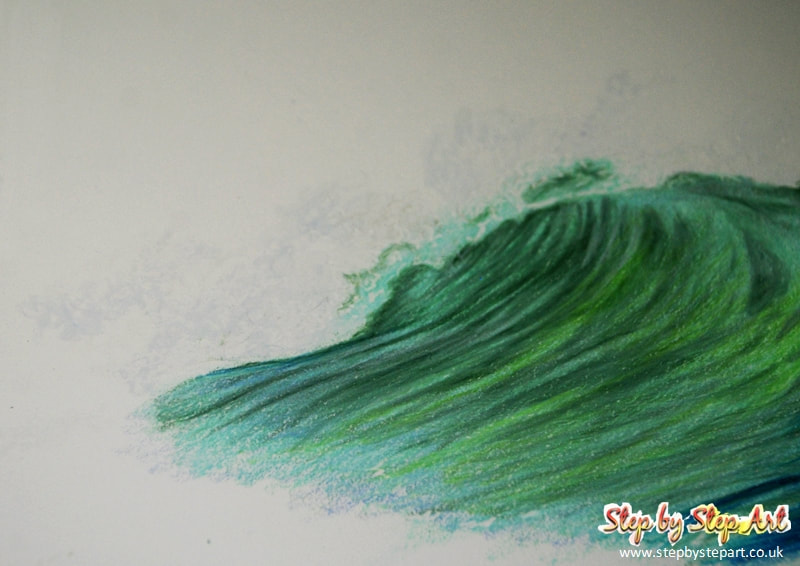
DARK TURQUOISE & TURQUOISE GREENOnce you have applied the green markings, use the Pacific Blue tone to create the blue tones seen to the right. Apply this the same way as before and press lightly. Add a light layer of Turquoise green over the whole area using the side of the pencil
|
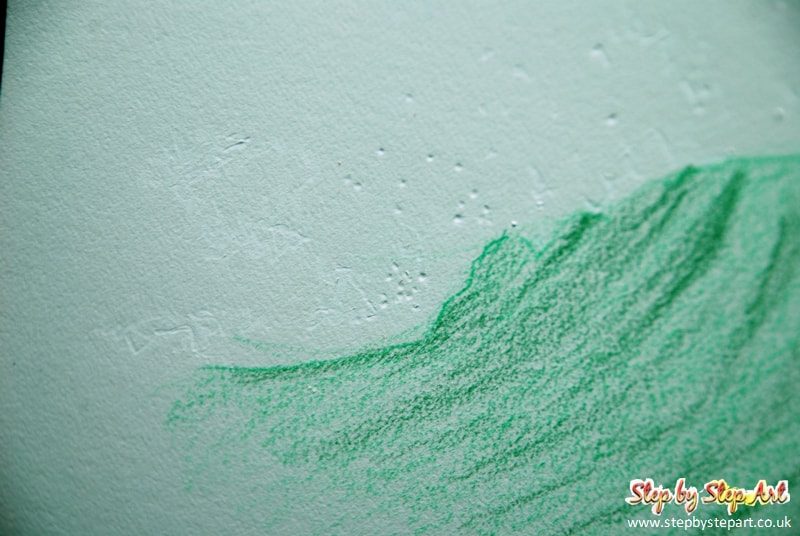
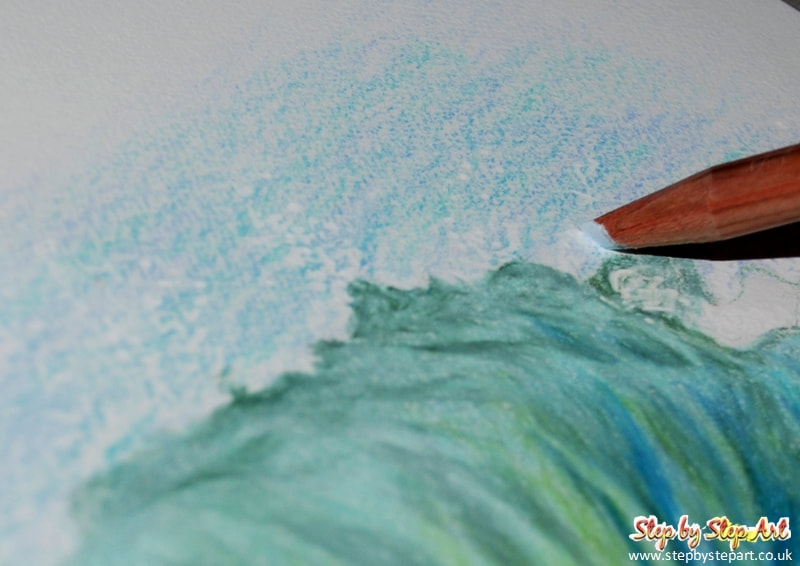
WHITE & ARCTICUsing the white pencil, create the splashes and dots of the seafoam by pressing the tip of your pencil into the paper, this will indent the paper if you press hard enough and should help to keep these splashes clean even when applying further layers.
|
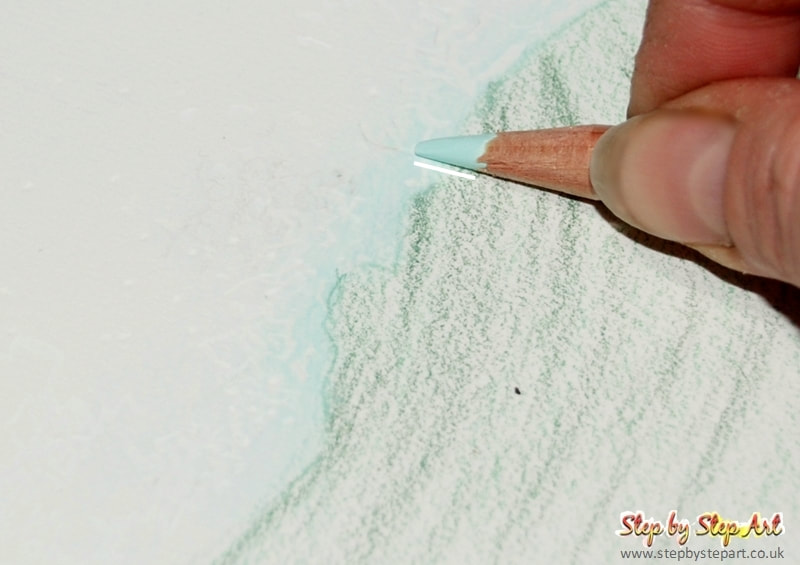
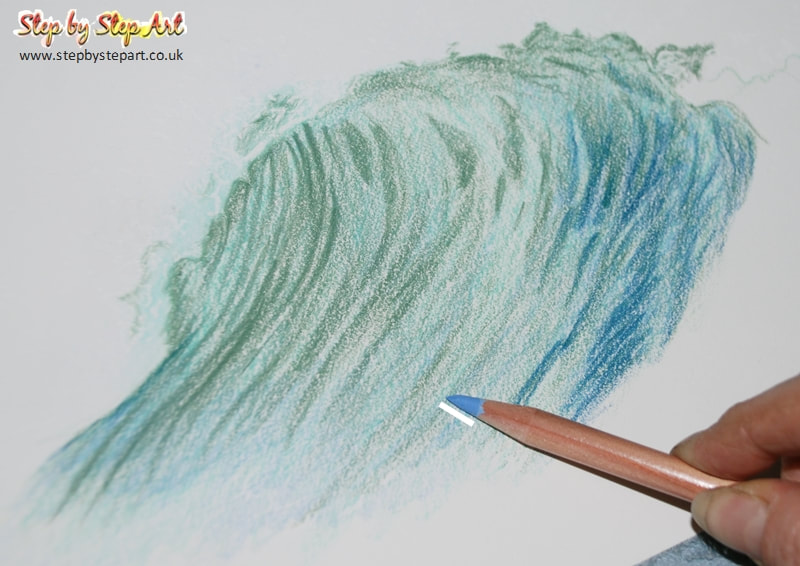
LIGHT AQUAApply a pale green layer around the edges of the left side of the wave. Use the length of the pencil to apply as opposed to using the tip, to ensure it skims over the top of the seafoam indents previously applied, keeping them clean.
|
