Soft pastels | A helpful guide for soft pastel artists and beginners
Are you new to soft pastels and looking for some guidance?
If you're considering trying soft pastels for the first time but are uncertain about which products to purchase or where to start, this article offers an all-inclusive guide to assist you.
Soft pastels comprise a dry pigment held together with a combination of binder and filler. They are vibrant and offer quick results, no drying time needed like other mediums. Mistakes can be easily concealed, and achieving flawless tonal transitions require little practice. It is this succinct nature of pastels, coupled with the vibrancy of the pigments, that can provide considerable enjoyment whilst learning and adds to their appeal.
Soft pastels comprise a dry pigment held together with a combination of binder and filler. They are vibrant and offer quick results, no drying time needed like other mediums. Mistakes can be easily concealed, and achieving flawless tonal transitions require little practice. It is this succinct nature of pastels, coupled with the vibrancy of the pigments, that can provide considerable enjoyment whilst learning and adds to their appeal.
1. Pastels
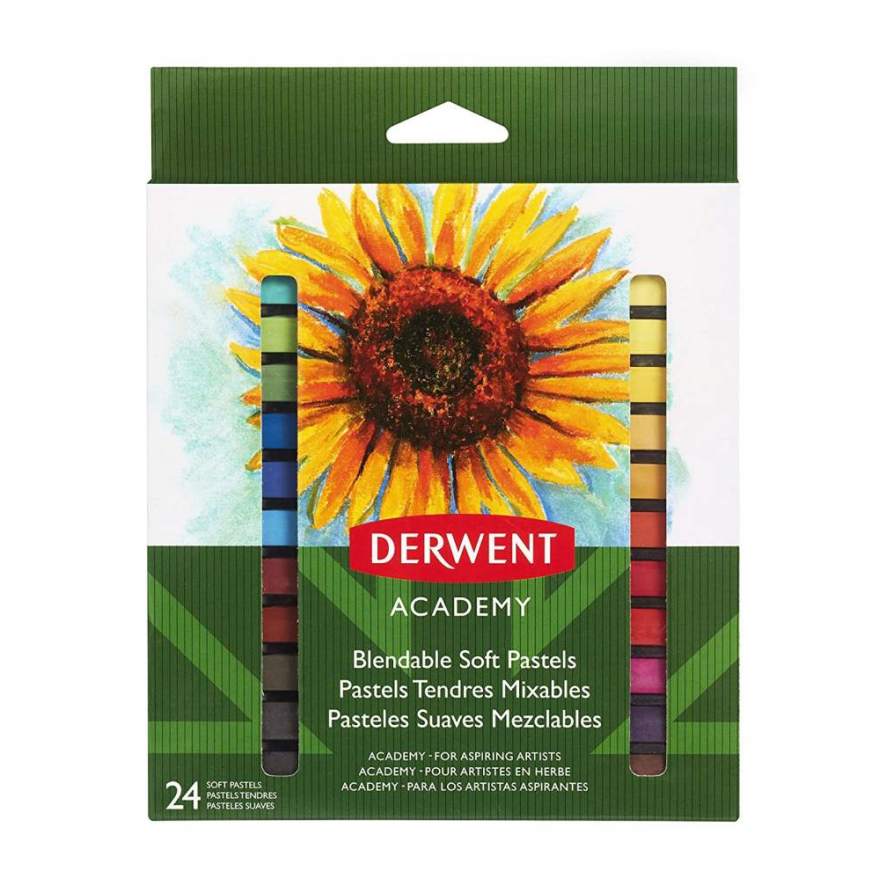
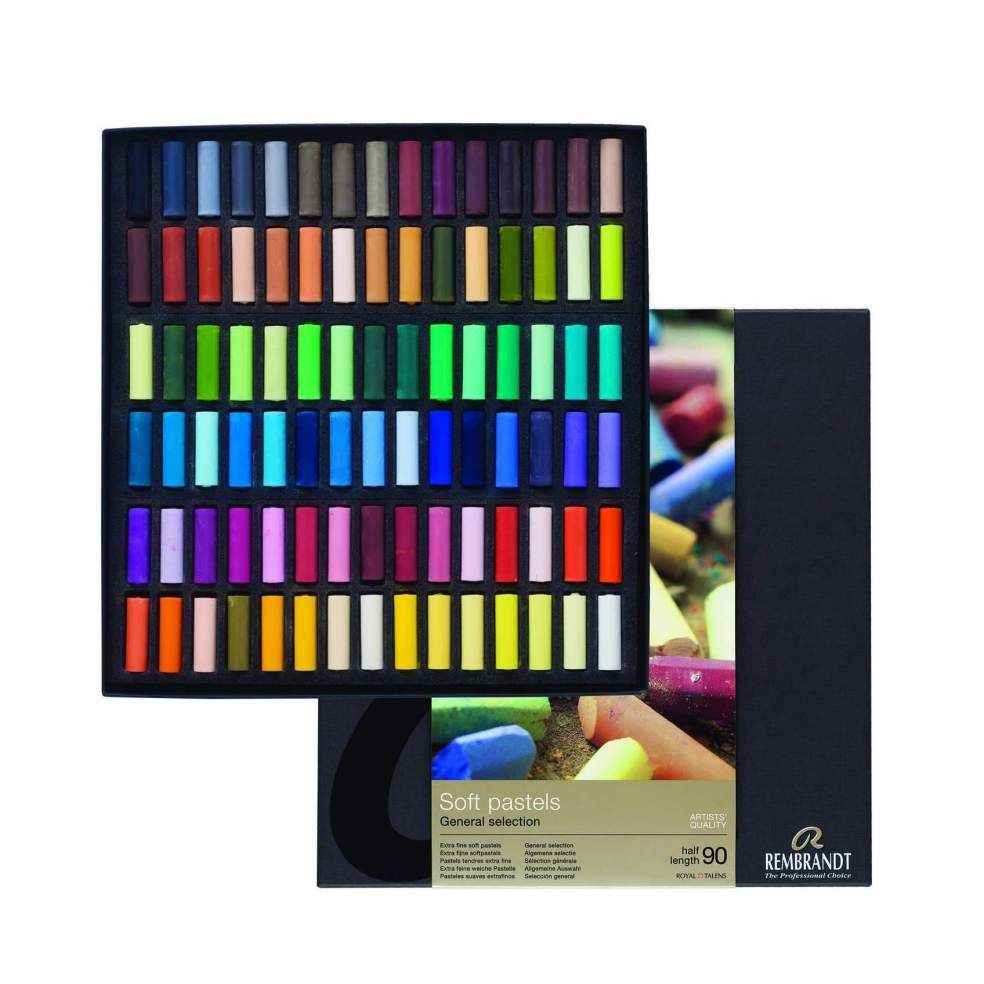
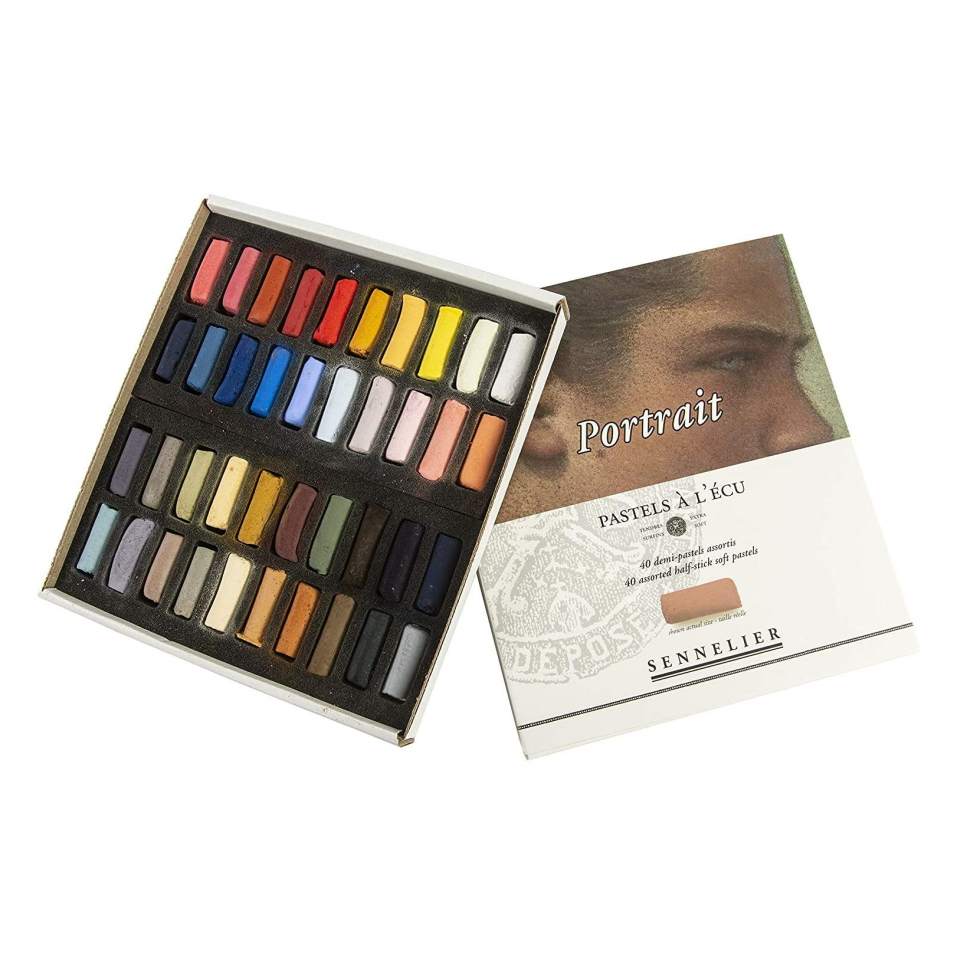
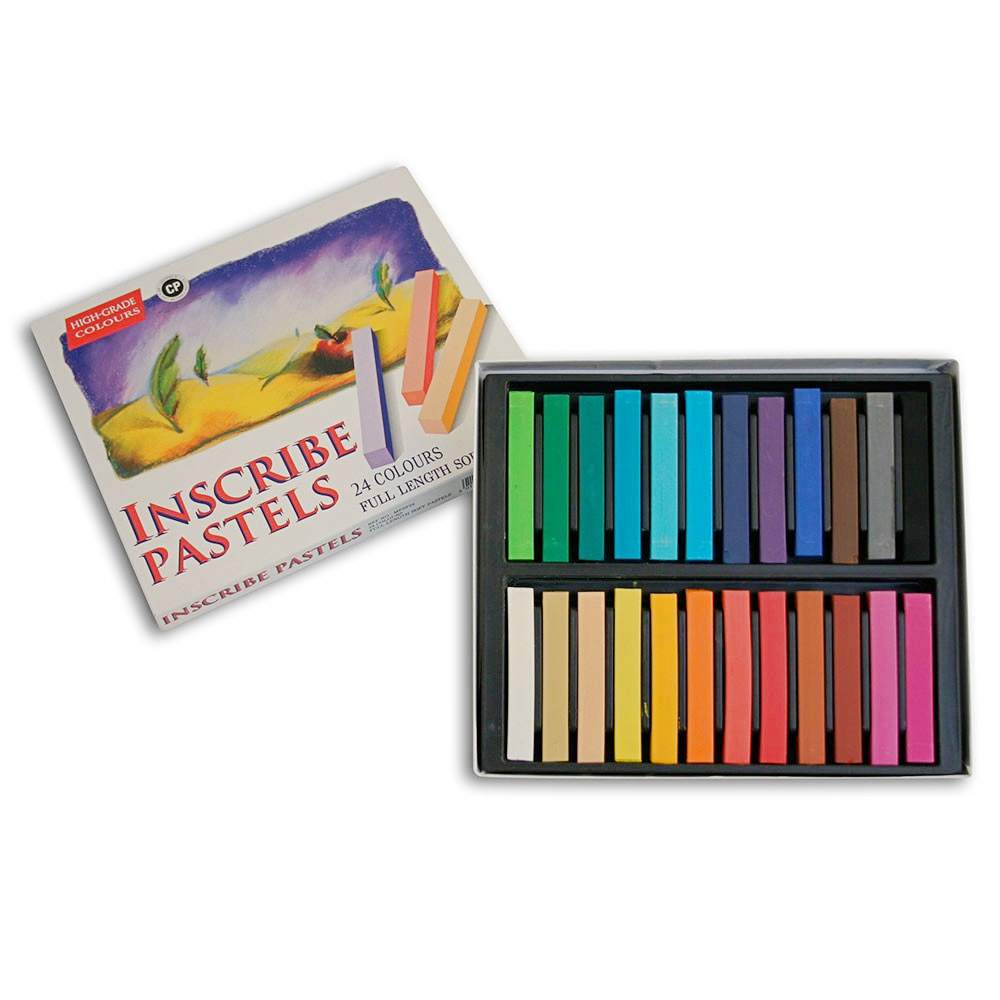
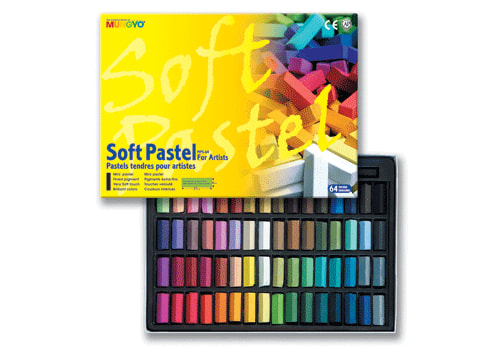
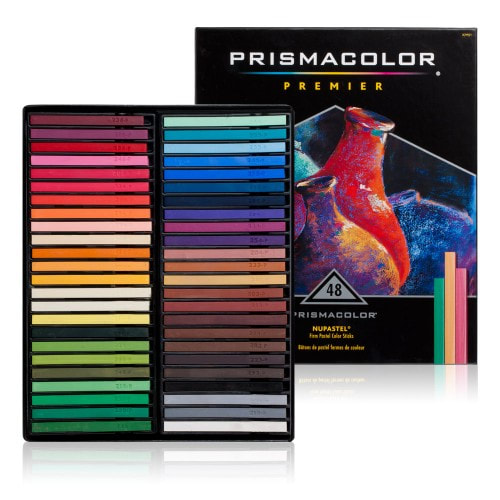
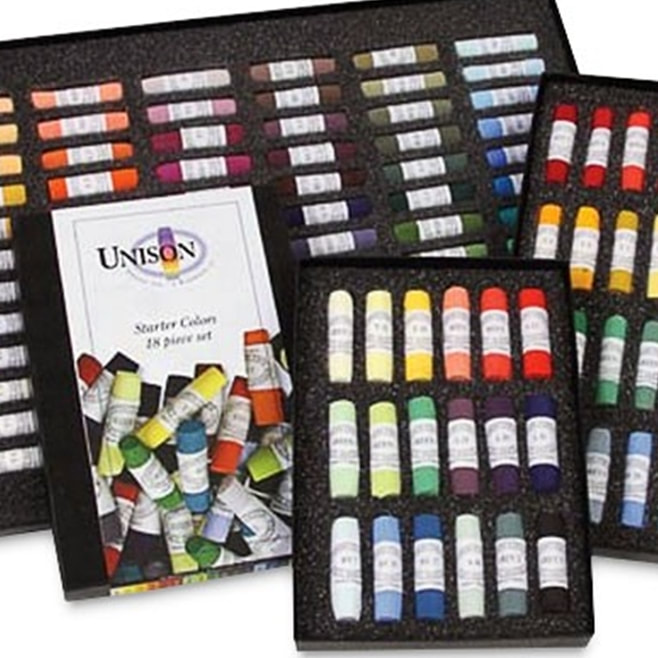
When it comes to 'dry' pastels, there are four types: Soft, Hard, Compact, and Pencil. They come in various forms: half-stick, full-stick, slim, thick, soft, and hard. With so many options, it can be confusing to choose your first set. Soft pastels (also known as dry pastels) are created by mixing dry pigment, binder, and filler to form a paste. This paste is then rolled or shaped and left to dry. The ratio of pigment and binder differs in each range, with soft pastels like Unison containing less binder. Though they crumble easily, they provide intense colours. On the other hand, hard pastels have more binder, making them the better choice for fine detail. However, more binder means less vibrancy, and they do not blend or smudge as well. Artists typically use a combination of pastels in their work.
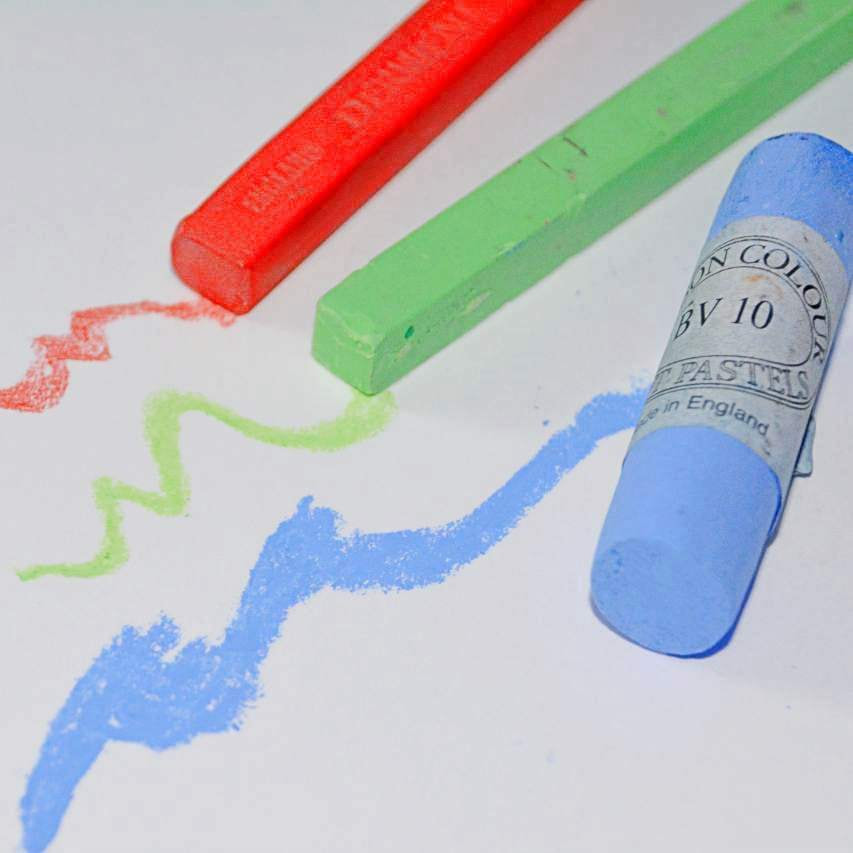
Pastel Sticks Soft pastels have less binder, making them messy, but they blend and cover easier and quicker. Hard pastels have more binder, making them firmer and the cleanest option. Although they don't blend as well as soft pastels, hard pastels allow you to achieve fine details that might be difficult with soft pastels.
|
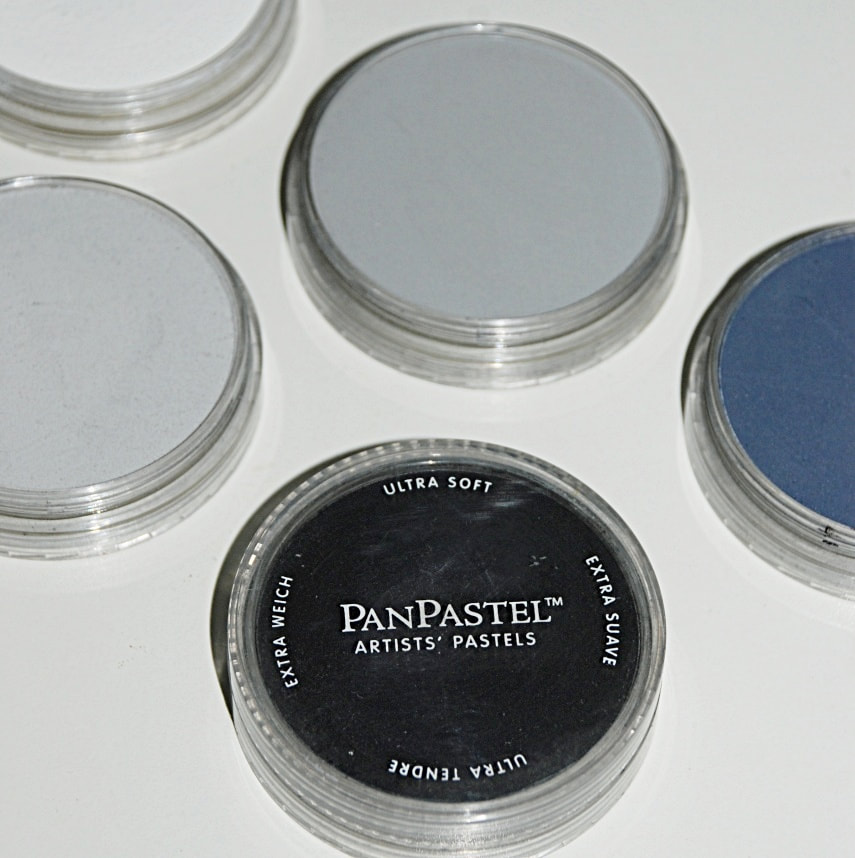
Pan Pastels are created with high-quality pigments to produce rich and concentrated colours. The unique manufacturing process involves minimal binders and fillers, creating super-blendable colours. Additionally, the pigments are highly lightfast and can be entirely erased if needed.
|
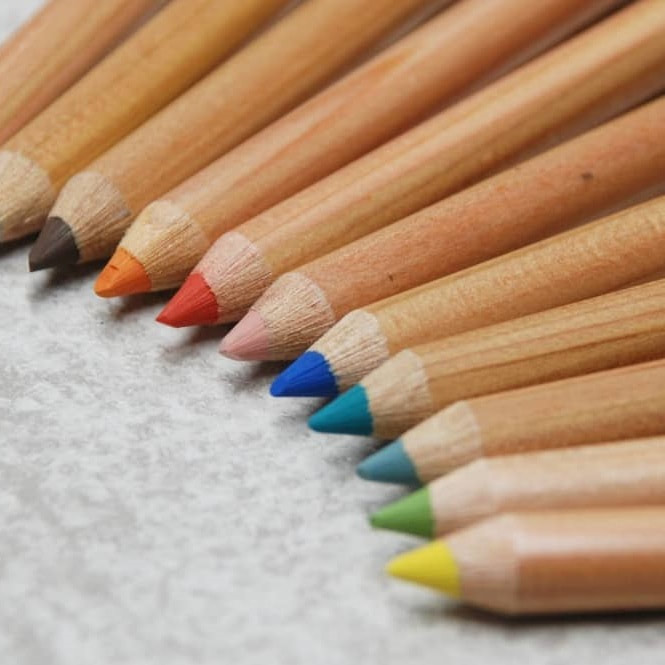
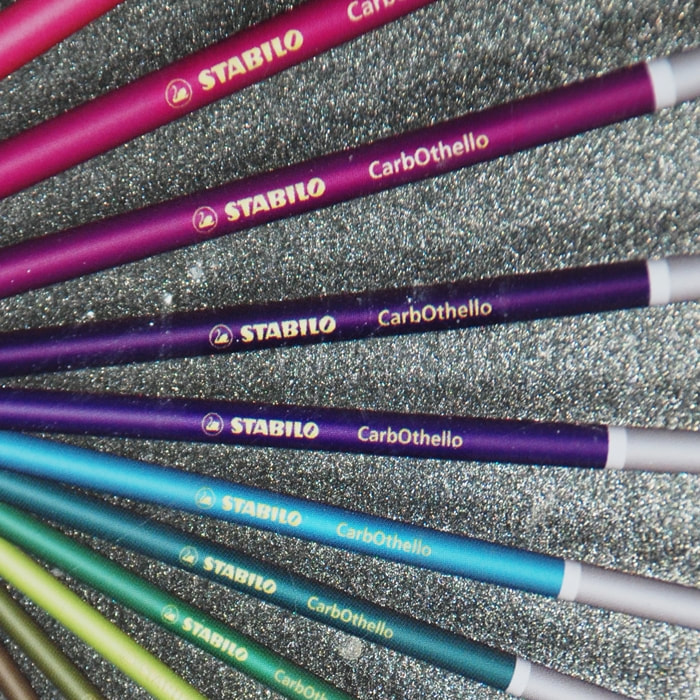
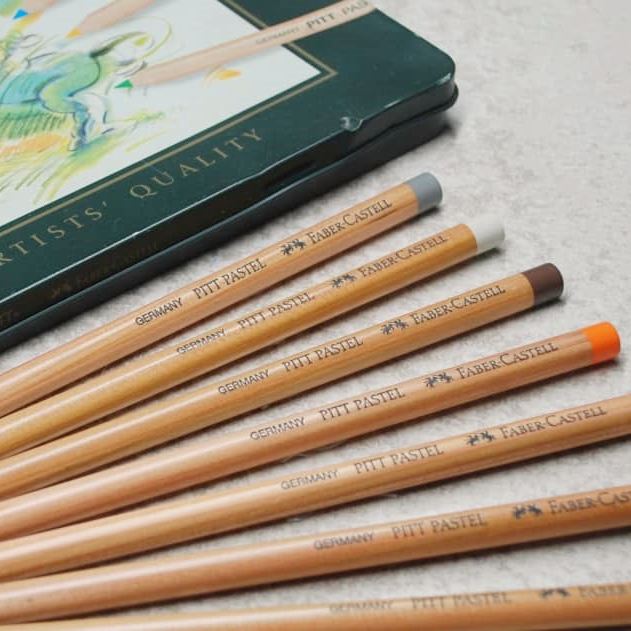
Pastel Pencils are great option for adding detail. Popular brands like Faber Castell, Derwent, and Stabilo are made from a combination of pigment, binder, and filler. The vibrancy, blend-ability, and ease of use may vary between brands, so it ultimately comes down to personal preference when selecting which to use.
|
2. PAPER/SUPPORT
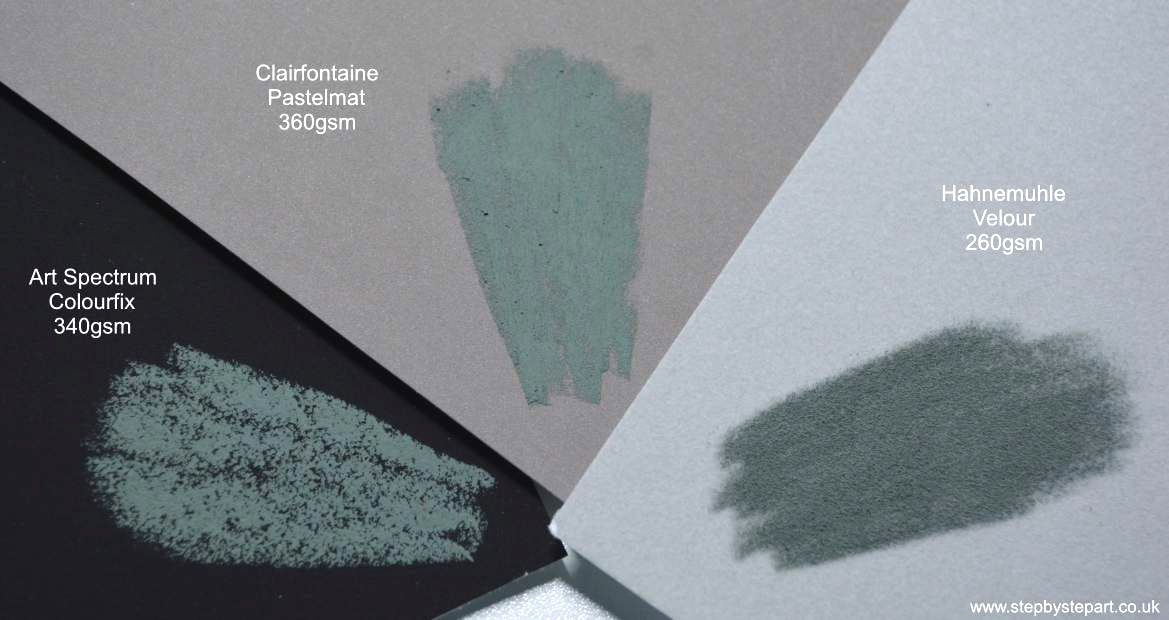
When it comes to using pastels, many surfaces are available, which can make choosing the right one overwhelming, especially for those new to pastels. Choosing a paper with a textured surface is important, as pastels need a good grip to adhere well. Smooth papers won't hold the pastel, and most will slip off. We will provide an explanation of the most popular pastel papers, as well as highlight the differences between them. Finally, we will recommend a paper to start your pastel journey with. If you're an artist, the Clairfontaine Pastelmat is an excellent surface. However, we suggest buying a trial pack (such as this one) to experiment with different surfaces and choose the one(s) that work best for you. Every artist and type of art is unique, and your paper can make a difference. For instance, if you're creating pastel sketches, you may only need fine-grit paper. Additionally, if you're creating modern art, paper with texture and tooth is more effective.
Pastel papers
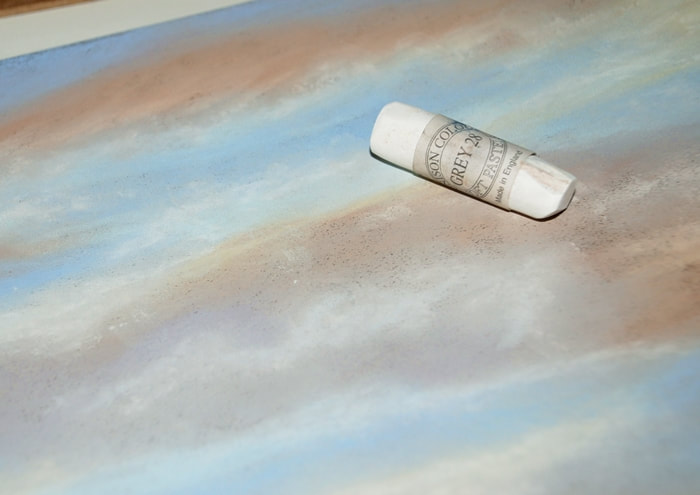
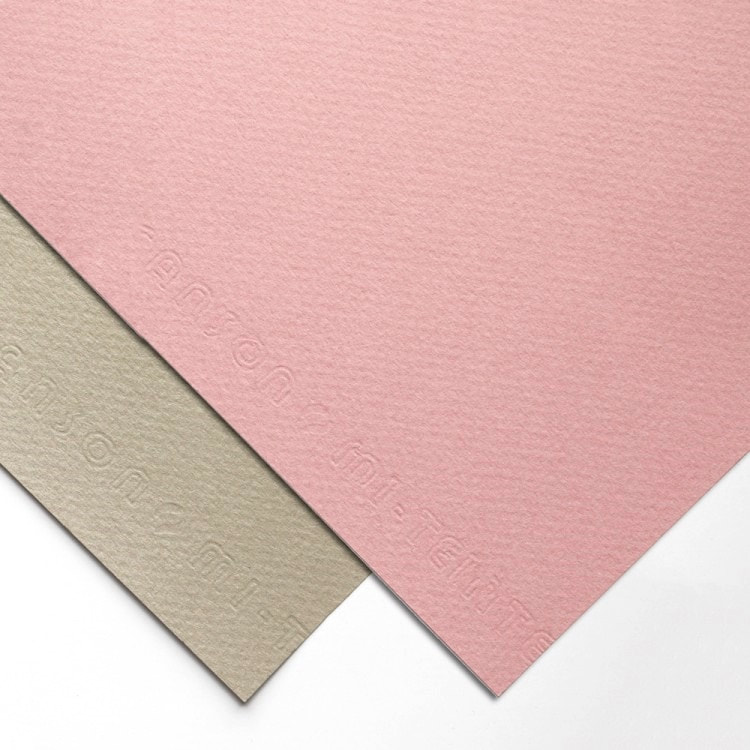
These papers offer both tooth and texture and come in a variety of colours. They are also quite affordable and can be purchased individually or in a pad. The Canson Mi-tientes paper, for instance, has a honeycomb texture on one side and a fine grain on the other, making it a great choice for beginners. Other options include Fabriano Ingres and Tiziano. |
Abrasive papers
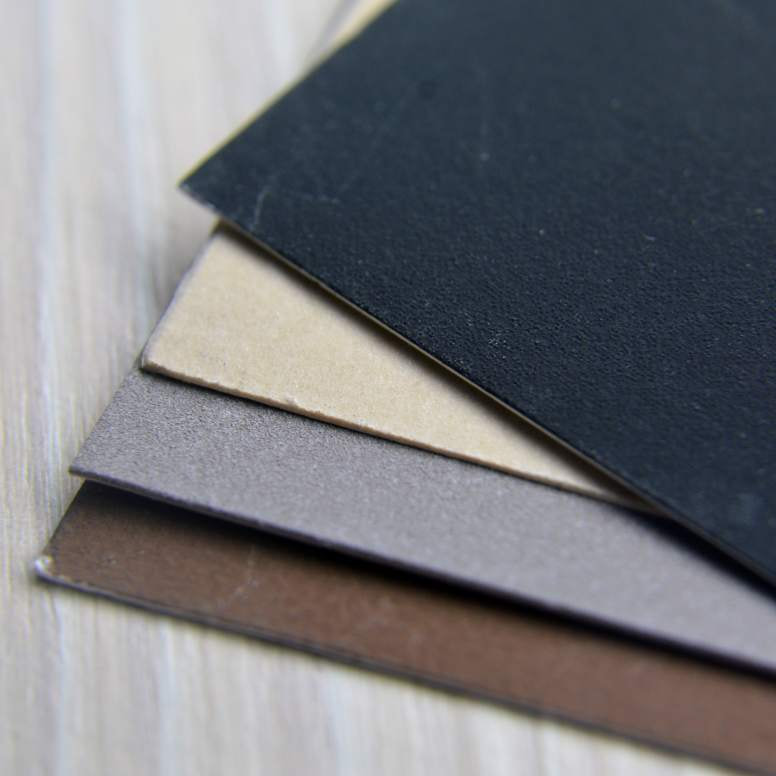
When it comes to pastel art, many artists prefer paper that can hold more pastel. Some brands use a primer screen printed onto watercolour paper, providing a solid base for your artwork. Others, like UArt, use a computer processing system to create their paper. They offer seven different grade surfaces from 800 (Very fine) to 240 (rough) |
Hahnmehule velour paper
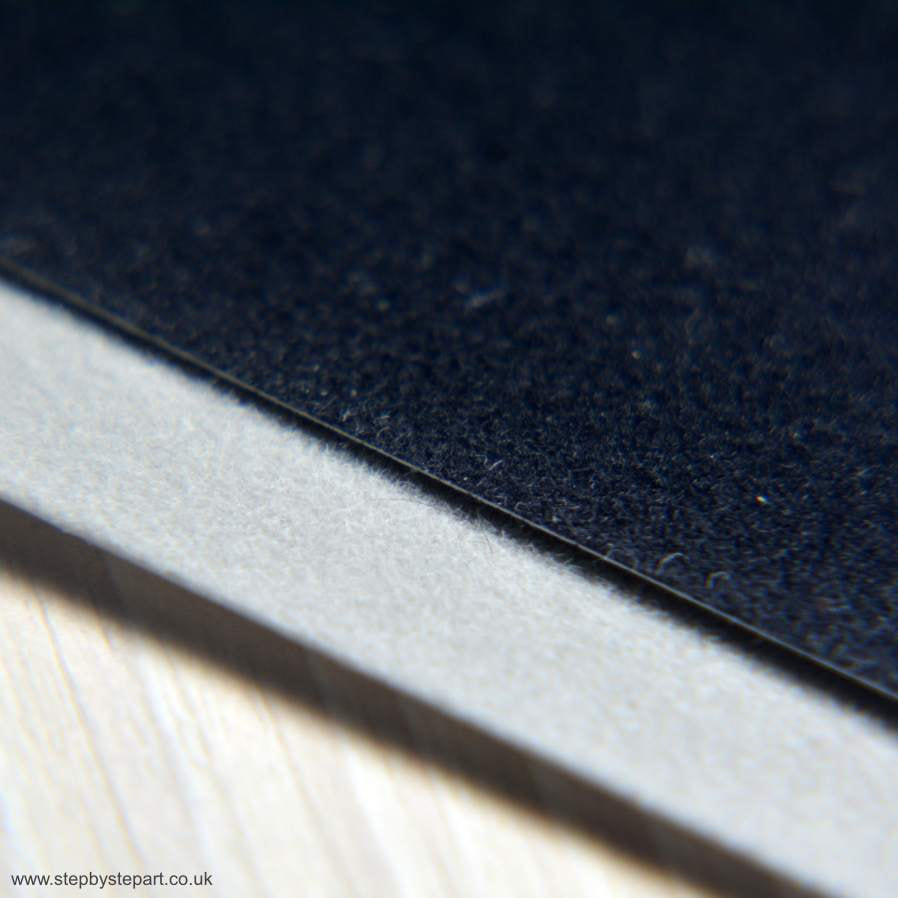
This type of paper has a unique texture compared to others. It comprises an acid-free backing sheet coated with inert synthetic fibres. This grabs the pastel well and produces a soft, painterly finish particularly favoured by animal artists. However, velour paper is less forgiving, and beginners of pastel art may find it challenging to work with. Soft pastels may also come off the paper more quickly than harder pastels. |
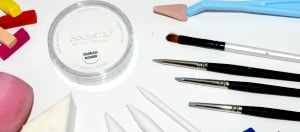
3. BLENDING TOOLS
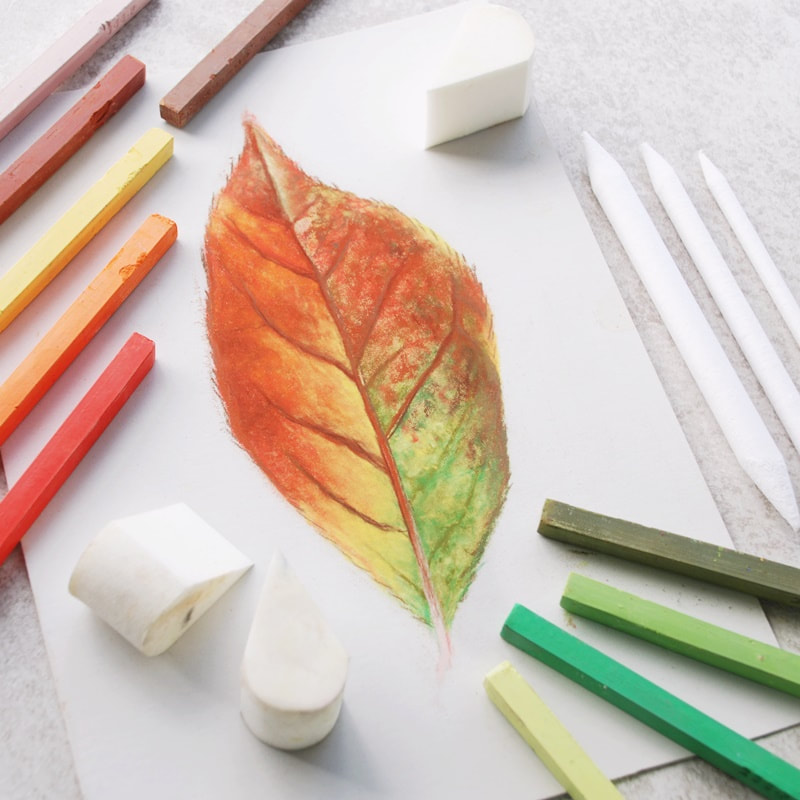
The items listed below are essential for any pastel art kit. To avoid making a mess, it's best to use sponges, shapers, and tortillions for blending instead of your hands. This helps prevent pastels from transferring between layers. The Pan Pastels come with their own blending tool kit, which includes tools designed for specific areas.
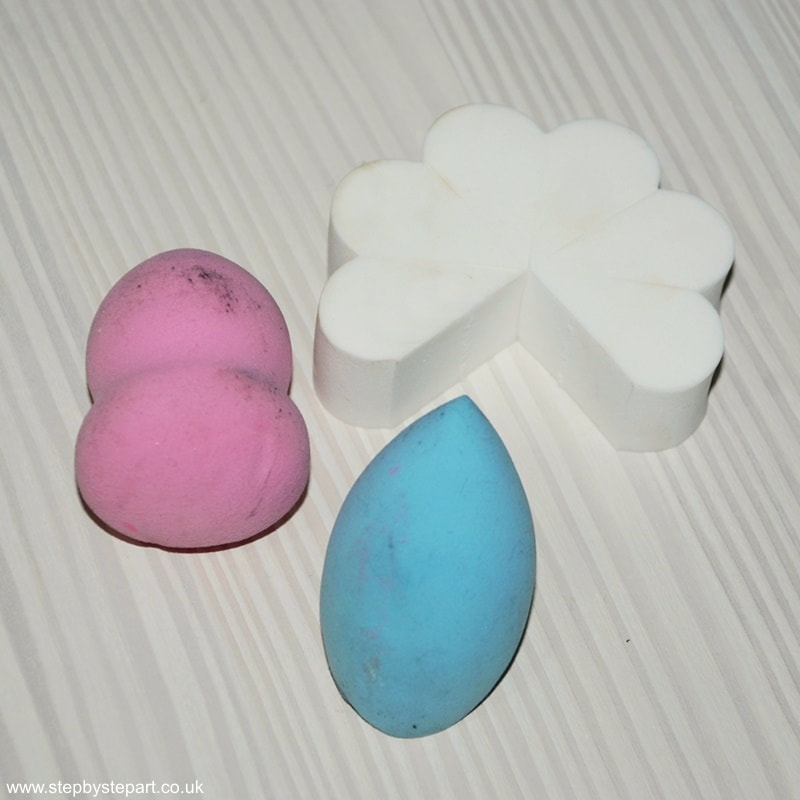
Blending sponges
Sponges come in various shapes and sizes. They are useful for blending pastels instead of using your fingers and pointed edges make it easier to blend the smaller detail. Found in many art and craft stores, you can buy them in packs or as a low-cost alternative, use make-up sponges instead. Wash them regularly with soap and water to minimise colour transfer. |
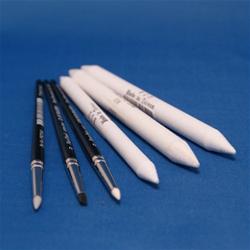
Colour shapers and tortillions
Both are designed to tease and blend small areas of your work. Colour shapers can be cleaned using soap and water but as tortillions are made of rolled paper, you can peel away each layer to expose clean paper underneath. A more economical blending tool but not suited to abrasive papers as they will wear down the tip. Suited to smooth papers. |
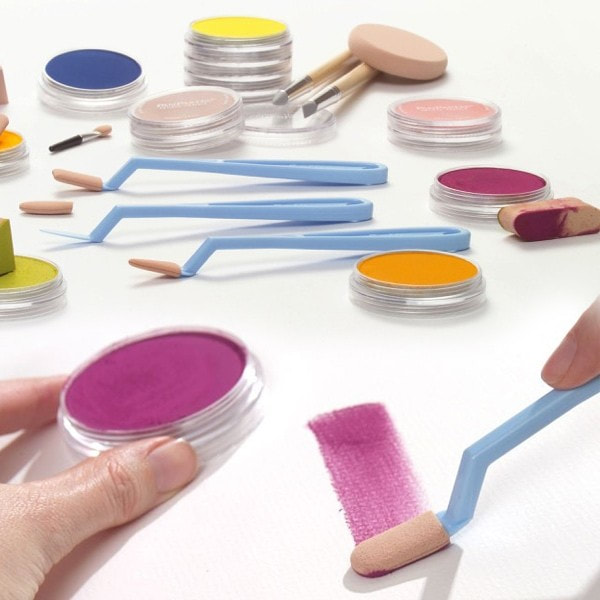
Pan pastel
The company have designed their own 'Sofft' blending tools. They are specially formulated micropore sponges that makes application easy. Each tool boasts a unique shape and size. They are versatile, reusable, and simple to clean. Additionally, sponges are available for blending larger areas and applicators for more minor details. |
4. SHARPENERS
Various methods exist for shaping your pastels to achieve the desired precision in your pastel artwork. For pastel pencils, you can use a pencil sharpener or a craft knife, then manipulation over fine sandpaper. For hand-held pastels, sandpaper works well. However, soft pastels are not ideal for shaping or sharpening since they tend to crumble and produce wasteful dust. For hard pastels, you can mould them over fine sandpaper.
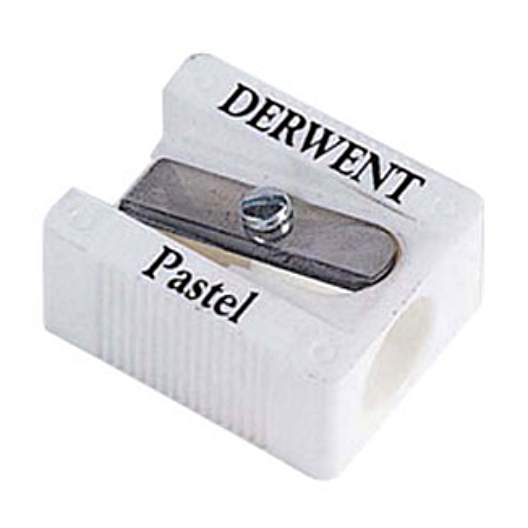
Pencil sharpener
A basic pencil sharpener typically comes in one or two holes and can be made of either plastic or metal. The metal version is more durable than the plastic one and is easier to replace the blades on. It also puts less pressure on the pencil wood due to its strength. Remember to replace the blade when it becomes dull to avoid damaging the pencil wood. |
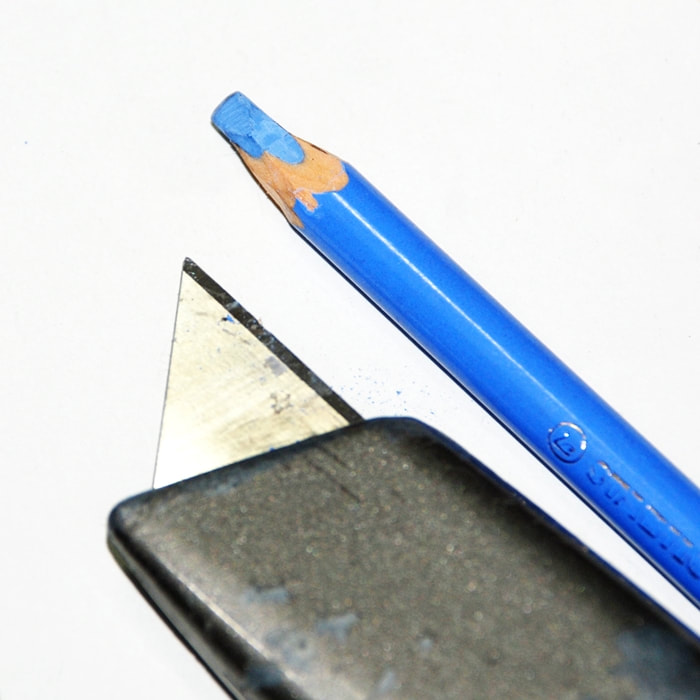
Craft knife for pastel pencils
Some artists prefer to use a craft knife to sharpen their pencils because it gives them more control over the shape and length of the core. To get a fine point on a pencil, using a blade is preferred over a sharpener. But be careful when sharpening soft pencils with a knife, as it can damage the core and barrel. To avoid accidents, shave away from your body. |
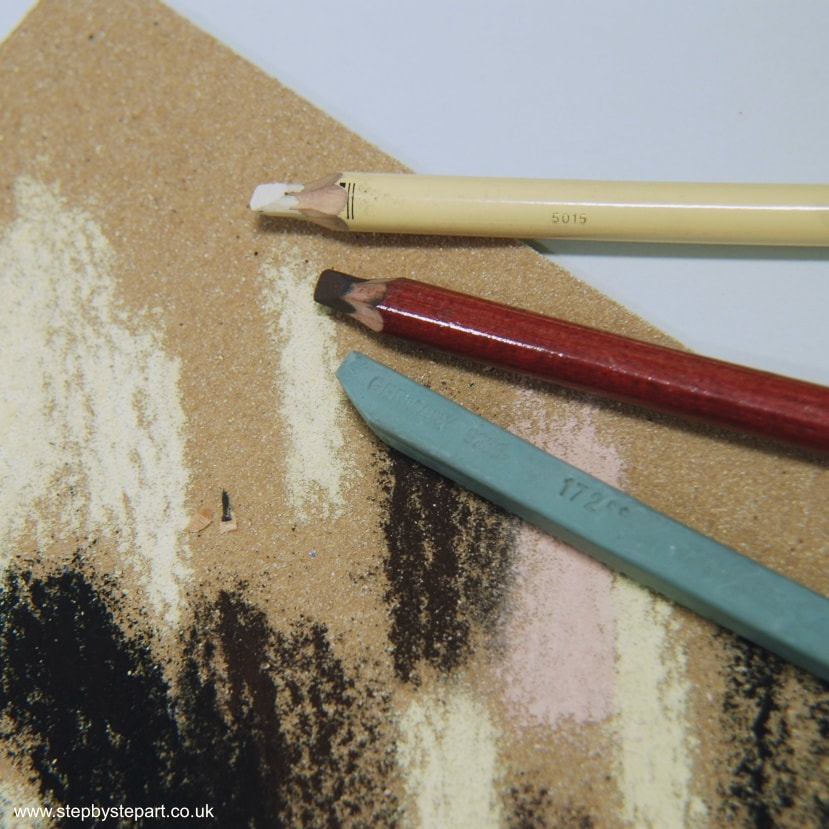
Sandpaper
One way to shape the tip of your pastel pencil is by using fine-grit sandpaper. You can purchase sandpaper from most DIY stores or a block from certain art stores online. If you prefer to use a craft knife, lightly rub it against the sandpaper until you achieve the desired shape. It's essential to store the sandpaper in a box or tin when not in use, as it will collect pastel dust. |
5. ACCESSORIES
Here's a list of additional products that may come in handy. When it comes to pastels, both firm and soft putty rubbers can be useful for erasing. Before applying any pastel to your paper, it's important to apply an outline using one of several different products, which we'll discuss below. We recommend having a wet cloth and dry hand towel on hand, and we'll explain why below.
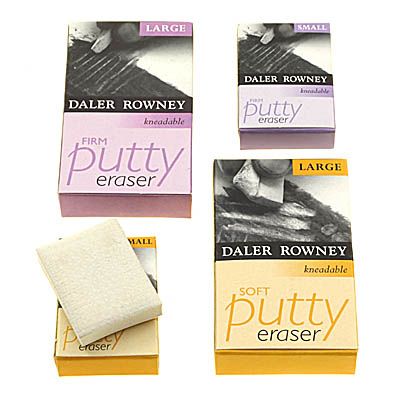
A putty eraser is a type of rubber that is especially useful for pastels. The soft variation can be easily moulded, making it perfect for lifting colour off the paper. The firm version can't be manipulated in the same way as the soft one. Instead, it behaves like a typical eraser, and can either soften the colour or remove it completely. Both types are highly recommended for any pastel kit.
|
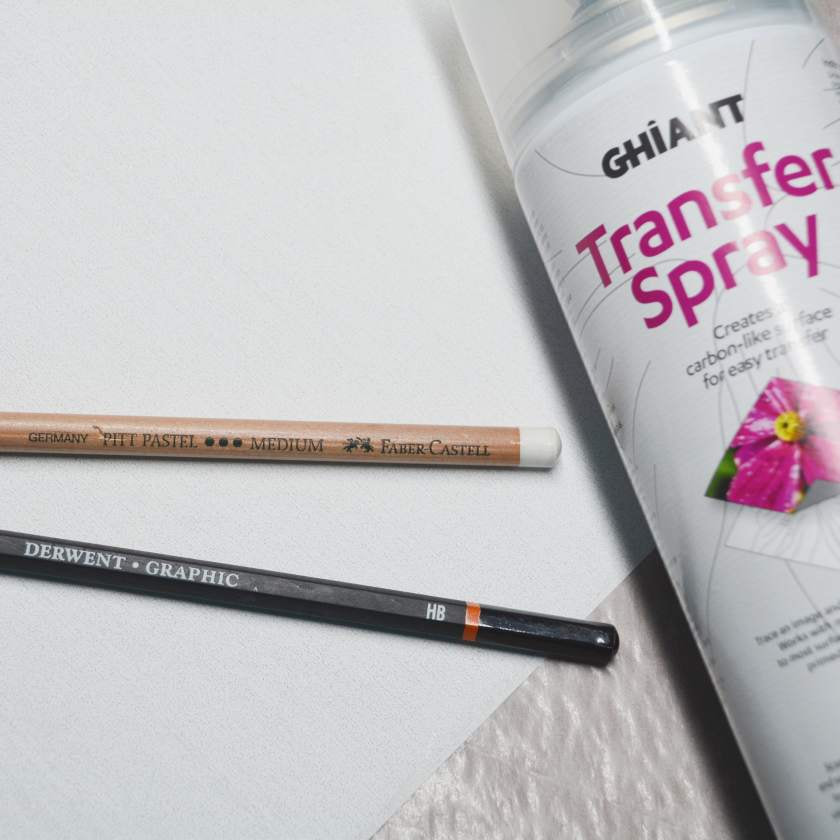
The Outline
Choosing the right materials for outlining a pastel drawing can be tricky and depends on the paper type. Experimentation is key. Options include using a graphite pencil, Tracing paper or Tracedown, or Ghiant transfer spray, but a pastel pencil may be best for smooth blending. Test before starting. |
Glassine paper is a great tool for artists. It has a smooth, glossy surface and is resistant to air, water, and grease. It's acid-free, which is helpful for preserving artwork. When working with pastels, use glassine paper under your hand to avoid smudging. It's also great for protecting artwork during storage or transport. You can buy it in individual sheets or packs.
|
6. RECOMMENDED PRODUCTS
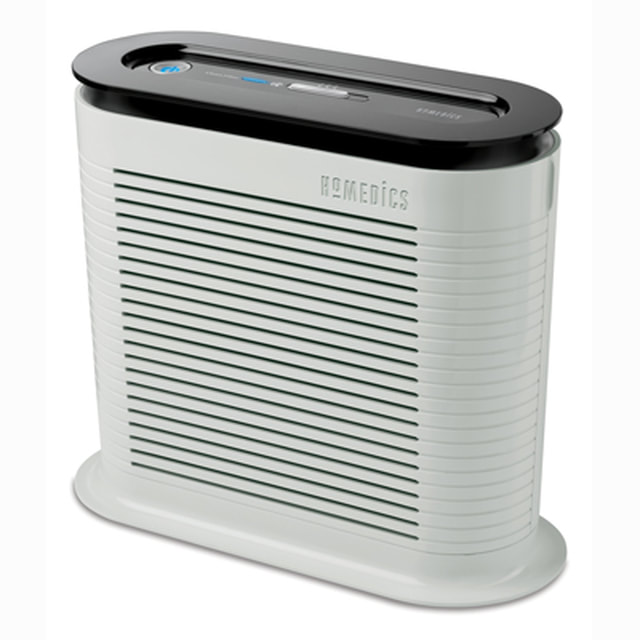
Air filter
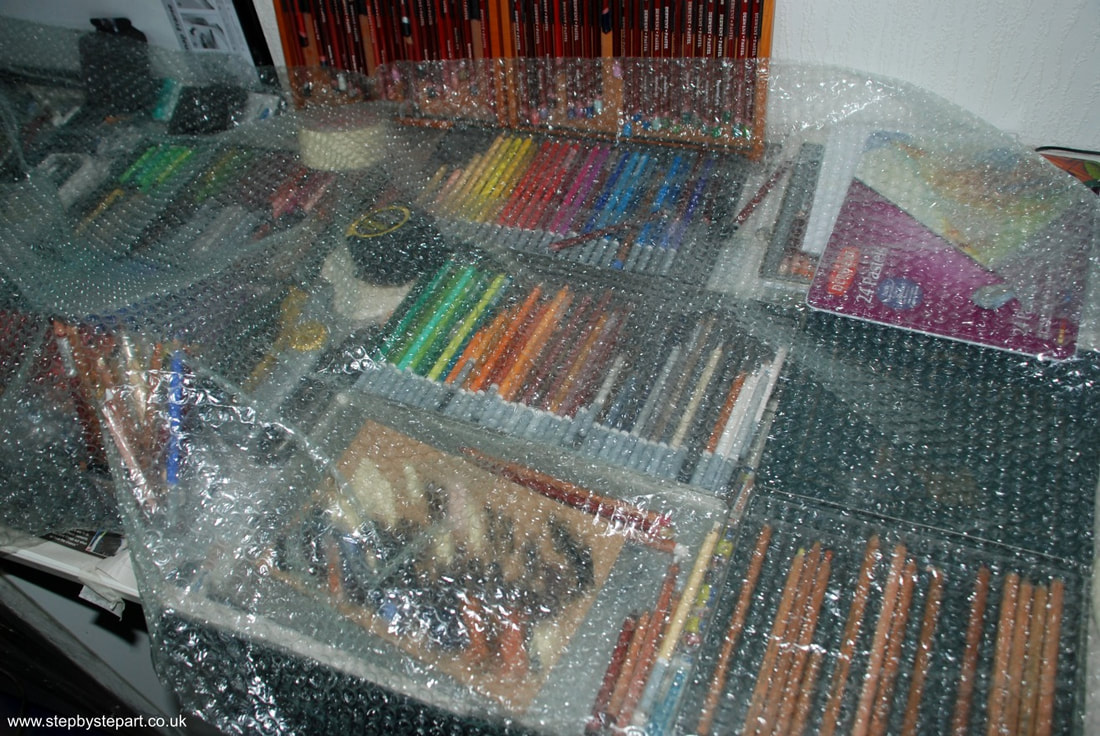
If you frequently work with pastels, consider investing in a HEPA air filter system. Even if you clean up after yourself at the end of each day, dust particles will still be in your environment. Make sure your workspace is well-ventilated by opening a window. Also, clean off pastel dust and cover your pastels every night. |
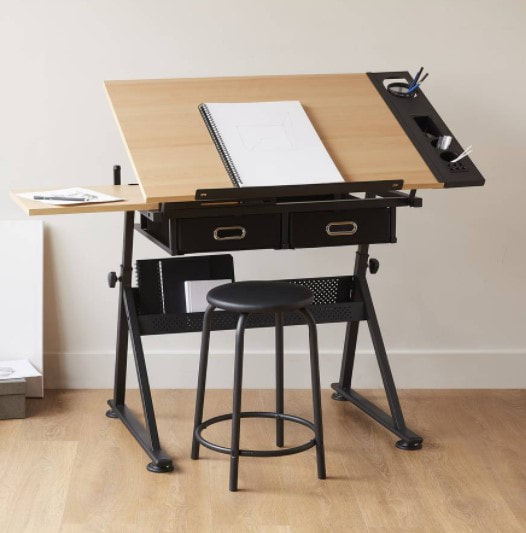
Easel
As a pastel artist, it's best to use an upright easel or an illustration desk similar to the one in the image provided. This allows the pastel dust to fall onto a tray or shelf naturally, which you can wipe down regularly. Additionally, having a supportive chair is essential, especially if you plan on working at the easel for long periods. |
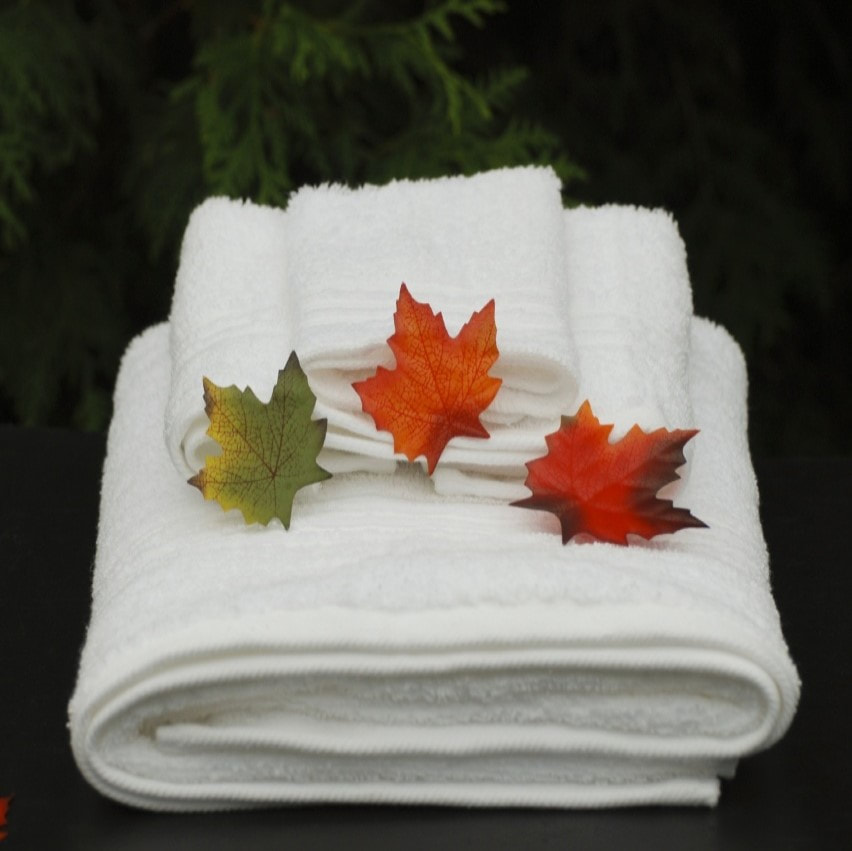
Old towels
Working with pastels, significantly softer brands, can be messy. It's easier to avoid getting the pigments on your fingers if you wear gloves. To keep your hands clean, wipe them with a damp face cloth between colour changes, and then dry them with a clean towel. Despite the mess, pastels are an excellent medium to work with. |
Fixatives
Having a fixative in your collection can be helpful, but it's not mandatory. It's used to 'fix' the pastel and prevent pastel drop and accidental smudging on the finished work. However, some pastel artists have observed that the fixative can darken the colours and leave behind uneven specks due to the wet spray. This may be more noticeable on dark paper and require you to redo your work. Despite this, fixative can be helpful if you've saturated your paper and need to apply more layers. It creates a new tooth that allows for additional layers to be added.
Take a look at the images below to see the effects of fixative on artwork before and after application. This is not meant to discourage you from using fixative but rather to suggest that you practice your technique before applying it to an important drawing. Be careful not to spray too close, as this can cause issues. It may be helpful to experiment with different distances to find the most effective and safe distance for your own use.
Take a look at the images below to see the effects of fixative on artwork before and after application. This is not meant to discourage you from using fixative but rather to suggest that you practice your technique before applying it to an important drawing. Be careful not to spray too close, as this can cause issues. It may be helpful to experiment with different distances to find the most effective and safe distance for your own use.


DID YOU KNOW?
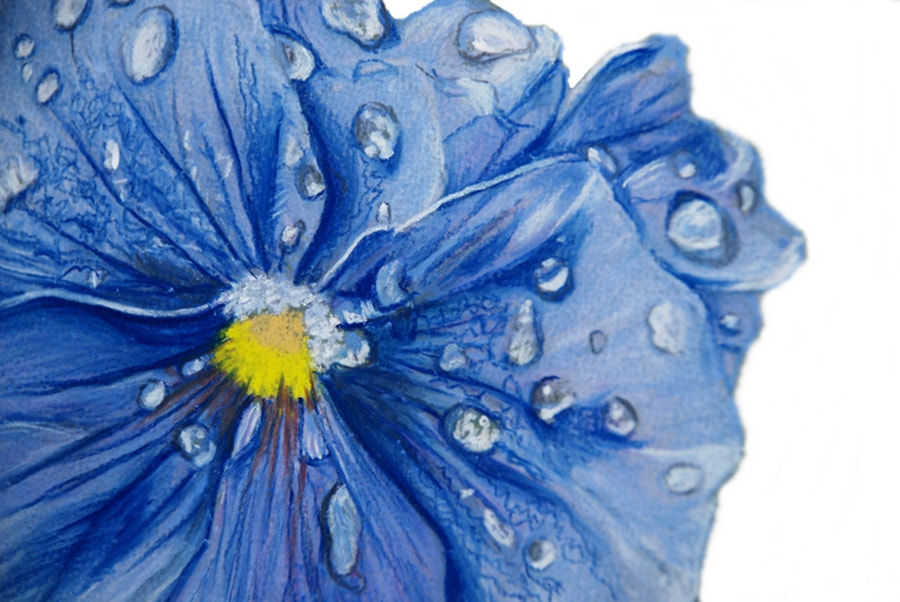
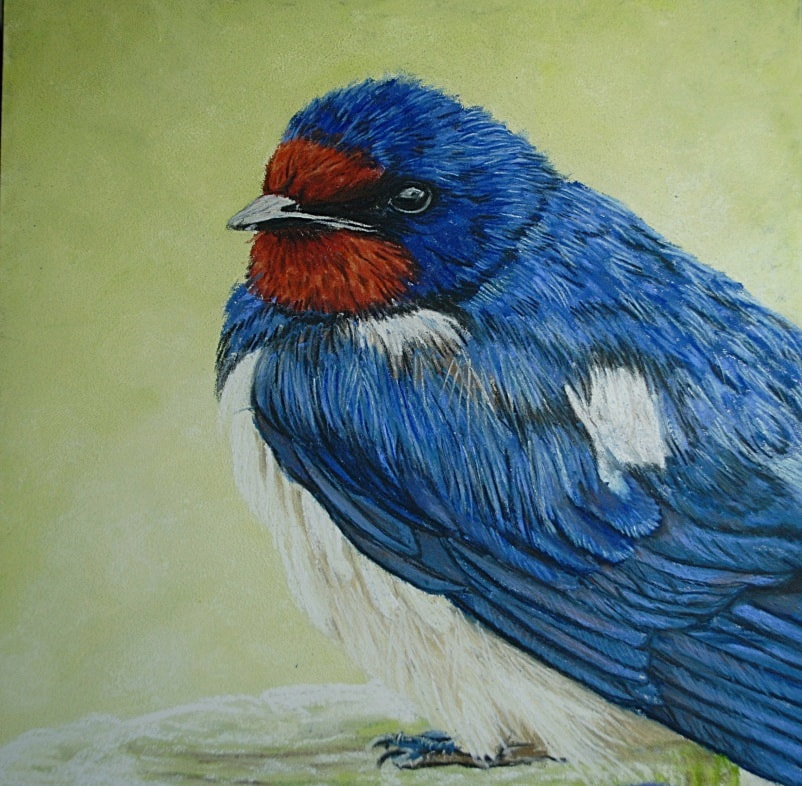
When creating a pastel artwork, if sections of the paper are left untouched, it can be considered a drawing. However, if the paper is fully covered, it may be called a 'painting'. It's important to note that these classifications are subjective, and you can use either term interchangeably. Some people believe that all pastel portraits should be classified as drawings. Ultimately, there are no set rules in art; you can use whichever term you prefer.
When creating a pastel artwork, if sections of the paper are left untouched, it can be considered a drawing. However, if the paper is fully covered, it may be called a 'painting'. It's important to note that these classifications are subjective, and you can use either term interchangeably. Some people believe that all pastel portraits should be classified as drawings. Ultimately, there are no set rules in art; you can use whichever term you prefer.