|
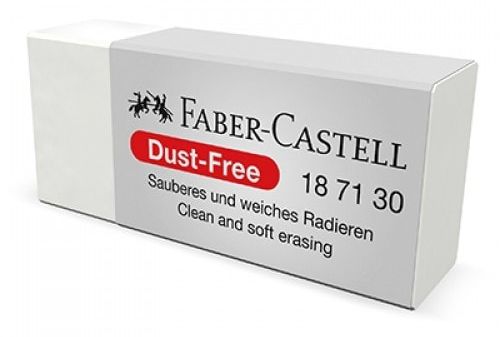
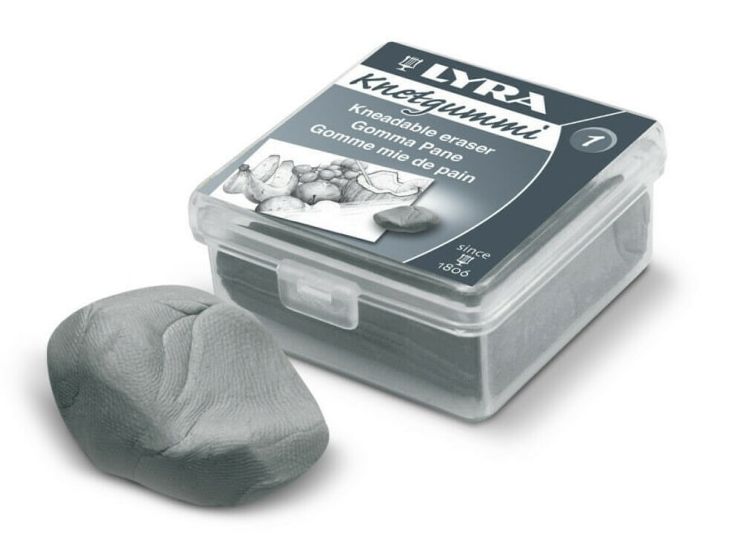
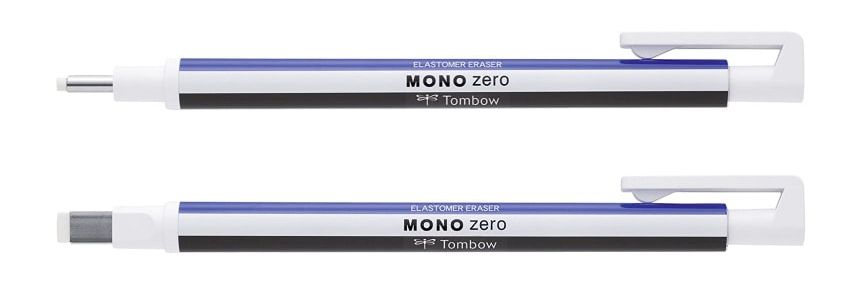
Are you a graphite artist, or trying graphite pencils for the first time? You don't need a large assortment of products. If you enjoy drawing outdoors, you can travel light, with no need for solvents and little to no mess. The pencils are the most important part of the graphite toolkit, but they are more effective when combined with other products. In this blog, we discuss the five essential accessories for the graphite artist. If you are new to graphite pencils, you may prefer some over others, conditional on the style of your work. Let's take a look at them. ERASERS/RUBBERS Erasers are a must for any artist. Not only are they useful for erasing mistakes from your work, they can also be used as part of the creative technique. Highlight areas by erasing, lifting and softening the graphite to achieve the correct definition needed. An eraser is essential, but search any online art store and you will find so much choice. You may see it as overkill, and to a point, you are correct. Many art companies market similar products which they endorse for their own product ranges, so deciding which is the better option can be overwhelming. Although we don't lean towards any particular brand, we provide images of the products we use ourselves, or have chosen purely for representation. We discuss five different styles of eraser, that, depending on your artistic style, could be of interest to you. Do let us know in the comments section at the bottom of this page, what your personal favourite eraser(s) is and why.
the must-have eraserBattery powered eraserIf you like detail, a battery powered eraser is the most useful tool to have in your arsenal. Use this alongside other erasers, to get the very best out of your work. There is no other eraser on the market that removes pencil from paper, like a battery powered eraser. It lifts almost all pencil from your paper, removing marks effortlessly, and doing all the hard work for you, leaving you to concentrate on accuracy. We highly recommend you practice how to hold and control this product before trying it on important work, as it is quite powerful!
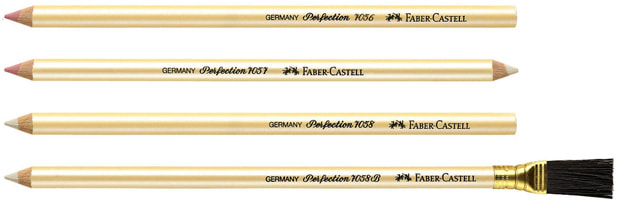
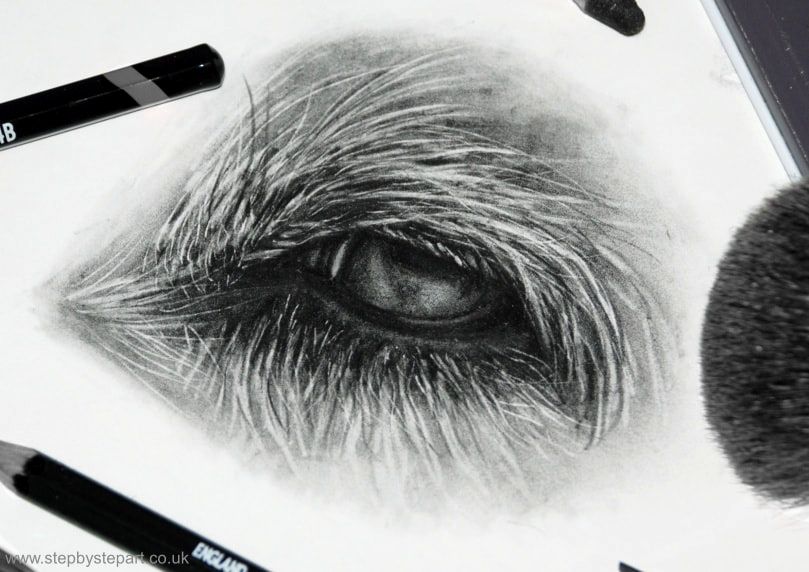
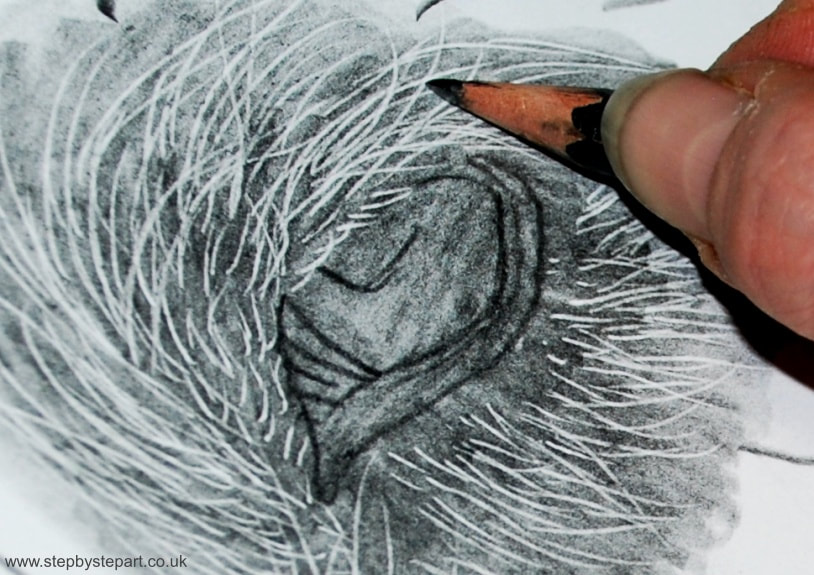
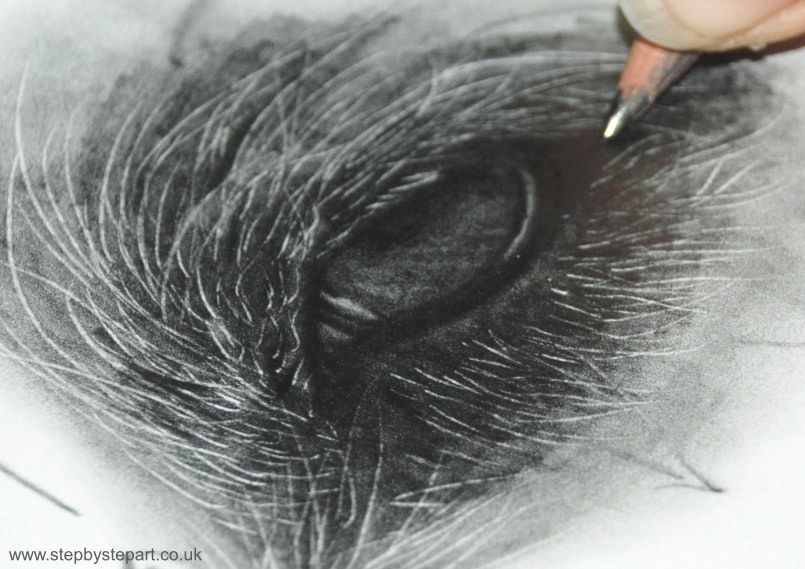
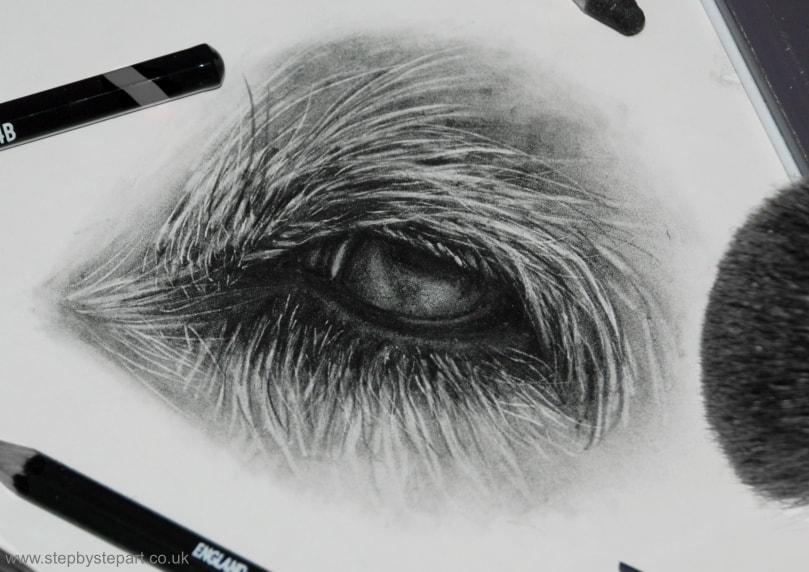
Emboss toolsEmbossing tools are used to indent your paper before you apply any pigment. This protects the surface of the paper from saturation. This is applied in areas you require highlights, such as catchlights in the eyes and strands of fur/hair, but it can also be applied between layers, to isolate and imprint any contours. Embossing tools are an indispensable product for artists. Sold individually or in multiple packs, each one has a metal ball attached to the tip, each with differing widths. Embossing tools can be used for a whole manner of arts and crafts, so we would recommend you purchase a pack, even if you don't use them for graphite work. Caution should be applied when using on soft papers like cotton as you may damage the surface. Abrasive paper, are not suitable for this technique as it will weaken the grit on the surface.
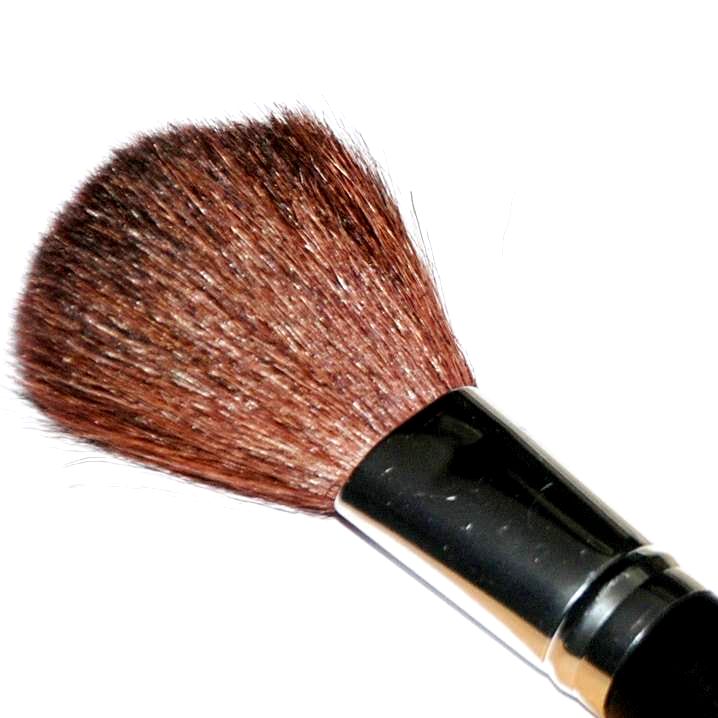
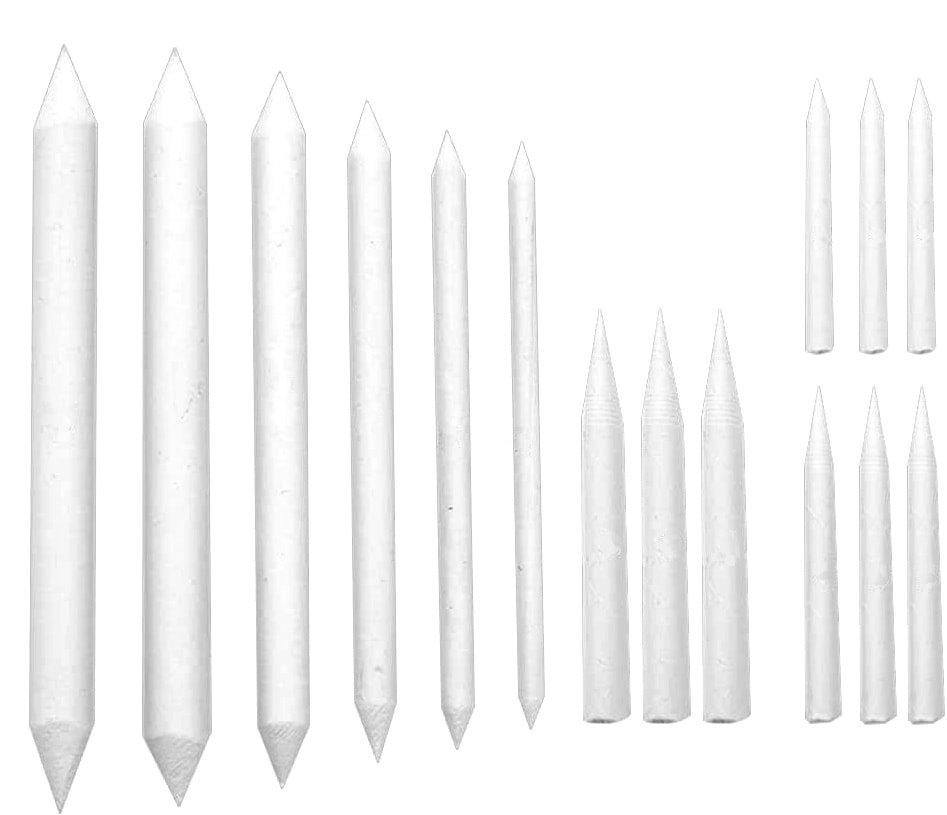
Indenting is not a challenging technique, although, as you are making a mark in your paper, you do need to plan. If you are new to this technique, practice on a spare sheet of paper first, or why not try our tutorial here, which explains this technique. blending toolsThere are numerous tools that you can use for blending graphite. Tissues, tortillions, cotton buds, even make up sponges. We discuss two of the most effective tools to blend. paper stumps & tortillionsPaper stumps and tortillions are tightly packed rolls of paper which form a pointed tip, allowing you to burnish your work across both large and small areas. Although you can peel away a layer of the paper when it becomes over-saturated, it can be useful to leave any excess pencil on the tip, as you can use this to apply a softer layer of pencil to your paper.
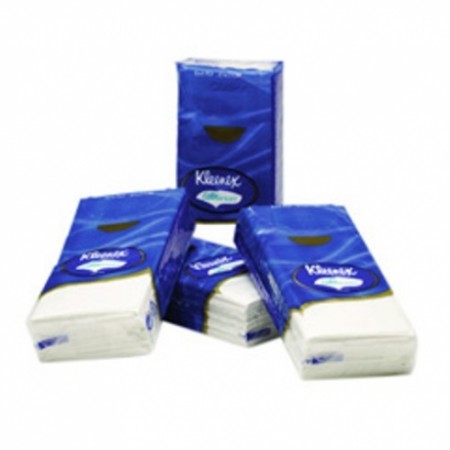
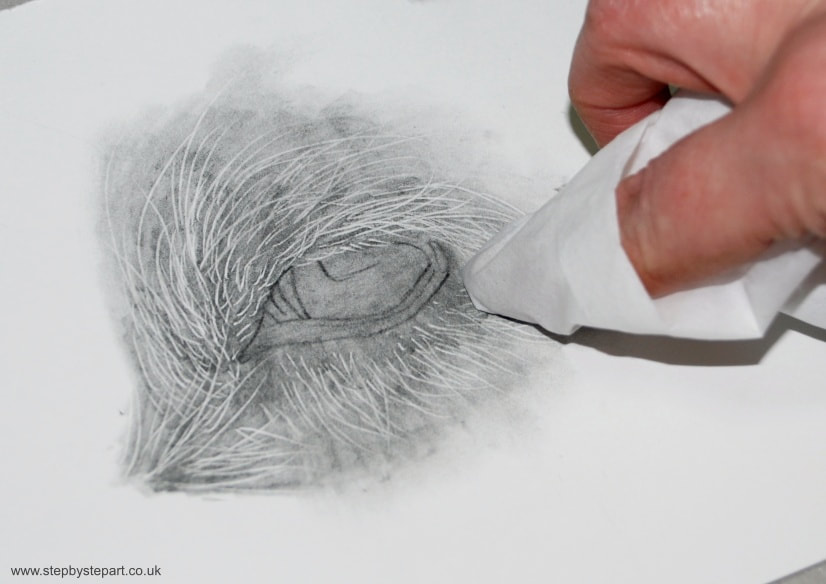
Paper stumps are pointed at both ends and are available in multiple thicknesses which can be purchased individually or in a pack. Tortillions are shorter and thinner and pointed on one end only. They are sold in multipacks as the are not as durable as the stumps. Stumps and blenders can be used with other mediums such as coloured pencils and pastels, but we suggest you keep them separate and avoid cross-contamination. tissuesTissues are the ideal product to use if you do not have any blending tools. Wrap it round your finger to blend larger areas, tear off a strip and wrap it round the tip of a blunt pencil to smudge and blend smaller areas. You should never blend pencil with your fingers as the natural oils will transfer to your paper and can damage your drawing. Pocket tissues are the ideal size to rip and tear to fit your needs, but you can use standard size tissues and even sheets of toilet roll. Kitchen roll may be too coarse, so may not be ideal. We do not recommend tissues that are infused with anything.
ADDITIONAL PRODUCTS THAT MAY BE USEFULWe include a couple of other products that you may find useful, if not for your graphite pencil case, maybe for your other artistic ventures.
LEAVE US A COMMENTWhat is your favourite product when working with graphite pencils and why? Have you changed products or brands over the years, or do you have a product that you have used for many years, even decades? Share with us all below.
0 Comments
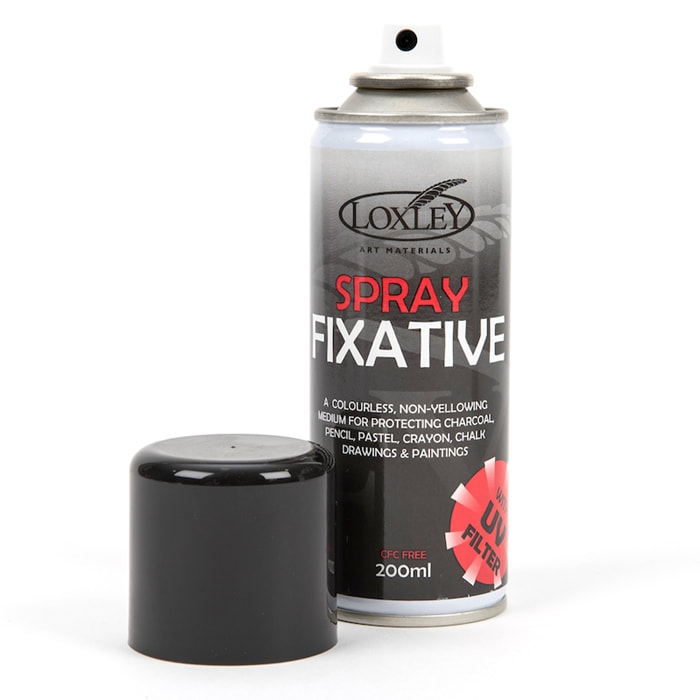
PERSONAL RECOMMENDATION: I have used this product for many years to help seal my graphite and coloured pencil drawings as well as my pastel portraits too. I have tried some other fixatives, but I personally like this one due to the fact that it also includes a UV filter, which offers extra protection. Some fixative nozzles can become blocked which is when spitting happens and this can leave marks on your drawing, particularly noticeable if you use it for your pastel paintings. I have never had that problem with the Loxley one. USING IT ON MY OWN DRAWINGS When working on my coloured pencil portraits, I sometimes apply a fixative between the layers which helps to extend the working surface and minimise saturation if I have applied a large amount of layers to a particular piece. As the fixative secures previous layers, ensure you have finished blending as you may not be able to do this after sealing it with fixative. In the video above, you can see the Loxley fixative appear in the video showing you where I apply a spray of fixative. There are around 8 or 9 layers on this area alone and as I need to apply highlights to the dark fur, the fixative allows me to do this without muddying the colours. I can then continue with more layers. Once the portrait is complete, I treat it with two layers over the whole of the portrait to minimise smudging and to offer extra protection to the framed portrait, particularly as many people do not choose a UV or museum glass when framing. USING IT ON PASTEL ART If you work with pastels, you may wonder if you should use a fixative on your drawings. Take a look at the comparison photos below and see what may happen if you do. The one on the left is before applying fixative and the one on the right is after. See how the fixative has darkened the colours, creating a more translucent finish. The fixative has dampened the pastel application, causing the darkening of the pastels. This may depend on the pastels you use though as higher quality pastels may not react in the same way as cheaper brand ones due to their being more pigment in them. Many papers, particularly textured ones, do not require a fixative as they hold the pastel well with minimal pastel drop. At the end of the day, the final decision is yours alone. DIRECTIONS FOR USE: When spraying, hold the can about 12" away from your upright drawing and spray evenly from top to bottom. It has also been suggested to me that you can turn your drawing 45 degrees and respray, so you are applying a balanced amount over the whole of your drawing. Spray too close and you may create speckling from the aerosol. WHAT ABOUT USING HAIRSPRAY AS A CHEAP ALTERNATIVE TO FIXATIVE?
Never use hairspray as a fixative. Manufacturers of hairspray make this product for use on hair, not artwork. As hairspray is not acid-free, should you spray it over your artwork, it could cause it to yellow over time. The acid in the hairspray can cause discolouration of the pigment and may also make the paper brittle too. If you have ever used hairspray, you'll note that some can leave a tacky residue behind, not good for your work. It really is better to buy a fixative made for art, which will help protect your work properly for many years. If you wish to see the final portrait of the Boxer dog being created in the video above, click this link |
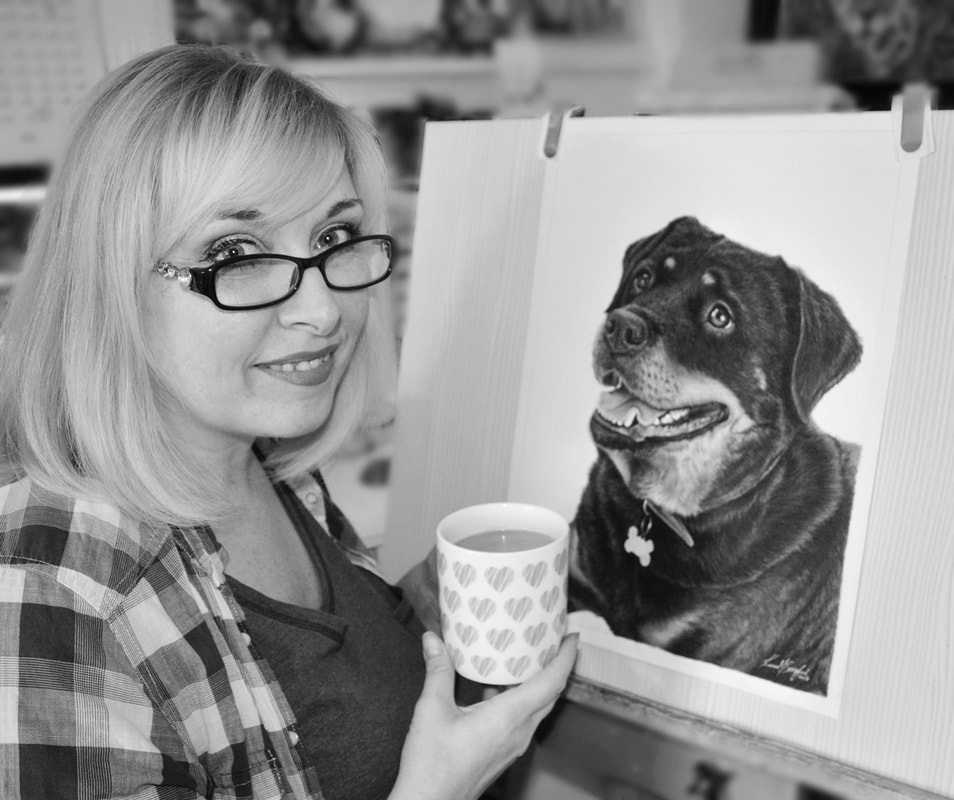
Karen M Berisford - The Tutor
AuthorKaren M Berisford Archives
March 2024
Categories
All
|


 RSS Feed
QUICK LINKSArticles
Art Tutorials Art Workshops Workshop Gift Vouchers Art Blog About ko-fi Our social media page About the Tutor Contact Site Map Vertical Divider
|
HOW TO SUPPORT US
Thank you for visiting our website, which offers valuable global resources for artists. We strive to provide a pleasant browsing experience by keeping our site advertisements-free. We do not earn money from this website, but you can show appreciation by buying us a coffee on ko-fi.com. You will find the donation buttons below and can follow us on ko-fi to stay informed of the latest news. We appreciate your visit! |
No part of this website should be copied or re-used anywhere without written permission from Karen M Berisford - 2011 - 2023
All images on this website are copyright of Karen M Berisford unless otherwise stated - Website design by Karen M Berisford. All rights Reserved.
All images on this website are copyright of Karen M Berisford unless otherwise stated - Website design by Karen M Berisford. All rights Reserved.