|
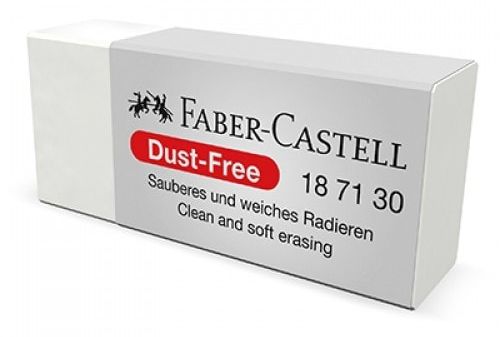
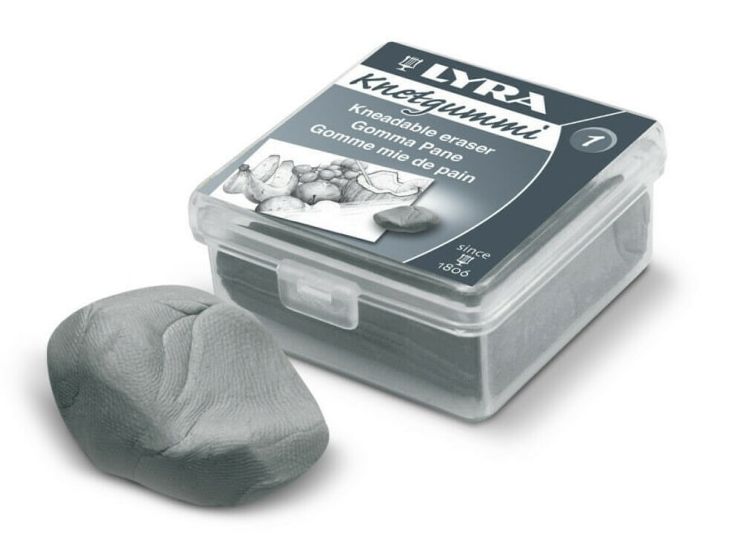
Are you a graphite artist, or trying graphite pencils for the first time? You don't need a large assortment of products. If you enjoy drawing outdoors, you can travel light, with no need for solvents and little to no mess. The pencils are the most important part of the graphite toolkit, but they are more effective when combined with other products. In this blog, we discuss the five essential accessories for the graphite artist. If you are new to graphite pencils, you may prefer some over others, conditional on the style of your work. Let's take a look at them. ERASERS/RUBBERS Erasers are a must for any artist. Not only are they useful for erasing mistakes from your work, they can also be used as part of the creative technique. Highlight areas by erasing, lifting and softening the graphite to achieve the correct definition needed. An eraser is essential, but search any online art store and you will find so much choice. You may see it as overkill, and to a point, you are correct. Many art companies market similar products which they endorse for their own product ranges, so deciding which is the better option can be overwhelming. Although we don't lean towards any particular brand, we provide images of the products we use ourselves, or have chosen purely for representation. We discuss five different styles of eraser, that, depending on your artistic style, could be of interest to you. Do let us know in the comments section at the bottom of this page, what your personal favourite eraser(s) is and why.
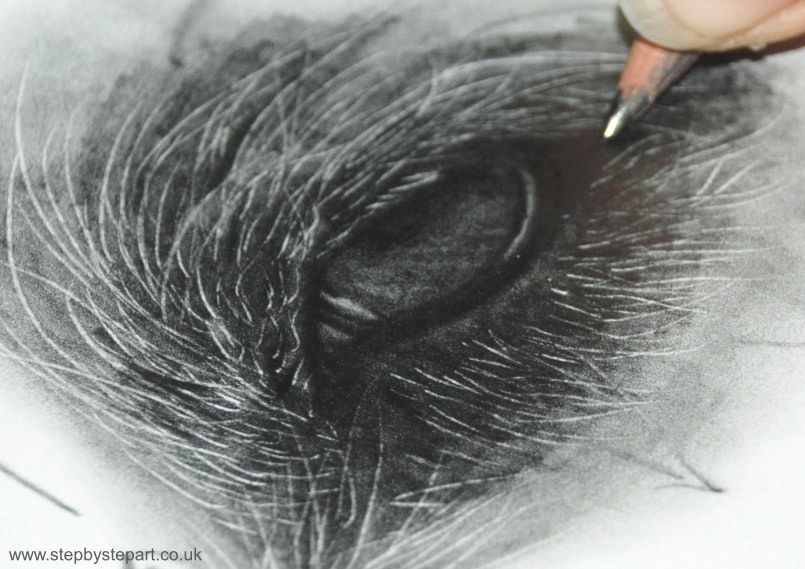
the must-have eraserBattery powered eraserIf you like detail, a battery powered eraser is the most useful tool to have in your arsenal. Use this alongside other erasers, to get the very best out of your work. There is no other eraser on the market that removes pencil from paper, like a battery powered eraser. It lifts almost all pencil from your paper, removing marks effortlessly, and doing all the hard work for you, leaving you to concentrate on accuracy. We highly recommend you practice how to hold and control this product before trying it on important work, as it is quite powerful!
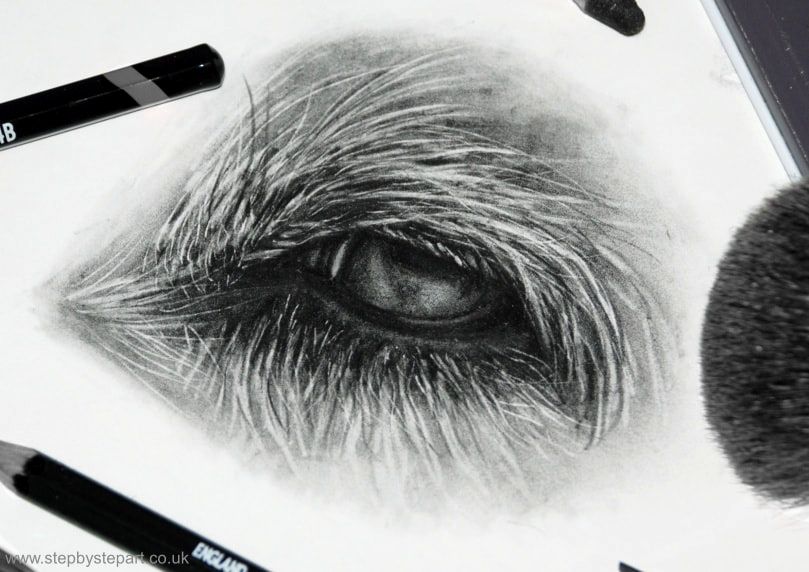
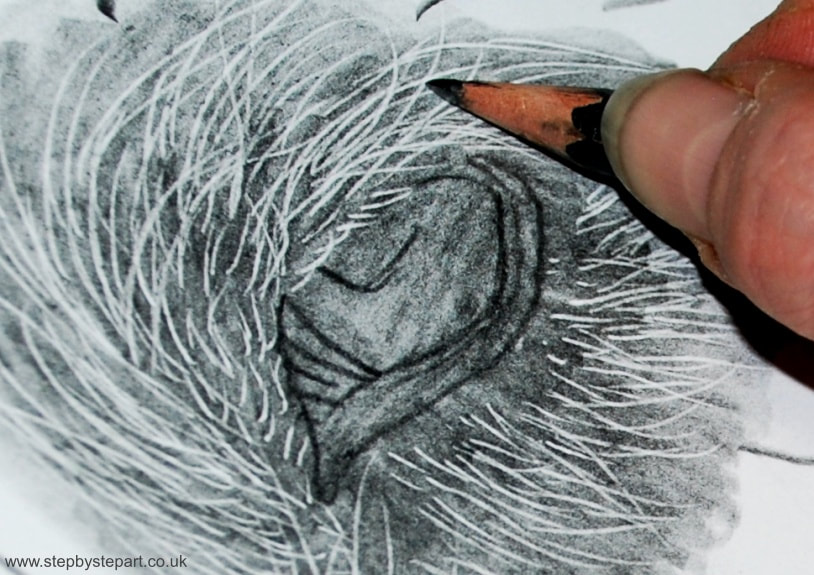
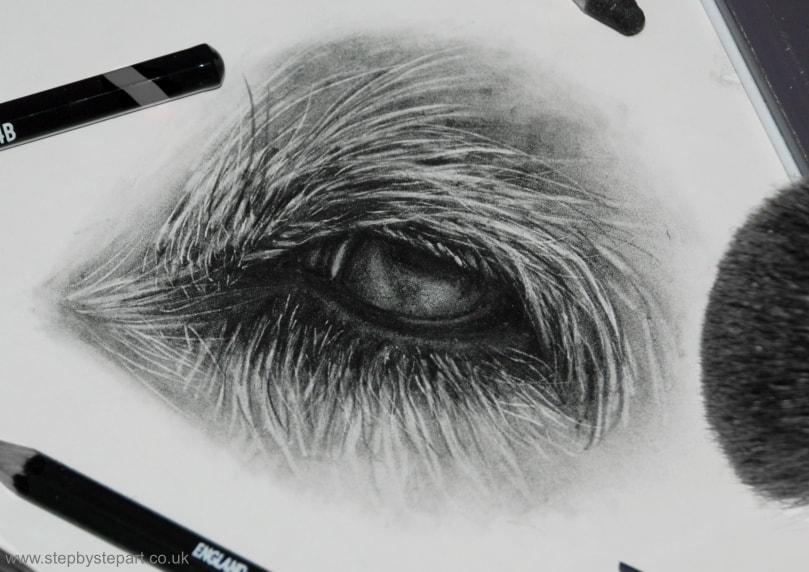
Emboss toolsEmbossing tools are used to indent your paper before you apply any pigment. This protects the surface of the paper from saturation. This is applied in areas you require highlights, such as catchlights in the eyes and strands of fur/hair, but it can also be applied between layers, to isolate and imprint any contours. Embossing tools are an indispensable product for artists. Sold individually or in multiple packs, each one has a metal ball attached to the tip, each with differing widths. Embossing tools can be used for a whole manner of arts and crafts, so we would recommend you purchase a pack, even if you don't use them for graphite work. Caution should be applied when using on soft papers like cotton as you may damage the surface. Abrasive paper, are not suitable for this technique as it will weaken the grit on the surface.
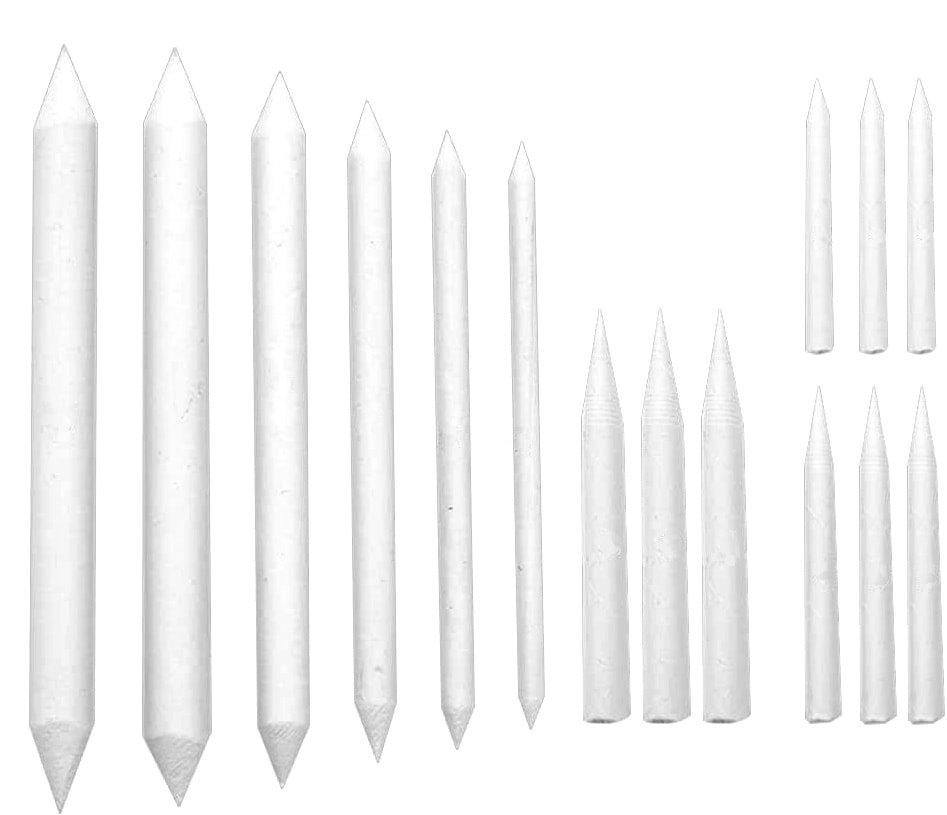
Indenting is not a challenging technique, although, as you are making a mark in your paper, you do need to plan. If you are new to this technique, practice on a spare sheet of paper first, or why not try our tutorial here, which explains this technique. blending toolsThere are numerous tools that you can use for blending graphite. Tissues, tortillions, cotton buds, even make up sponges. We discuss two of the most effective tools to blend. paper stumps & tortillionsPaper stumps and tortillions are tightly packed rolls of paper which form a pointed tip, allowing you to burnish your work across both large and small areas. Although you can peel away a layer of the paper when it becomes over-saturated, it can be useful to leave any excess pencil on the tip, as you can use this to apply a softer layer of pencil to your paper.
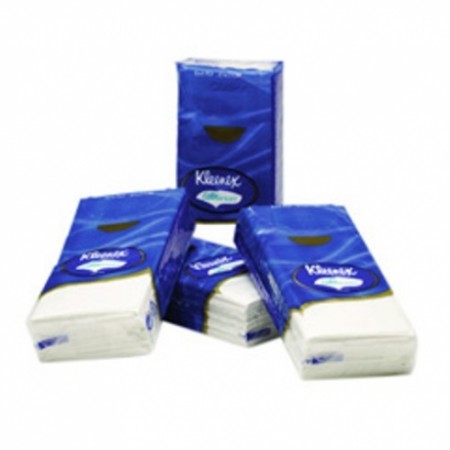
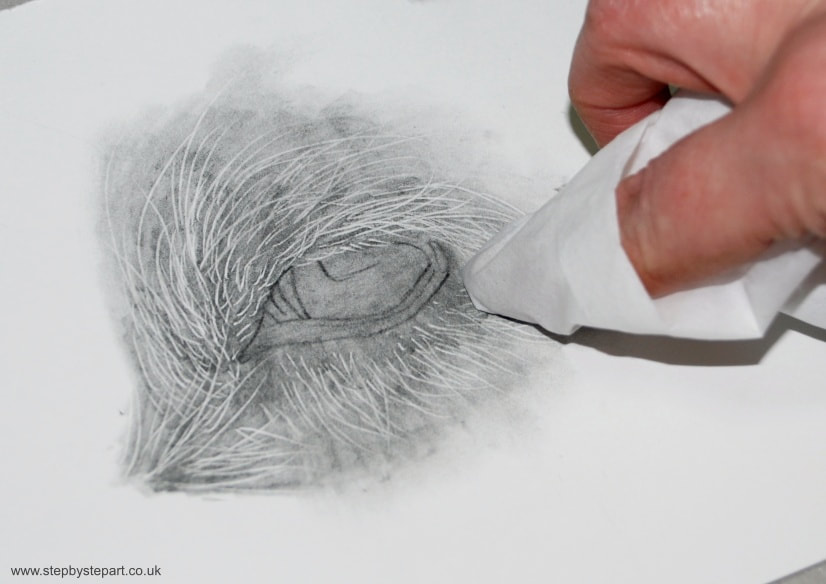
Paper stumps are pointed at both ends and are available in multiple thicknesses which can be purchased individually or in a pack. Tortillions are shorter and thinner and pointed on one end only. They are sold in multipacks as the are not as durable as the stumps. Stumps and blenders can be used with other mediums such as coloured pencils and pastels, but we suggest you keep them separate and avoid cross-contamination. tissuesTissues are the ideal product to use if you do not have any blending tools. Wrap it round your finger to blend larger areas, tear off a strip and wrap it round the tip of a blunt pencil to smudge and blend smaller areas. You should never blend pencil with your fingers as the natural oils will transfer to your paper and can damage your drawing. Pocket tissues are the ideal size to rip and tear to fit your needs, but you can use standard size tissues and even sheets of toilet roll. Kitchen roll may be too coarse, so may not be ideal. We do not recommend tissues that are infused with anything.
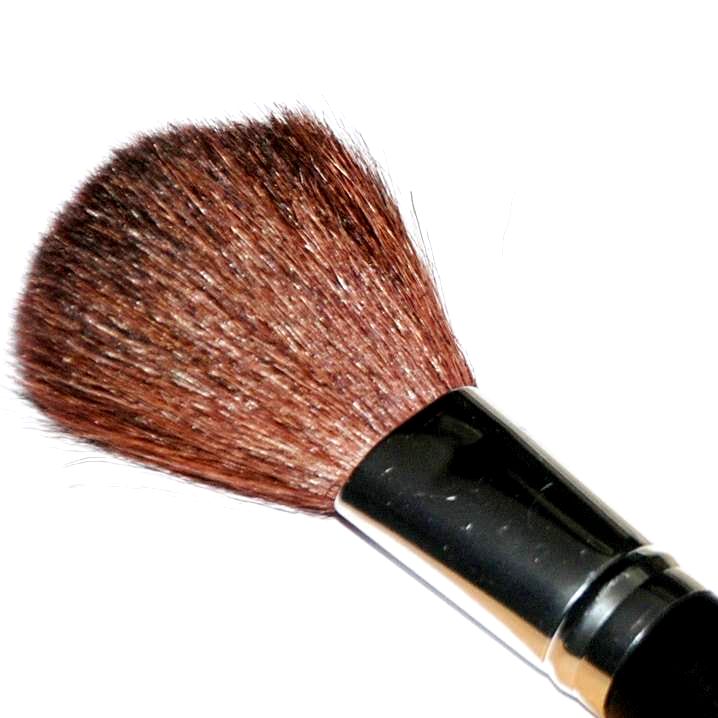
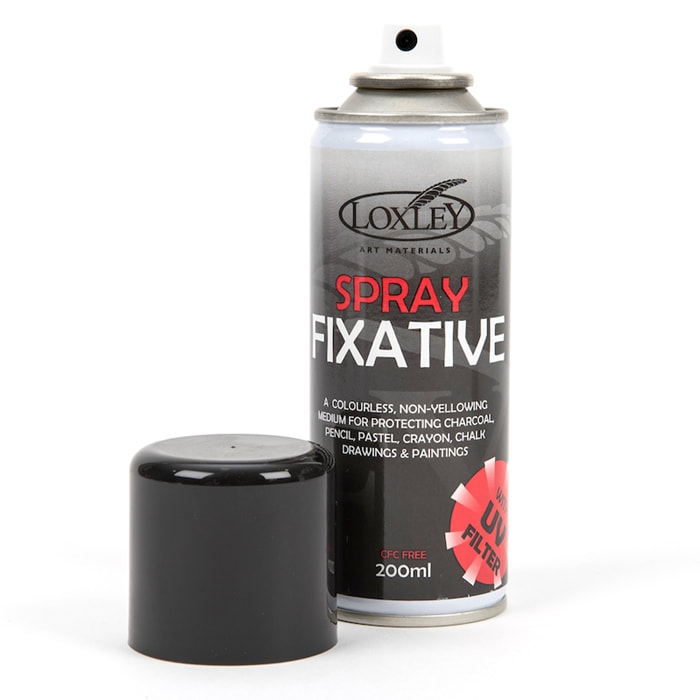
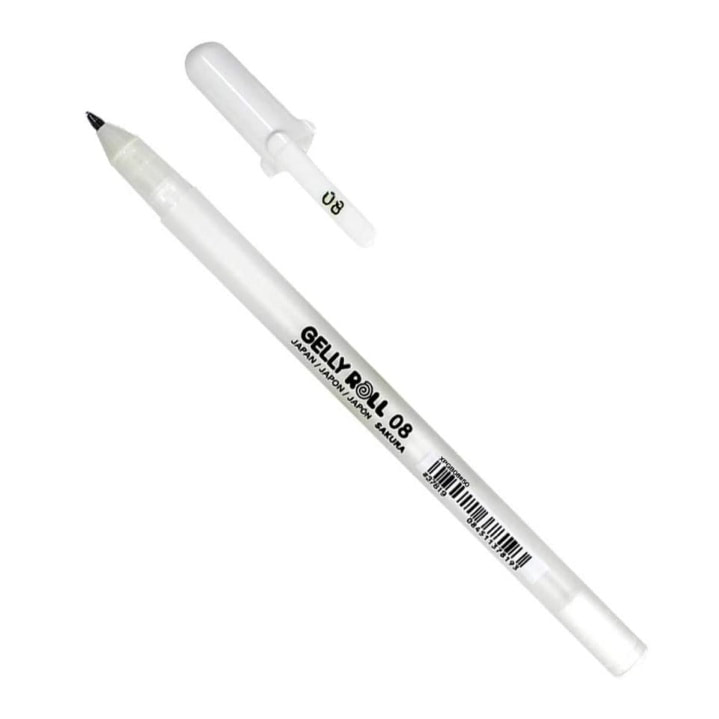
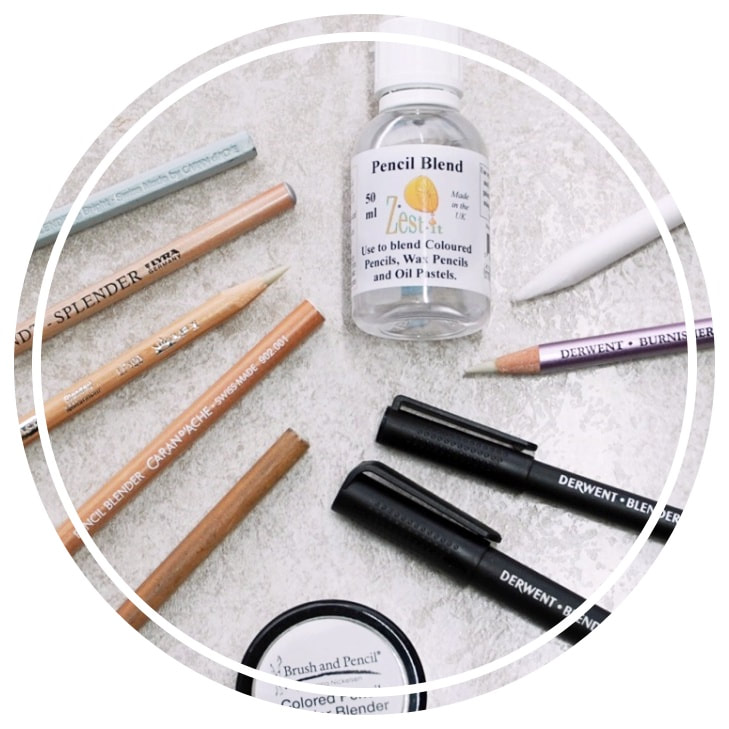
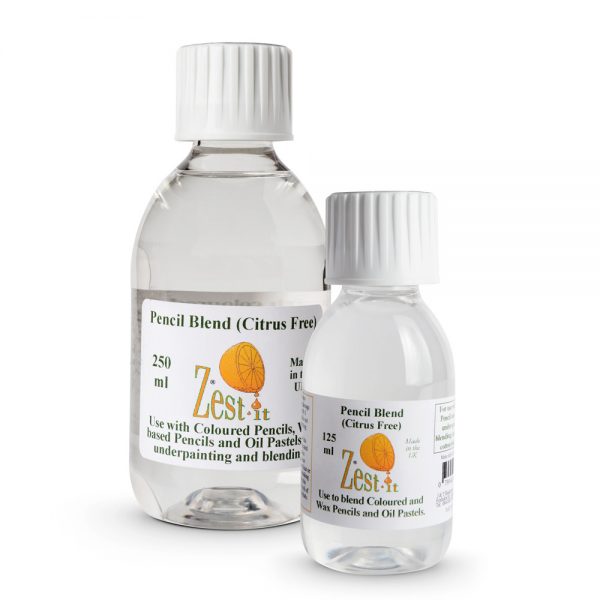
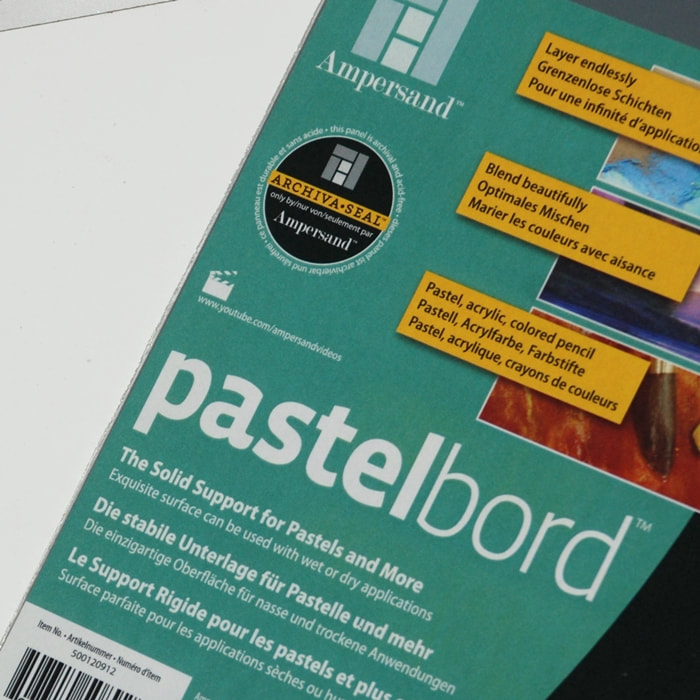
ADDITIONAL PRODUCTS THAT MAY BE USEFULWe include a couple of other products that you may find useful, if not for your graphite pencil case, maybe for your other artistic ventures.
LEAVE US A COMMENTWhat is your favourite product when working with graphite pencils and why? Have you changed products or brands over the years, or do you have a product that you have used for many years, even decades? Share with us all below.
0 Comments
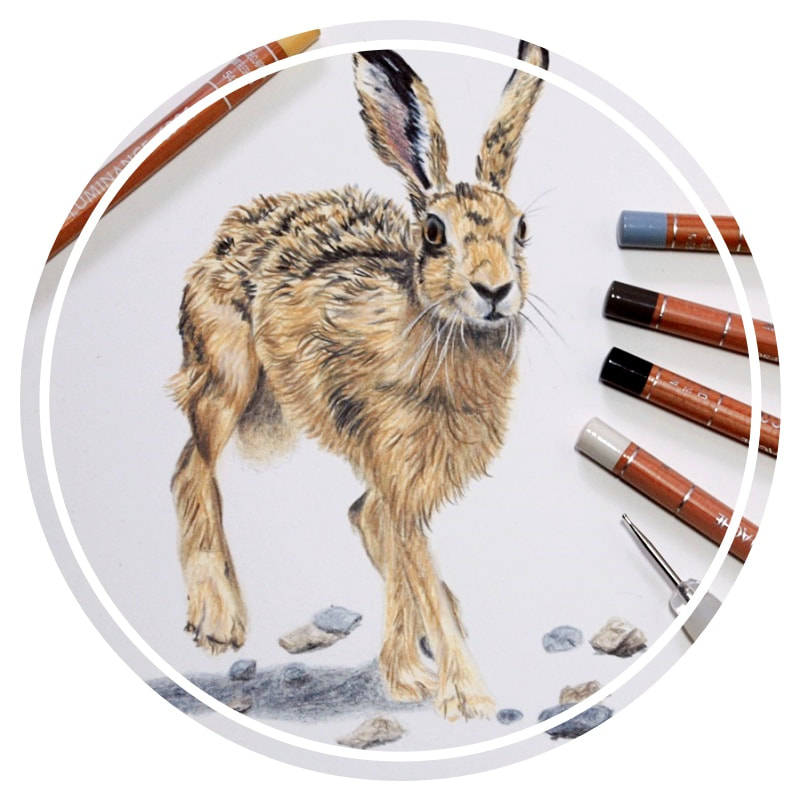
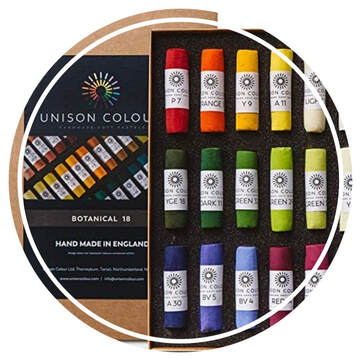
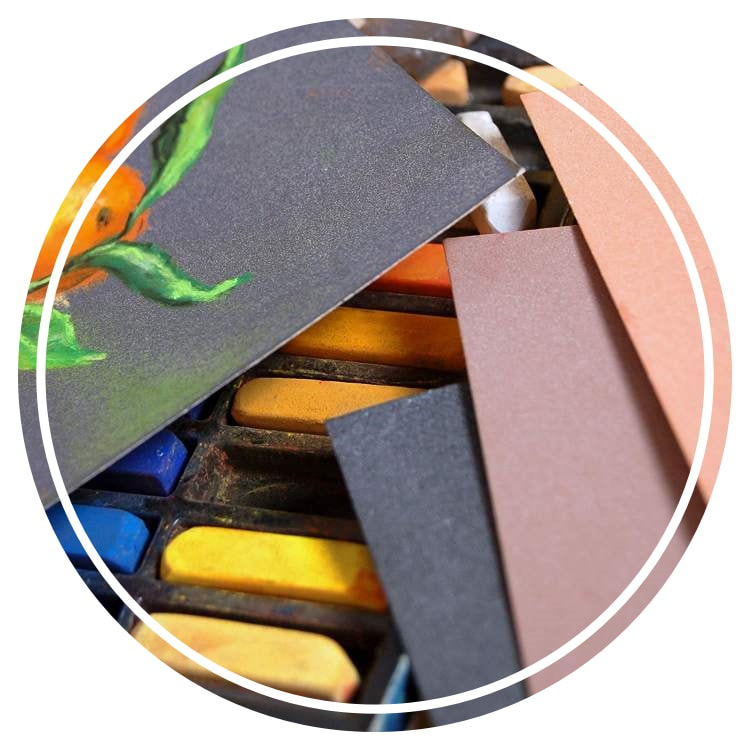
There are five articles covered in our latest newsletter, which are: Graphite pencils for beginners Having overhauled the original article, it's worth checking out (again) if you are new to graphite. Unison pastels What makes these pastels so special? We share our findings in this article. Clairfontaine Pastelmat Are you an artist, looking for suitable paper? Find out more. Ideal for pastel artists and can be used for other mediums too. Blending with coloured pencils If you are a coloured pencil artist and want to learn how to create smooth blends, this article offers lots of hints and tips. New tutorial for coloured pencil artists Our latest tutorial shows you how to draw a Hare. You can click any of the image below to visit each article. If you are not currently a subscriber to our quarterly newsletter, you can sign up here.
Have you tried any of the products we mention in this post? If so, what are your thoughts? Any preferences? Maybe you have a favourite art product? Share it with us in the comments, and tell us what you like about it and why. Let's share our knowledge among other artists.
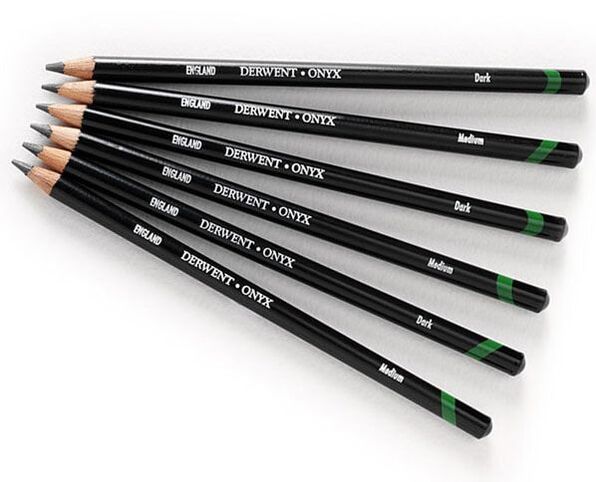
Our current favourite product is the Sennelier oil pastel. Creamy, highly vibrant and great fun to work with. Perfect for use on the pastelmat paper too! Feeling moody? Look no further, Derwent Onyx is our blackest graphite pencil, even darker than a 9B! Great on its own for drawing really moody pictures or use it with other graphite media like Graphic or Sketching pencils to add dense shade and tone. We have created two tones, medium and dark, but it is easy to build up darker shades if you need them by increasing the pressure. The wide strip can be easily sharpened and will hold a fine point, perfect for capturing the detail in drawings! Taken from the Derwent website - www.pencils.co.uk
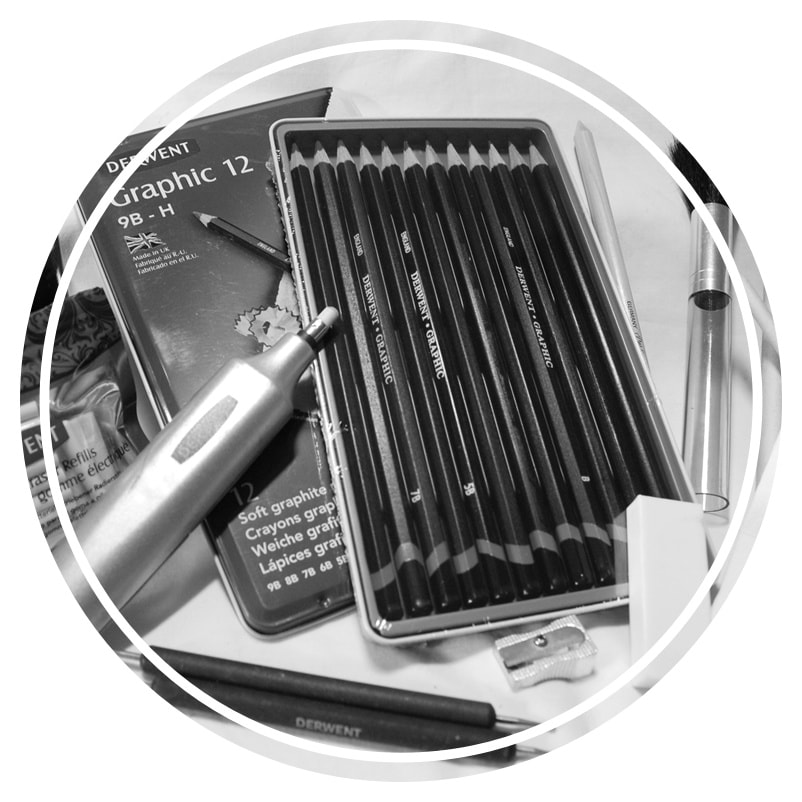
Derwent Graphic v's Derwent Onyx tonal chartWe decided to research this product online and see what other artists are saying about these pencils, but found mixed reviews. Some noted the Dark grade was as black as Derwent suggests, but others said it was not. There is little information about these pencils on the Derwent site, but they do state that they are lightfast (rated 8 on the Blue Wool scale) and that both pencils contain animal fat in the wax blend. As you can purchase these pencils for under £2.00 each, we decided to buy them and try them out ourselves. We created a chart below, comparing the grades of the Derwent graphic range and the Derwent Onyx pencils. We include it here so you can see the difference for yourself. We applied the pencils as heavily as possible to ensure the darkest tones were replicated. 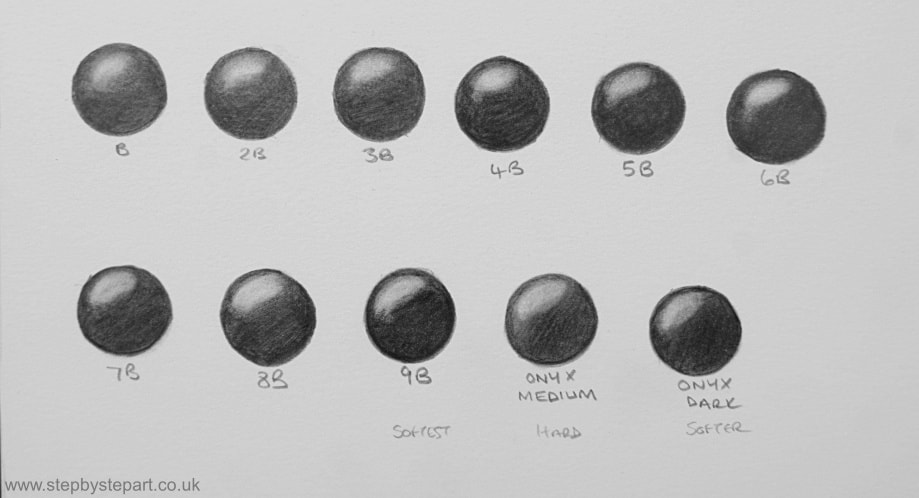 Our findingsWe have created a tutorial using the Onyx pencils, so people can examine for themselves what they can accomplish. It gives you a chance to learn how to draw facial features whilst trying the pencils too. Using other tools to blend and erase, will help you create highly effective drawings, without the constant need to change grades. For this reason, these pencils are ideal for sketches on the go and take up very little space in your bag. The medium pencil can create the finer lines and the Dark grade allows you to create shade, either heavy or light. Personally, we do not feel that the Dark grade is darker than the Graphic 9B, but what do you think? 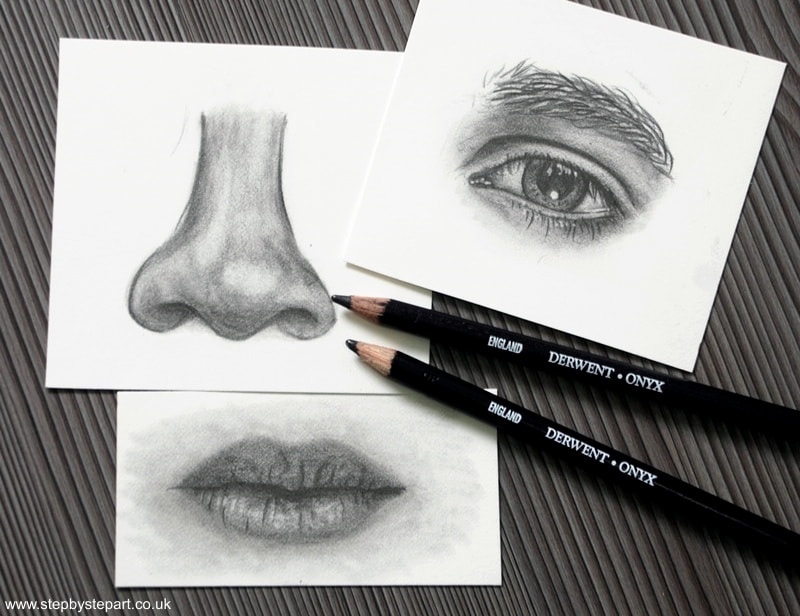 Click the link below and try our graphite pencil tutorial. The Derwent Onyx pencils are used in this tutorial, but we do recommend two standard grades of graphite pencils in the place of the Onyx ones, should you wish to use those instead. What are your personal experiences with these pencils? Do you use them exclusively or in conjunction with other brands? Do you find them useful? Let us know in the comments section below. 2020 Art Workshops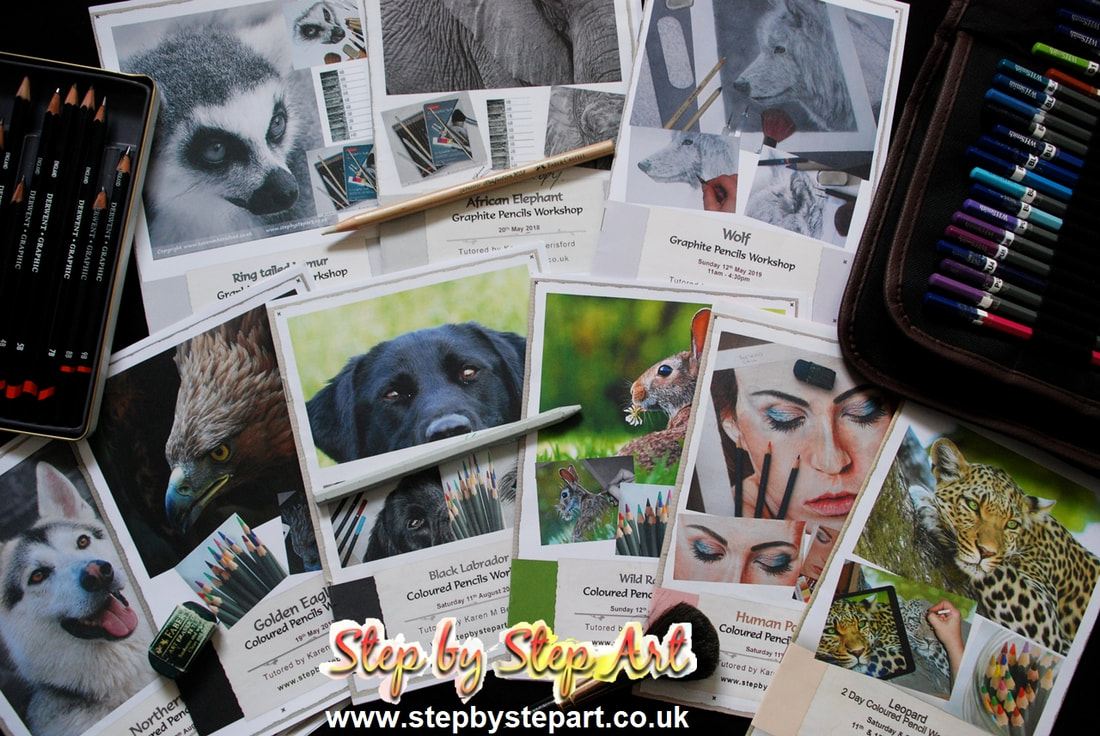 I am currently in the process of organising this years art workshops and will be included in the winter newsletter which will be Emailed out to subscribers hopefully by the end of this month. All details will be posted on the step by step art CHESTERFIELD WORKSHOP page once available and added to social media pages for this site & my KMB social media pages too, ensuring a larger audience reach. Every year I choose 3 or 4 subjects for the Coloured pencil & Graphite pencil workshops which include varying techniques and surfaces to previous years, ensuring each workshop is different to another. Coloured pencil workshops using textured paper are somewhat easier for a complete beginner than the workshops working on smooth paper, however every workshop available can be attended by any artist regardless of their calibre, even if they have NEVER drawn anything since their time at school! To find out more about our workshops, click any one of the following links to visit the page of interest: Reviews & TutorialsHere are the latest articles and mini tutorials that can be found on the Step by step art website. Included are a selection of independent reviews on multiple mediums and art products as well as the very latest tutorials - click on any of the images below to visit the page of interest. You can also find lots more reviews on art products on our 'ARTICLES' page with new ones added every 3 - 4 months. Latest product reviews
New Mini Tutorials
You can always request a specific article or mini tutorial and if I am able to provide that information, it could be included in a future article. Please get in touch with your idea at: [email protected]
Finally, you can always SUBSCRIBE to our quarterly newsletter, ensuring you receive the very latest articles, delivered straight to your E-mail.
Feel free to 'like', 'share' or leave a comment should you wish.
I hope this article is very helpful to newbies to graphite pencils. |
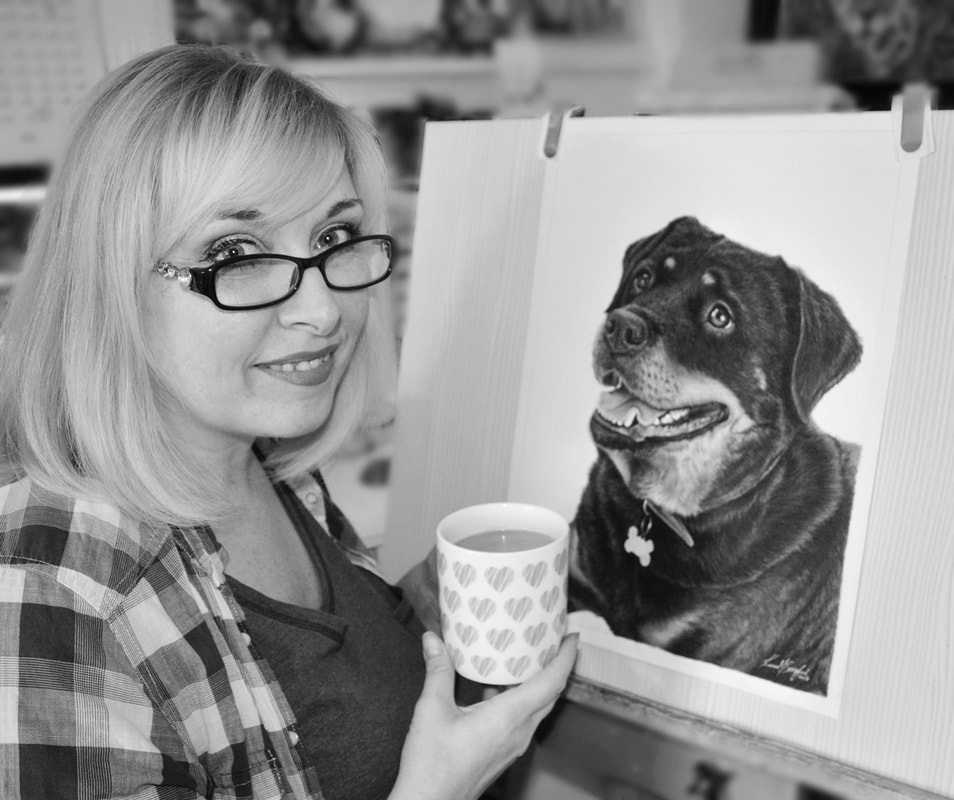
Karen M Berisford - The Tutor
AuthorKaren M Berisford Archives
March 2024
Categories
All
|


 RSS Feed
QUICK LINKSArticles
Art Tutorials Art Workshops Workshop Gift Vouchers Art Blog About ko-fi Our social media page About the Tutor Contact Site Map Vertical Divider
|
HOW TO SUPPORT US
Thank you for visiting our website, which offers valuable global resources for artists. We strive to provide a pleasant browsing experience by keeping our site advertisements-free. We do not earn money from this website, but you can show appreciation by buying us a coffee on ko-fi.com. You will find the donation buttons below and can follow us on ko-fi to stay informed of the latest news. We appreciate your visit! |
No part of this website should be copied or re-used anywhere without written permission from Karen M Berisford - 2011 - 2023
All images on this website are copyright of Karen M Berisford unless otherwise stated - Website design by Karen M Berisford. All rights Reserved.
All images on this website are copyright of Karen M Berisford unless otherwise stated - Website design by Karen M Berisford. All rights Reserved.