|
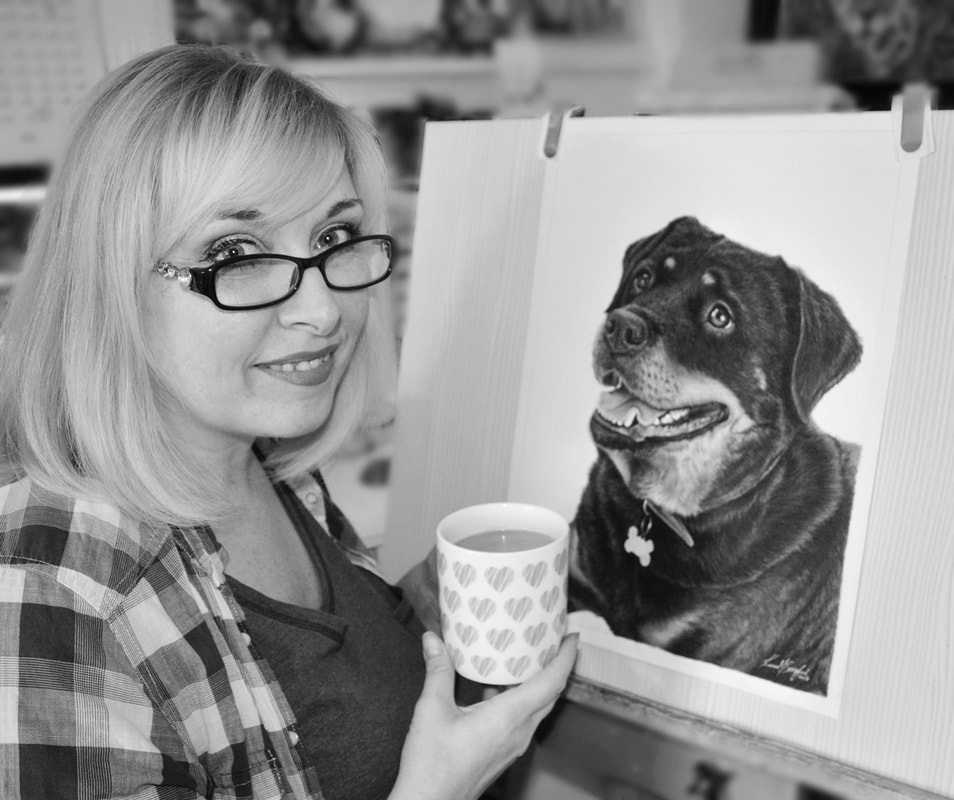
If you are an artist thinking of starting your own commission based business, here at Step by Step Art, we have produced an article filled with lots of useful information for those of you needing some help and advice. Written by artist Karen M Berisford who has always loved drawing since she was little, began taking on commissions back in the 90's after leaving school. She became a professional artist in 2011 and runs her own commission based business at: www.karenmberisford.com She is also the face behind this very website and provides all the content found within it. She is the web designer of both these sites and explains the importance of having your own website too. Click the image above to visit the article.
Although the article was originally written in 2018, additional information has recently been added. As with all our articles on this website, we update, re-write or add new content to some from time to time. Are there any other questions you would like answered that you would like to see included in our article? Please add them to our comments section below. We will answer them as soon as we can. I hope you find the information helpful!
1 Comment
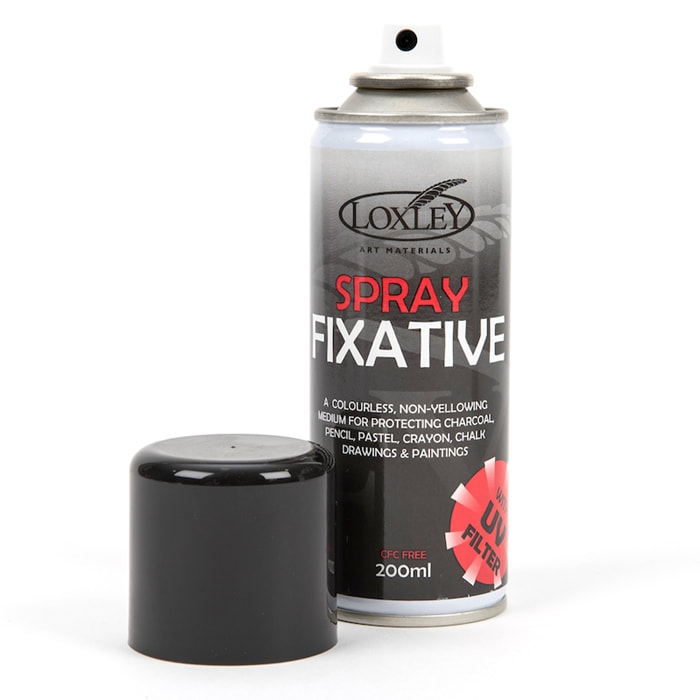
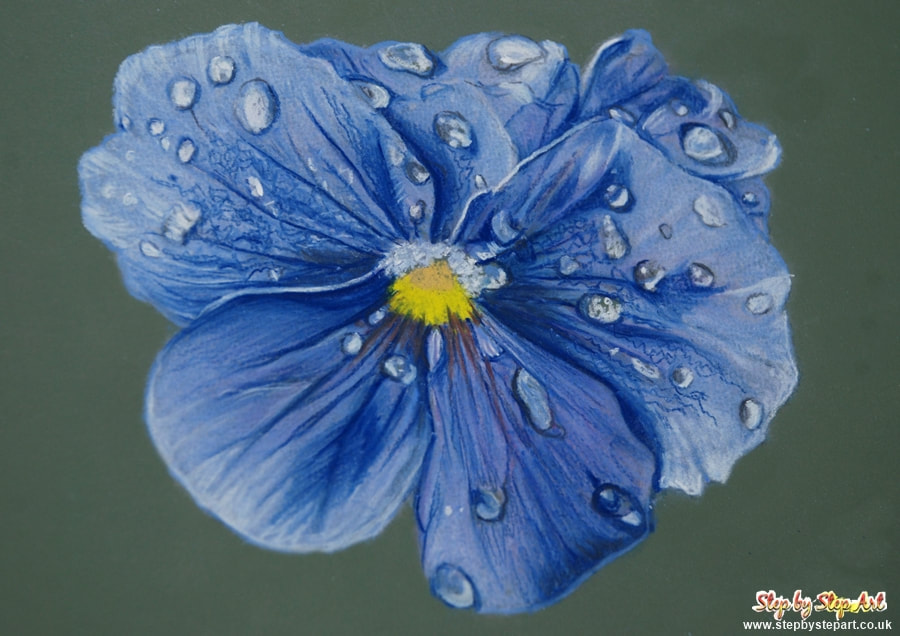
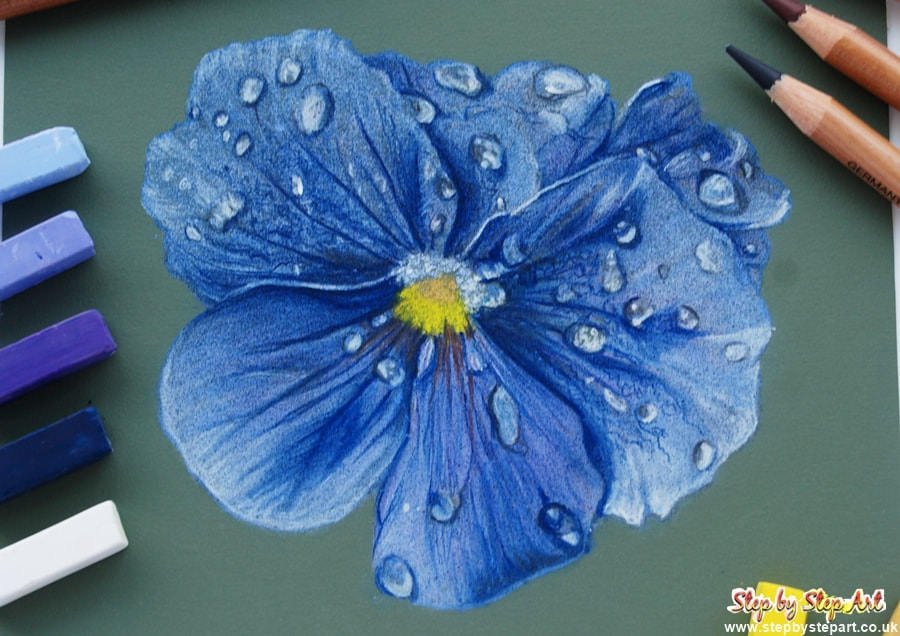
PERSONAL RECOMMENDATION: I have used this product for many years to help seal my graphite and coloured pencil drawings as well as my pastel portraits too. I have tried some other fixatives, but I personally like this one due to the fact that it also includes a UV filter, which offers extra protection. Some fixative nozzles can become blocked which is when spitting happens and this can leave marks on your drawing, particularly noticeable if you use it for your pastel paintings. I have never had that problem with the Loxley one. USING IT ON MY OWN DRAWINGS When working on my coloured pencil portraits, I sometimes apply a fixative between the layers which helps to extend the working surface and minimise saturation if I have applied a large amount of layers to a particular piece. As the fixative secures previous layers, ensure you have finished blending as you may not be able to do this after sealing it with fixative. In the video above, you can see the Loxley fixative appear in the video showing you where I apply a spray of fixative. There are around 8 or 9 layers on this area alone and as I need to apply highlights to the dark fur, the fixative allows me to do this without muddying the colours. I can then continue with more layers. Once the portrait is complete, I treat it with two layers over the whole of the portrait to minimise smudging and to offer extra protection to the framed portrait, particularly as many people do not choose a UV or museum glass when framing. USING IT ON PASTEL ART If you work with pastels, you may wonder if you should use a fixative on your drawings. Take a look at the comparison photos below and see what may happen if you do. The one on the left is before applying fixative and the one on the right is after. See how the fixative has darkened the colours, creating a more translucent finish. The fixative has dampened the pastel application, causing the darkening of the pastels. This may depend on the pastels you use though as higher quality pastels may not react in the same way as cheaper brand ones due to their being more pigment in them. Many papers, particularly textured ones, do not require a fixative as they hold the pastel well with minimal pastel drop. At the end of the day, the final decision is yours alone. DIRECTIONS FOR USE: When spraying, hold the can about 12" away from your upright drawing and spray evenly from top to bottom. It has also been suggested to me that you can turn your drawing 45 degrees and respray, so you are applying a balanced amount over the whole of your drawing. Spray too close and you may create speckling from the aerosol. WHAT ABOUT USING HAIRSPRAY AS A CHEAP ALTERNATIVE TO FIXATIVE?
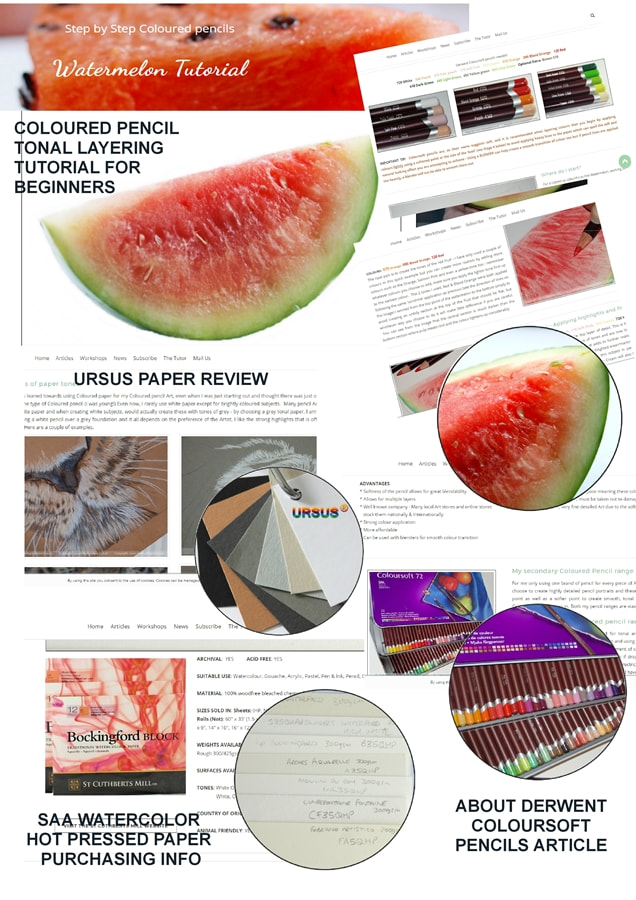
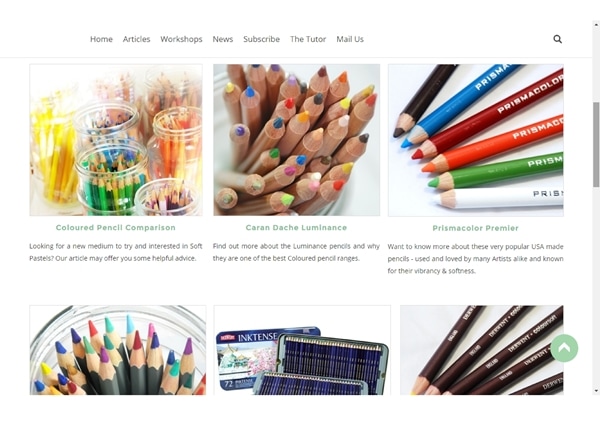
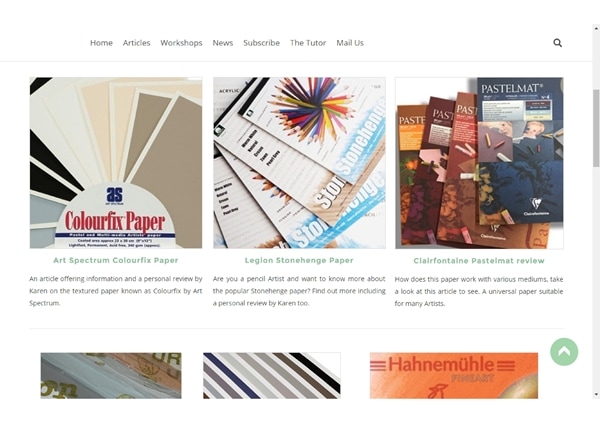
Never use hairspray as a fixative. Manufacturers of hairspray make this product for use on hair, not artwork. As hairspray is not acid-free, should you spray it over your artwork, it could cause it to yellow over time. The acid in the hairspray can cause discolouration of the pigment and may also make the paper brittle too. If you have ever used hairspray, you'll note that some can leave a tacky residue behind, not good for your work. It really is better to buy a fixative made for art, which will help protect your work properly for many years. If you wish to see the final portrait of the Boxer dog being created in the video above, click this link Our 4 latest ArticlesThe latest articles are now available to view and you can access them by clicking on any of the images below.
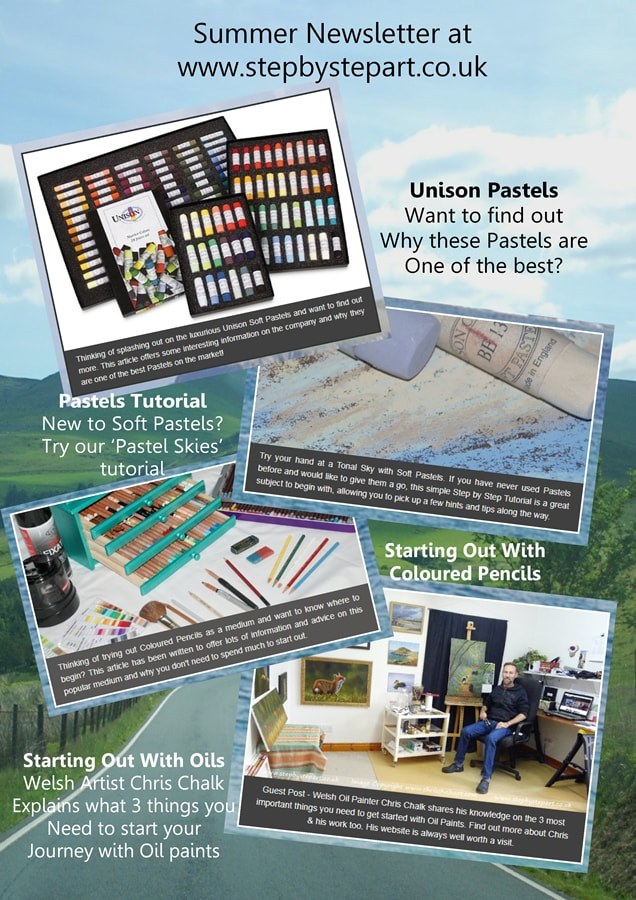
Why not subscribe to our newsletterWhy not join up to our newsletter to receive the latest article news straight to your mail box. Here are three previous newsletter subjects which covers coloured pencils, graphite pencils, acrylics, step by step tutorials, art product recommendations as well as the latest news on my 1 day workshops available to book for those able to come along. Feel free to share this post or leave us a comment, maybe request an article?
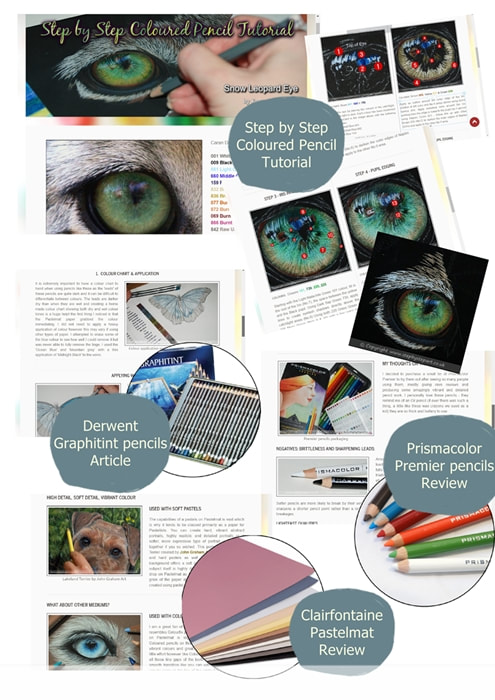
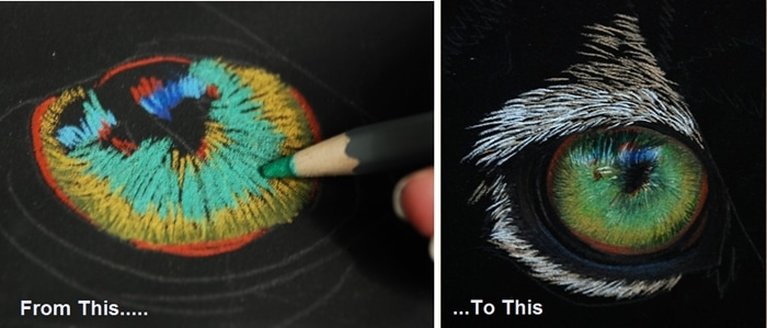
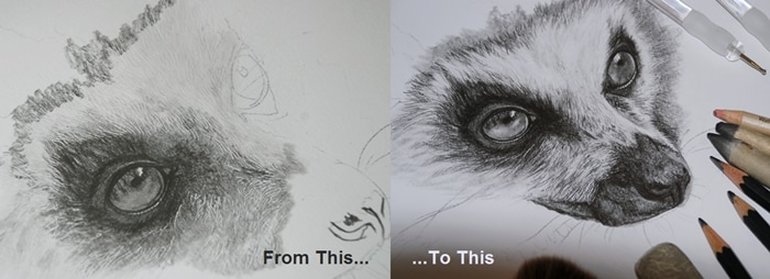
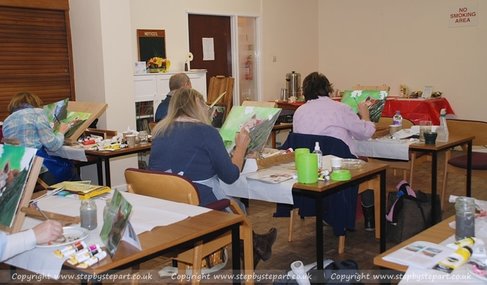
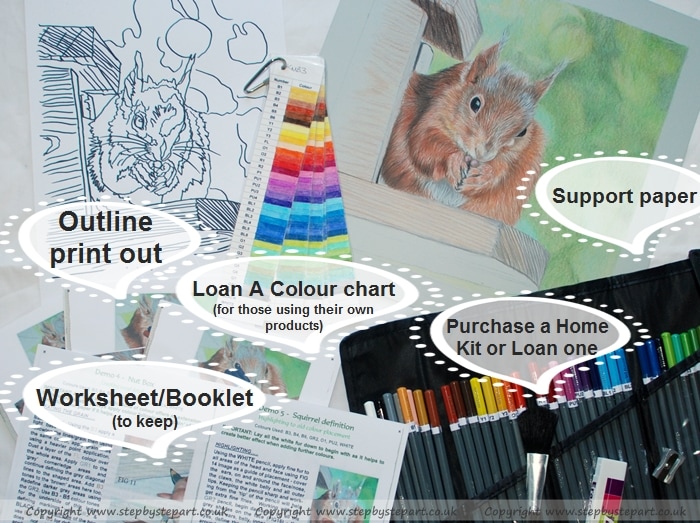
Thanks for looking! I realise it has been many months since I wrote a post here on the Step by Step Art website and for that I apologise. There has been much happening since April 2016 but overlooked the power of the news blog. Hopefully I am able to change that in 2017 with new workshops and articles coming this year. As technology improves at a rate I certainly cannot keep up with, websites also have to keep up with the times and this is the reason for the 'new look'. I hope it is more visually appealing (we artists love colour!) whilst still offering lots of help and advice to artists here in the UK and around the world. I am currently in the process of adding six new articles, including a mini step by step coloured pencil tutorial (other mediums will be available in future tutorials too). I also have a date for the first two workshops in May which will be run as a two day weekend workshop that can be booked together or individually depending on your preferences. The Saturday will be the coloured pencil workshop of a Snow Leopard eye on black Colourfix, which I ran in August 2013, and was quickly booked up. On the Sunday will be a graphite pencil workshop of a Ring-tailed Lemur, so if you are interested in learning how to work with pencils to create detailed art, these workshops may be for you. You don't need any previous experience with pencils or with art to join in, but I can guarantee that if you are a complete beginner you will be very surprised with what you have achieved by the end of the day. Everyone gets their own workstation so you have ample room to spread out. The price of each workshop includes the paper, outline print out, booklet/sheets, and if you are bringing your own products to the coloured pencil workshop, you will be supplied a colour chart for the day or you can loan a kit. The pencil colours are individually coded to match the workshop notes, making it easy to select your pencils. The graphite pencil workshop also includes the paper, outline and workshop booklet. You can also loan a kit or purchase a home kit. THIS WORKSHOP HAS BEEN COMPLETED
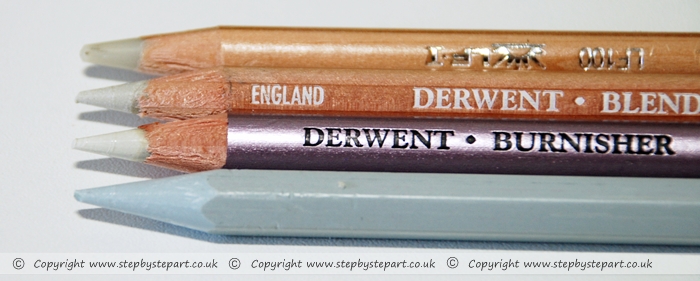
I have recently completed a new article about coloured pencil blenders & burnishers and how best to use them. As I actively encourage people to get in touch if they would like to see a specific article or tutorial, this is one of them, which I thought would be a great subject to review. With thanks for the article request!
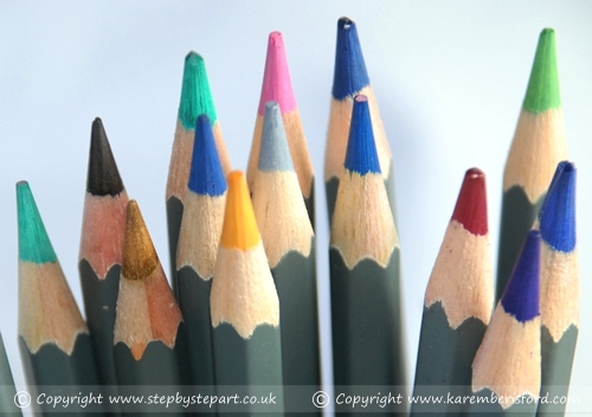
Although I own 3 different blenders and a burnisher myself, I forgot I had them and it gave me a great opportunity to try them all out and compare them, sharing with everyone my thoughts and findings. If you are looking to find out what blenders & burnishers can offer you as a coloured pencil artist, or are new to blenders/burnishers and would like to know what they can achieve and how best to use them, why not take a look at this article - I was surprised to learn you can actually use them with graphite pencils too, although have not tried it myself. If you would like to request an article, please get in touch - it's always great to hear feedback too if you wish to share your own experience on using any of these products so feel free to comment below. If you know someone who may find this article interesting, feel free to 'like' on Facebook or 'tweet' on your Twitter page! I hope you find this article very helpful! Karen :) Are you thinking of giving Coloured pencils a go, but not sure which pencils to start out with? Take a look at this article which offers a recommendation of a great set of pencils without breaking the bank, whilst offering lots of benefits that professional pencils have (and even some that certain pro pencils don't!) If you have £7* spare, these popular non branded pencils are the ones you should try before splashing out on an expensive, professional brand just in case you decide Coloured pencils is not the medium for you after all. This article offers advantages & disadvantages and also shows you what these pencils are capable of. It seems they are used extensively for those taking their GCSE's as well as Art Tutors (including myself) using them in Art Workshops.
Click on the image, to visit the article page. Feel free to 'like' , share or leave a comment, especially if you have used these pencils before or found the article to be of help to you. Please Note: These are only sold in the UK *They may also be available to purchase at a lower price due to sale offers in-store or online.
Feel free to 'like', 'share' or leave a comment should you wish.
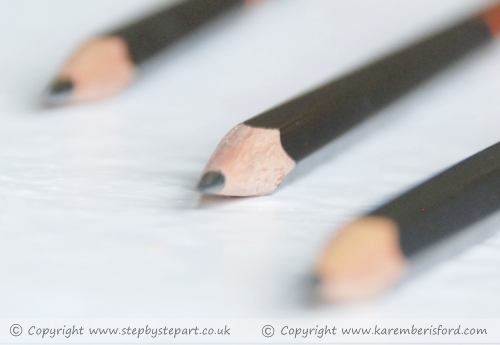
I hope this article is very helpful to newbies to graphite pencils. |
AuthorKaren M Berisford Archives
March 2024
Categories
All
|
QUICK LINKSArticles
Art Tutorials Art Workshops Workshop Gift Vouchers Art Blog About ko-fi Our social media page About the Tutor Contact Site Map Vertical Divider
|
HOW TO SUPPORT USThank you for visiting our website, which offers valuable global resources for artists. We strive to provide a pleasant browsing experience by keeping our site advertisements-free. We do not earn money from this website, but you can show appreciation by buying us a coffee on ko-fi.com. You will find the donation buttons below and can follow us on ko-fi to stay informed of the latest news. We appreciate your visit! |
No part of this website should be copied or re-used anywhere without written permission from Karen M Berisford - 2011 - 2023
All images on this website are copyright of Karen M Berisford unless otherwise stated - Website design by Karen M Berisford. All rights Reserved.
All images on this website are copyright of Karen M Berisford unless otherwise stated - Website design by Karen M Berisford. All rights Reserved.


 RSS Feed


