Ergonomic arm rest review by Karen M Berisford
As a professional artist, I spend significant time working at my desk. While I have an easel, I only use it when working on large paintings. The easel's adjustability, both horizontally and vertically, is impressive. Still, it lacks arm support, making it uncomfortable to work on for extended periods.
Working at an easel for long hours can be challenging for artists, as it can cause pain and stiffness in the shoulders, arm and wrist. This can affect the quality and enjoyment of the art, as well as the health and well-being of the artist.
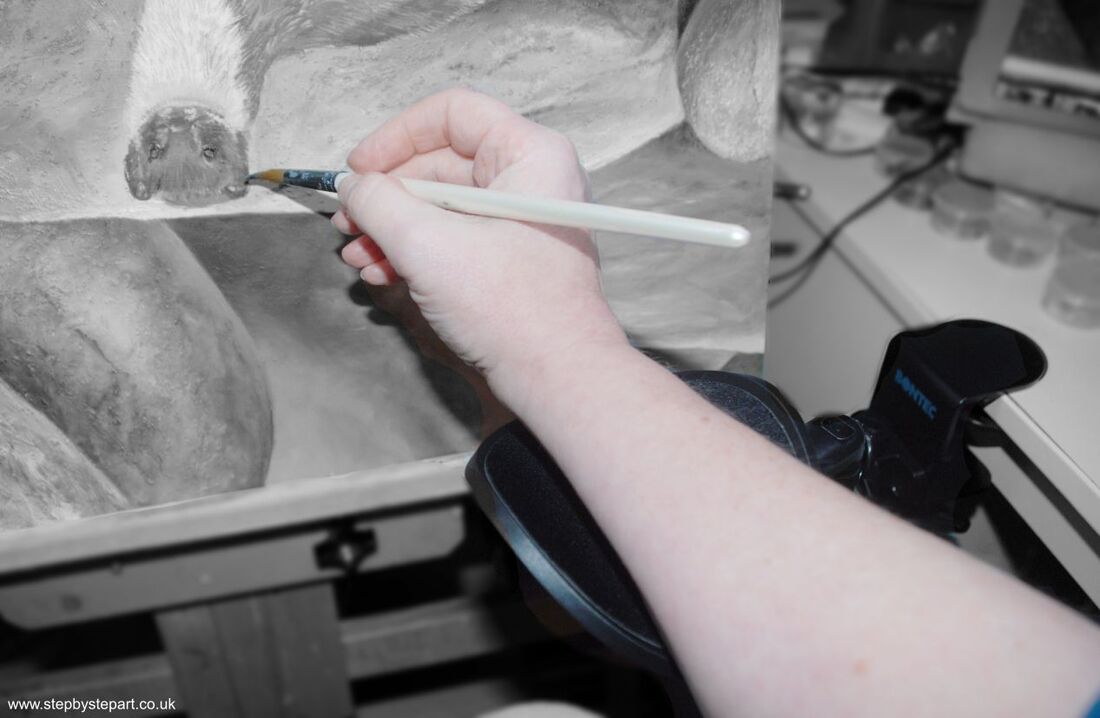
A while ago, I bought an ergonomic arm rest which attaches to a solid surface, and use it to support my forearm and wrist when working from my easel. It provides the necessary support to reduce the strain on my hand and wrist as I work and it has helped to improve my posture and reduce the stress on the muscles and joints. It also allows my hand and arm to move freely and smoothly, giving more control and precision over the strokes.
I have provided a video below showing how the arm clamp operates.
My armrest is constructed of metal, which is necessary to support the weight of my arm. The armrests need to have some weight behind them to clamp onto a desk securely while also supporting the weight of your arm. A few companies sell ergonomic armrests, and as I am not endorsing any particular brand, the fittings may differ from one brand to another.
An ergonomic arm rest is adjustable and flexible and the height of the arm rest can be changed to suit the preferences and needs of the artist. There are five different height settings, up to 4 inches, to choose from. The arm rest can also swivel and move with the arm as the artist works. The arm rest has a clamp that fits most easels, and can be attached and detached easily.
The one I have is from BONTEC which I purchased on AmazonUK, however there are others brands available which may differ slightly in their design. There are numerous arm rest designs available if this style is not suitable. Here is the link on Amazon.
By sharing this information, I hope others may also benefit from its usefulness. Please note that I am not promoting or endorsing this product but offering friendly advice for those who may find it beneficial.
0 Comments
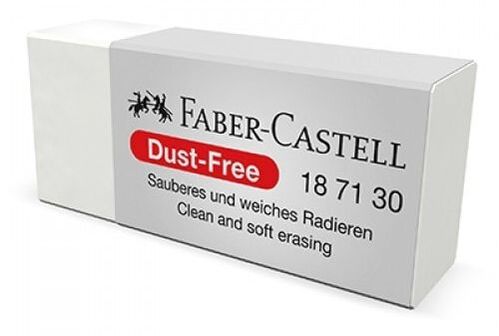
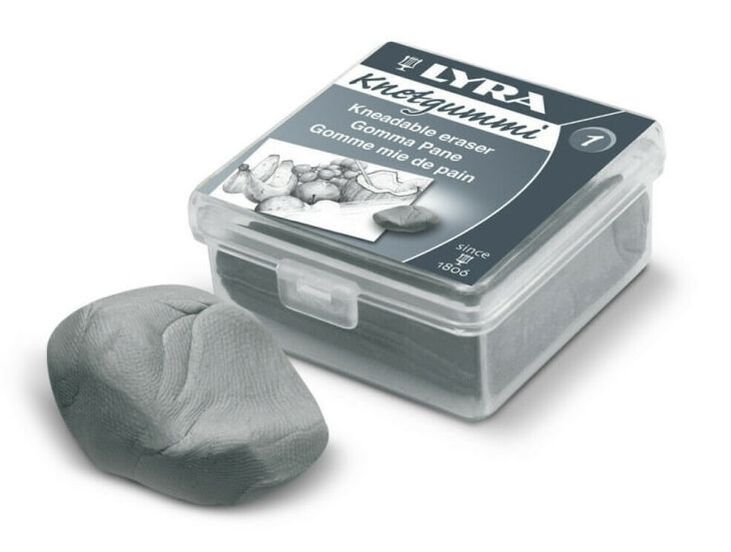
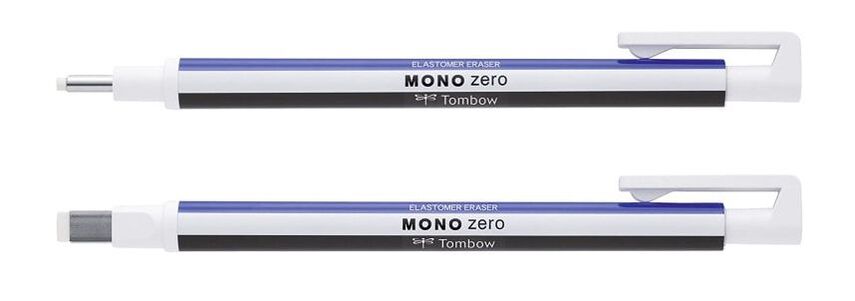
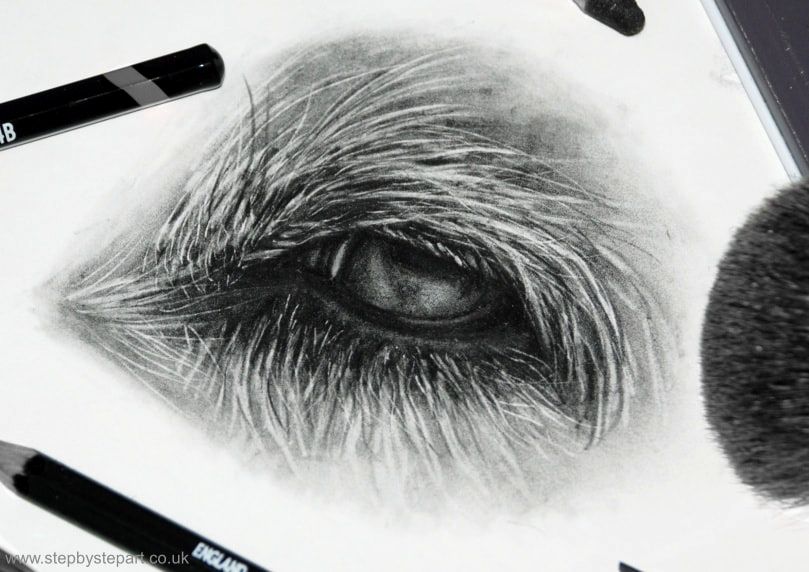
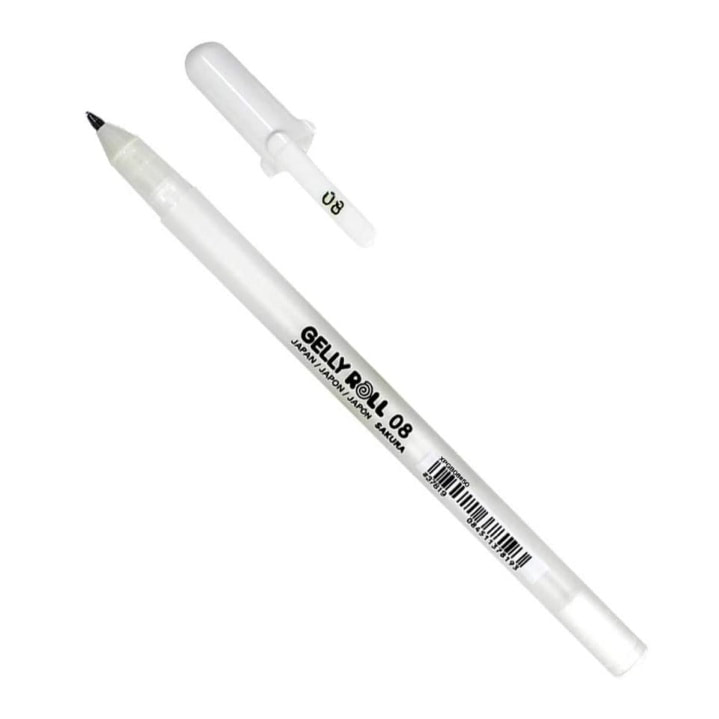
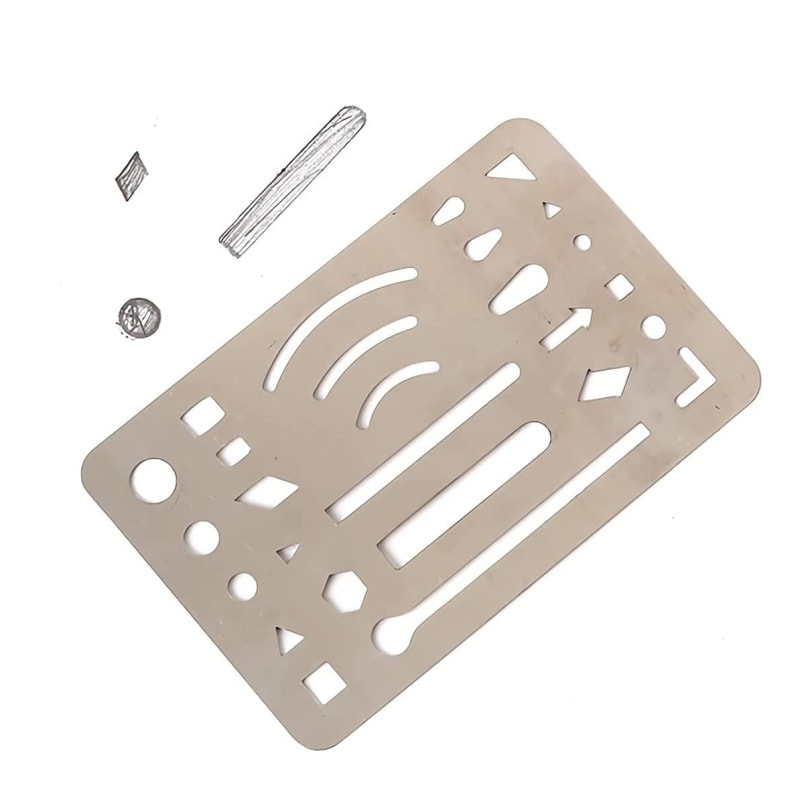
Are you a graphite artist, or trying graphite pencils for the first time? You don't need a large assortment of products. If you enjoy drawing outdoors, you can travel light, with no need for solvents and little to no mess. The pencils are the most important part of the graphite toolkit, but they are more effective when combined with other products. In this blog, we discuss the five essential accessories for the graphite artist. If you are new to graphite pencils, you may prefer some over others, conditional on the style of your work. Let's take a look at them. ERASERS/RUBBERS Erasers are a must for any artist. Not only are they useful for erasing mistakes from your work, they can also be used as part of the creative technique. Highlight areas by erasing, lifting and softening the graphite to achieve the correct definition needed. An eraser is essential, but search any online art store and you will find so much choice. You may see it as overkill, and to a point, you are correct. Many art companies market similar products which they endorse for their own product ranges, so deciding which is the better option can be overwhelming. Although we don't lean towards any particular brand, we provide images of the products we use ourselves, or have chosen purely for representation. We discuss five different styles of eraser, that, depending on your artistic style, could be of interest to you. Do let us know in the comments section at the bottom of this page, what your personal favourite eraser(s) is and why.
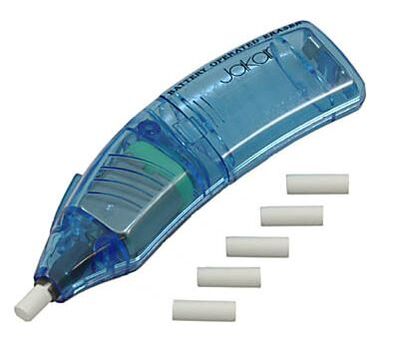
the must-have eraserBattery powered eraserIf you like detail, a battery powered eraser is the most useful tool to have in your arsenal. Use this alongside other erasers, to get the very best out of your work. There is no other eraser on the market that removes pencil from paper, like a battery powered eraser. It lifts almost all pencil from your paper, removing marks effortlessly, and doing all the hard work for you, leaving you to concentrate on accuracy. We highly recommend you practice how to hold and control this product before trying it on important work, as it is quite powerful!
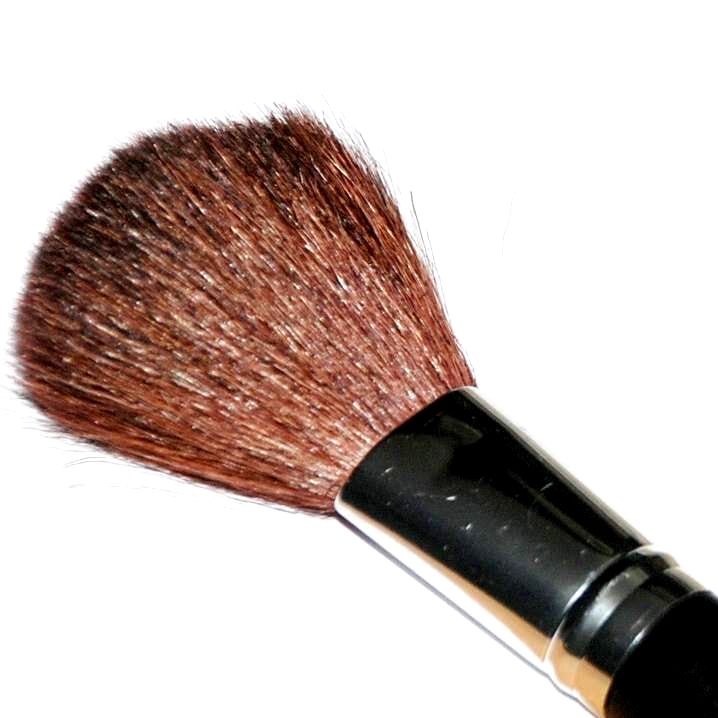
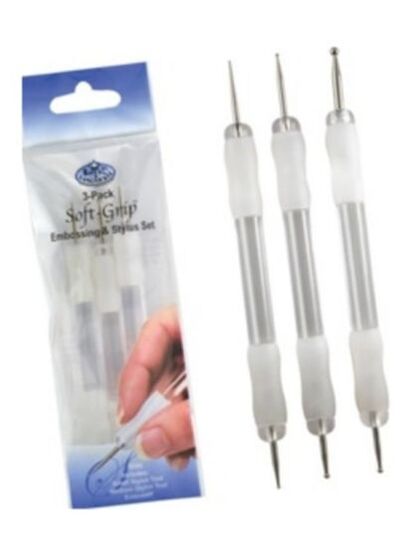
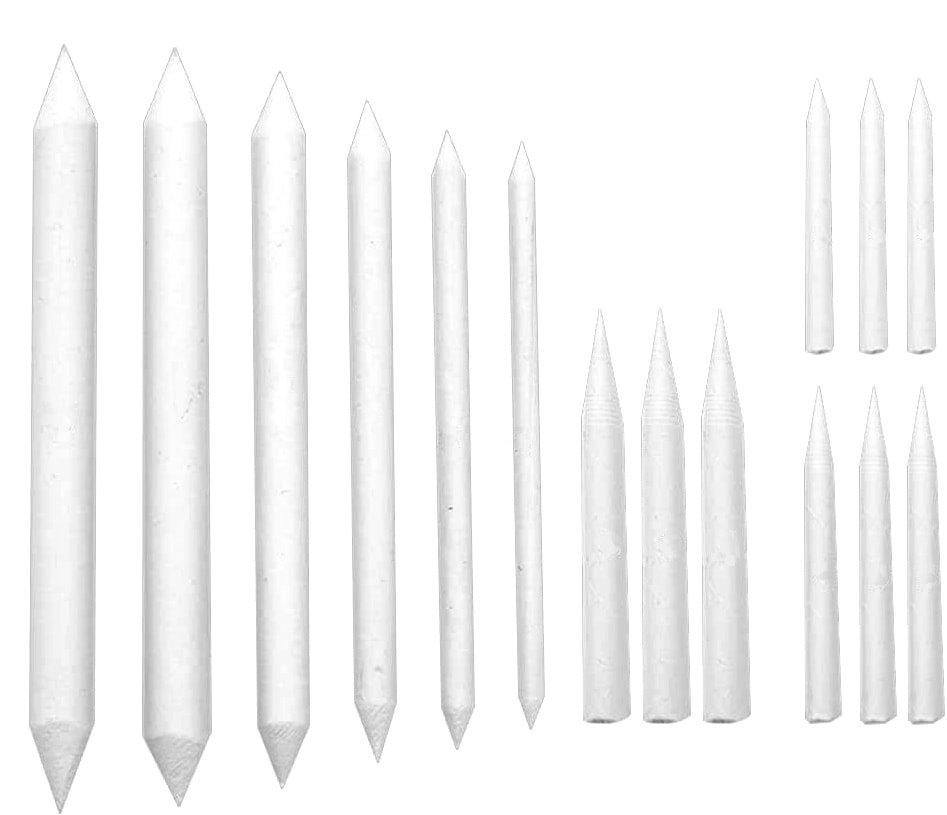
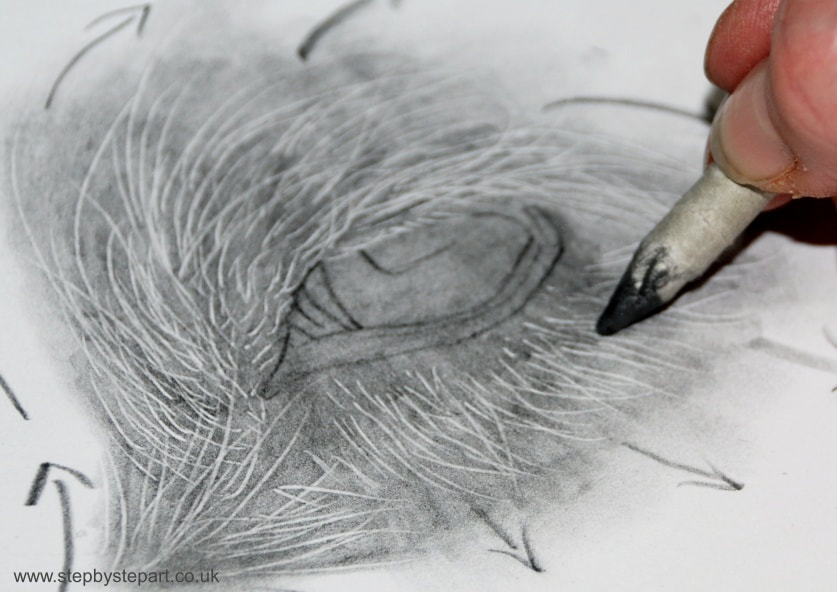
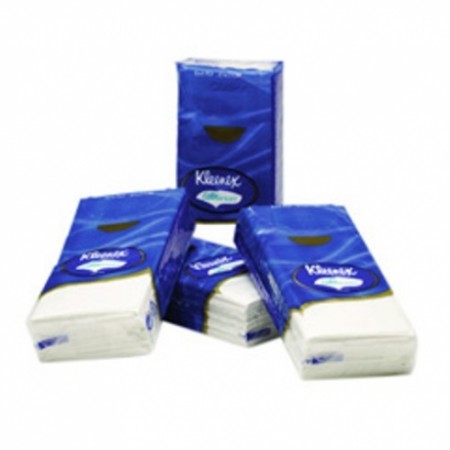
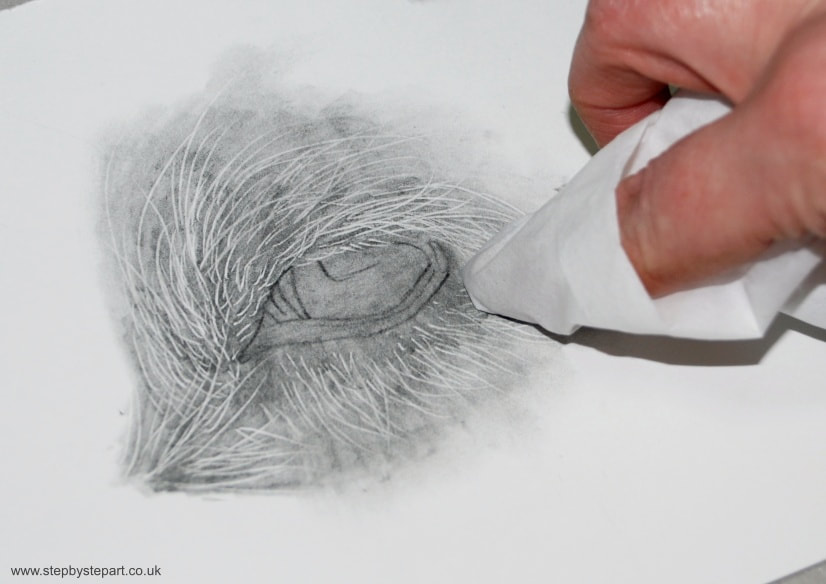
Emboss toolsEmbossing tools are used to indent your paper before you apply any pigment. This protects the surface of the paper from saturation. This is applied in areas you require highlights, such as catchlights in the eyes and strands of fur/hair, but it can also be applied between layers, to isolate and imprint any contours. Embossing tools are an indispensable product for artists. Sold individually or in multiple packs, each one has a metal ball attached to the tip, each with differing widths. Embossing tools can be used for a whole manner of arts and crafts, so we would recommend you purchase a pack, even if you don't use them for graphite work. Caution should be applied when using on soft papers like cotton as you may damage the surface. Abrasive paper, are not suitable for this technique as it will weaken the grit on the surface. Indenting is not a challenging technique, although, as you are making a mark in your paper, you do need to plan. If you are new to this technique, practice on a spare sheet of paper first, or why not try our tutorial here, which explains this technique. blending toolsThere are numerous tools that you can use for blending graphite. Tissues, tortillions, cotton buds, even make up sponges. We discuss two of the most effective tools to blend. paper stumps & tortillionsPaper stumps and tortillions are tightly packed rolls of paper which form a pointed tip, allowing you to burnish your work across both large and small areas. Although you can peel away a layer of the paper when it becomes over-saturated, it can be useful to leave any excess pencil on the tip, as you can use this to apply a softer layer of pencil to your paper. Paper stumps are pointed at both ends and are available in multiple thicknesses which can be purchased individually or in a pack. Tortillions are shorter and thinner and pointed on one end only. They are sold in multipacks as the are not as durable as the stumps. Stumps and blenders can be used with other mediums such as coloured pencils and pastels, but we suggest you keep them separate and avoid cross-contamination. tissuesTissues are the ideal product to use if you do not have any blending tools. Wrap it round your finger to blend larger areas, tear off a strip and wrap it round the tip of a blunt pencil to smudge and blend smaller areas. You should never blend pencil with your fingers as the natural oils will transfer to your paper and can damage your drawing. Pocket tissues are the ideal size to rip and tear to fit your needs, but you can use standard size tissues and even sheets of toilet roll. Kitchen roll may be too coarse, so may not be ideal. We do not recommend tissues that are infused with anything.
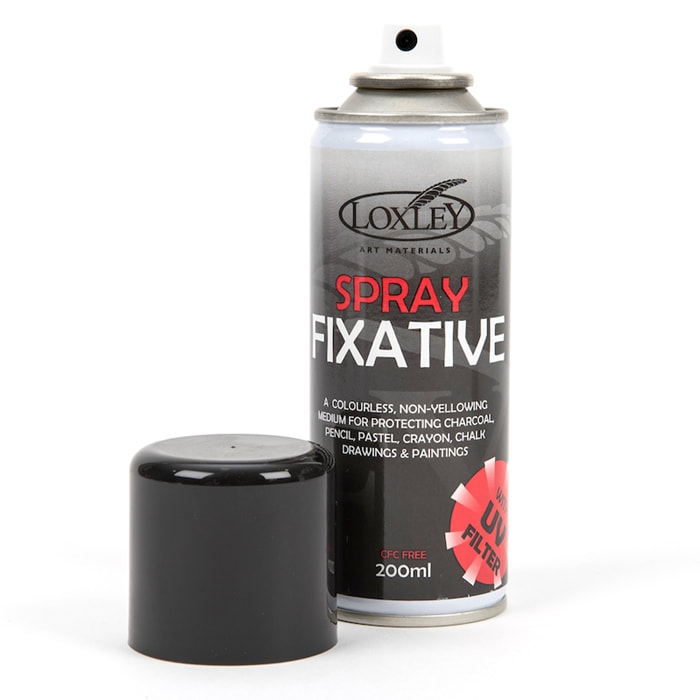
ADDITIONAL PRODUCTS THAT MAY BE USEFULWe include a couple of other products that you may find useful, if not for your graphite pencil case, maybe for your other artistic ventures.
LEAVE US A COMMENTWhat is your favourite product when working with graphite pencils and why? Have you changed products or brands over the years, or do you have a product that you have used for many years, even decades? Share with us all below.
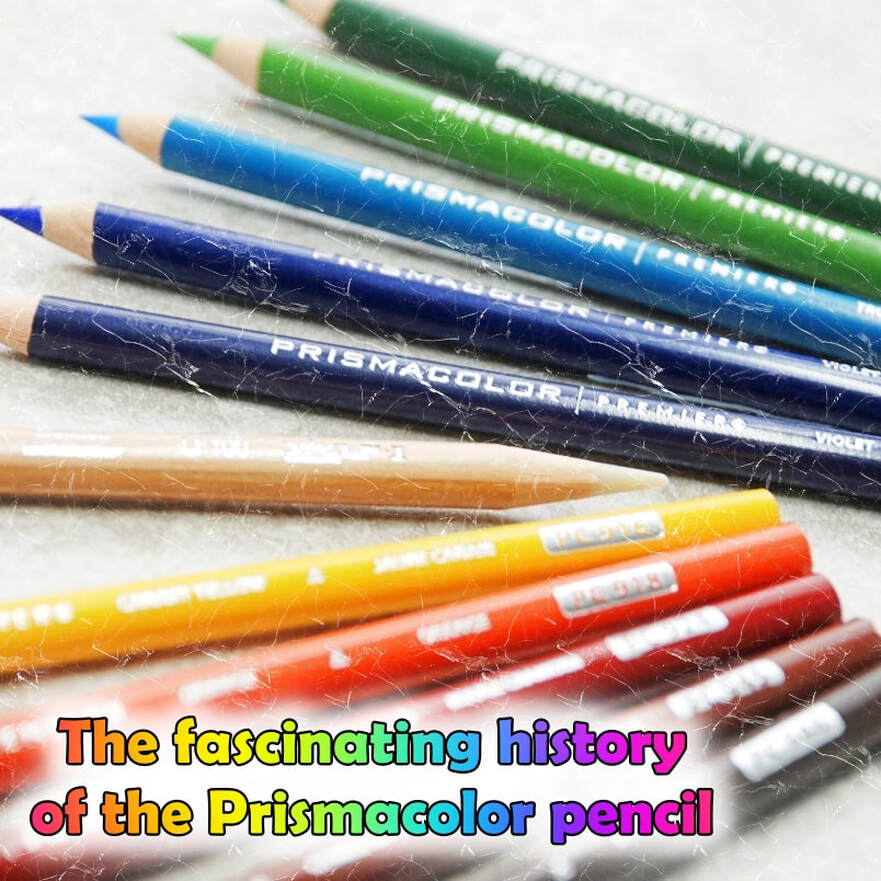
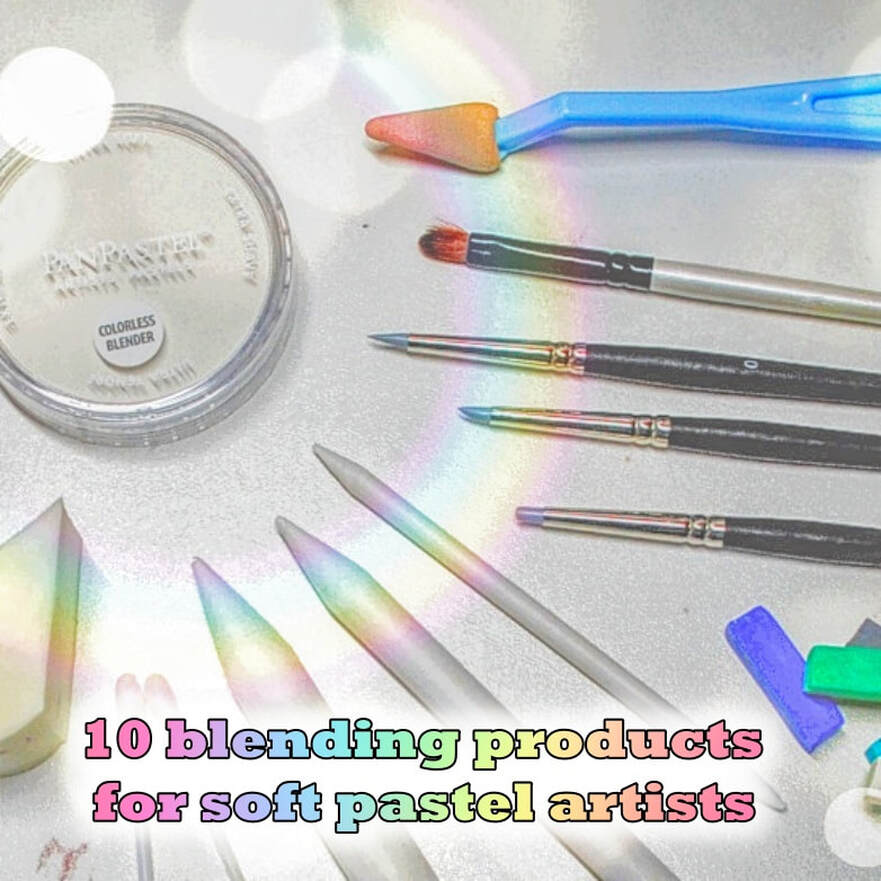
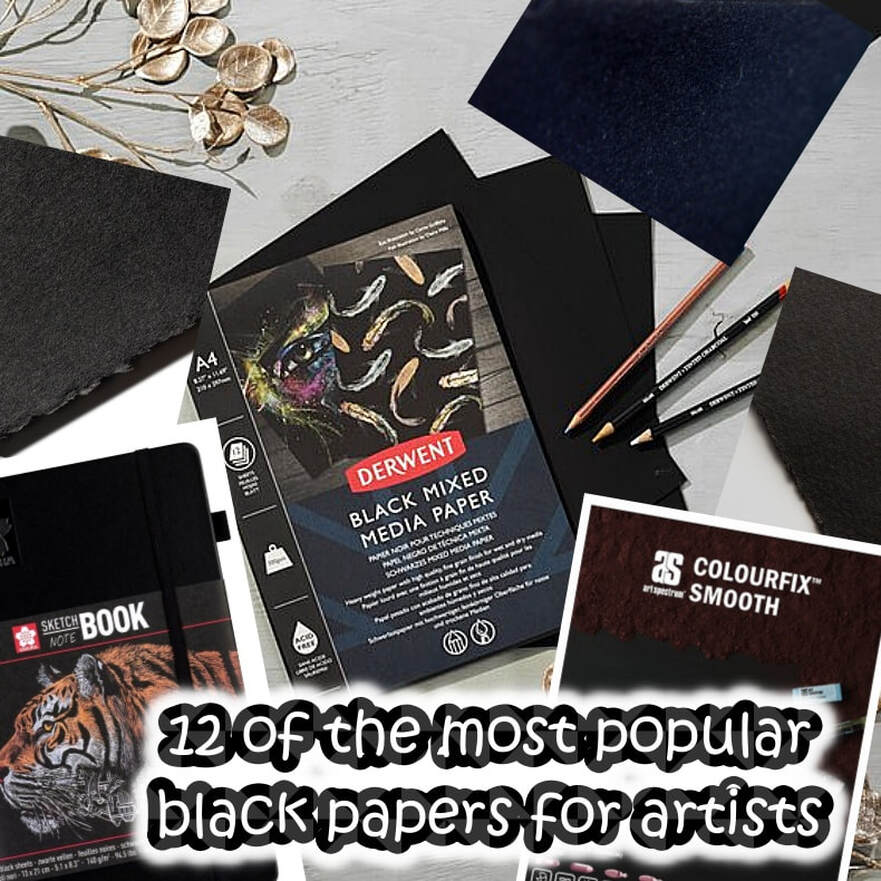
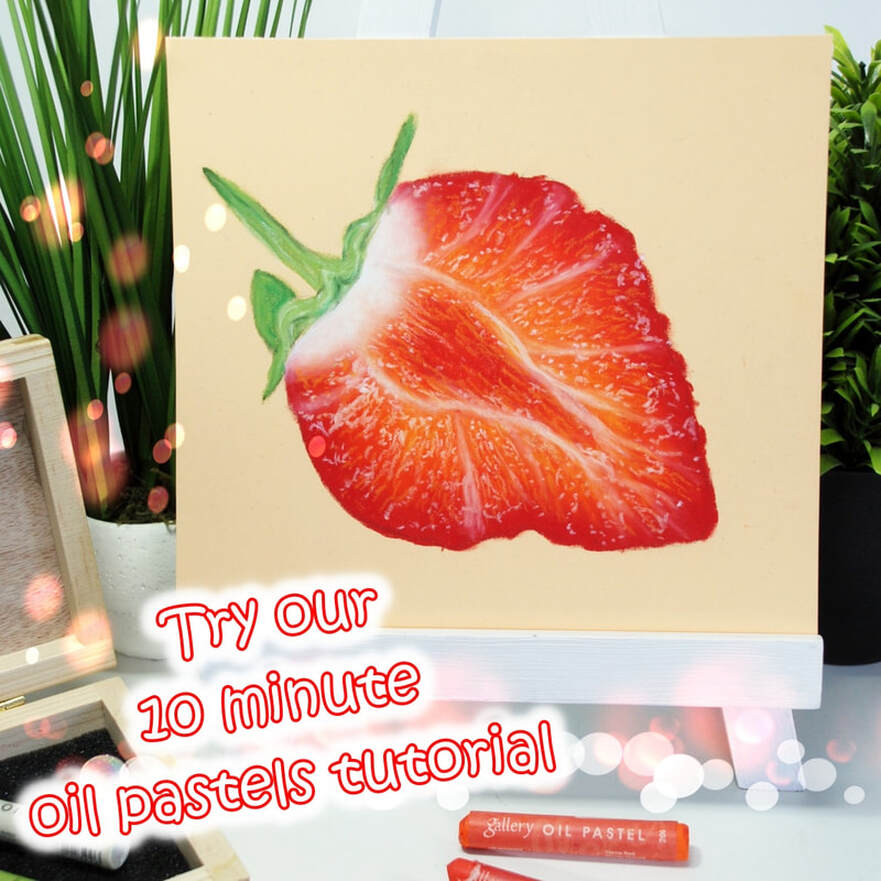
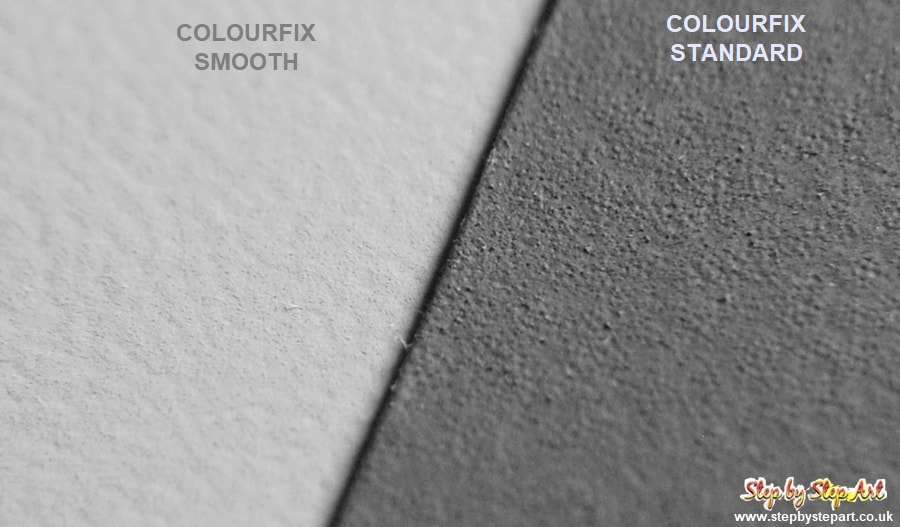
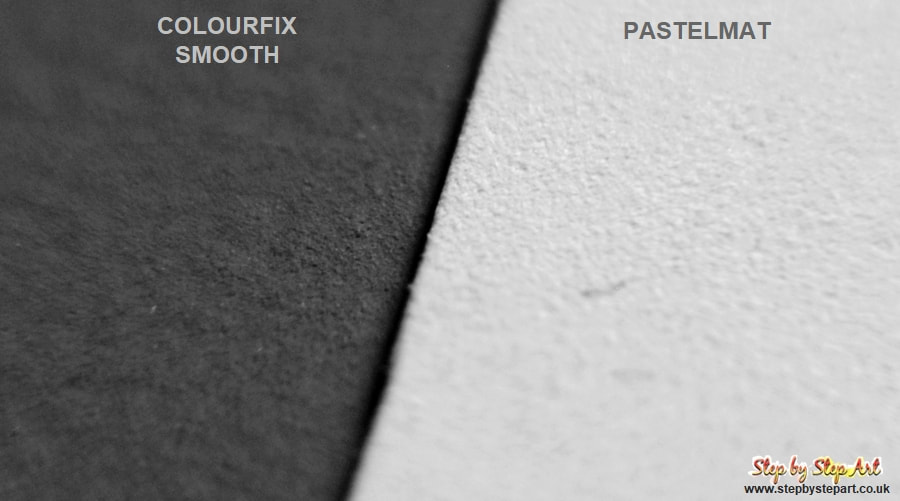
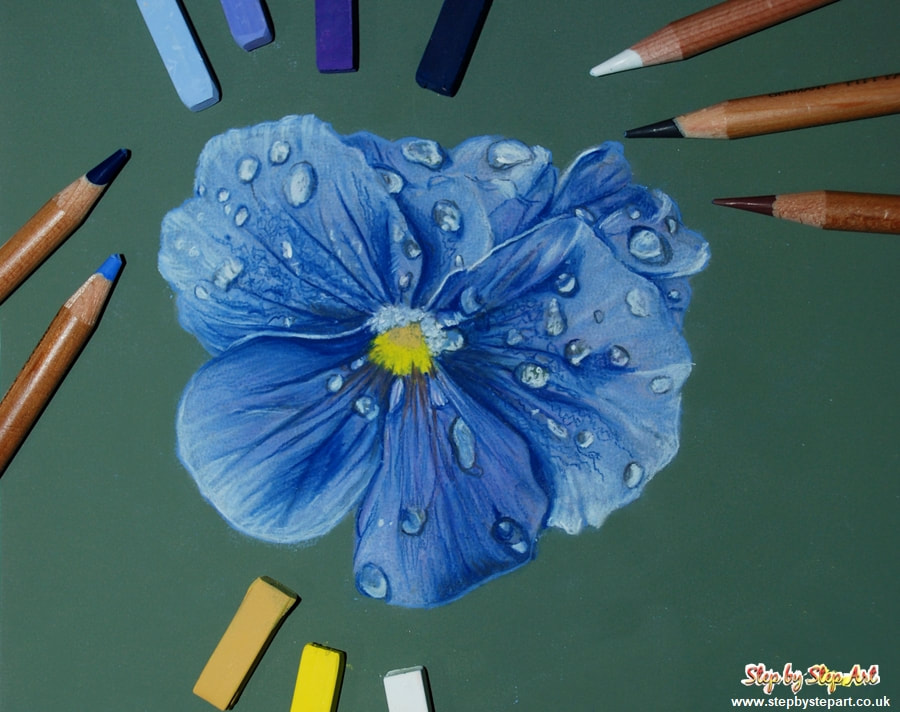
Our newsletter has dropped and we have four new articles, including a brand new medium for our mini tutorials section, the oil pastel. If you haven't tried oil pastels, we would highly recommend you give them a go. Our new tutorial only takes 10 minutes to create a highly effective piece of work, and maybe you will fall in love with the medium too? We certainly love them! We like to cover a different medium or product, in each article, so this quarter, we provide a list of blending tools for soft pastel artists, a selection of black papers for artists who enjoy working on a dark surface. We have chosen various surfaces and brands, suitable for numerous mediums, not just pencils. Finally, we have updated the Prismacolor pencil artist. We really delved deep into the history of these pencils and believe us, these pencils have a great history. They span over a hundred years! We also discuss what these pencils can achieve, as we are aware that they are a favourite of many coloured pencil artists. Click on any of the images below to visit the article and have a read. Why not grab a coffee, as we do throw lots of information into our articles, so we hope you enjoy them. About the Prismacolor pencil |
AuthorKaren M Berisford Archives
March 2024
Categories
All
|
QUICK LINKSArticles
Art Tutorials Art Workshops Workshop Gift Vouchers Art Blog About ko-fi Our social media page About the Tutor Contact Site Map Vertical Divider
|
HOW TO SUPPORT USThank you for visiting our website, which offers valuable global resources for artists. We strive to provide a pleasant browsing experience by keeping our site advertisements-free. We do not earn money from this website, but you can show appreciation by buying us a coffee on ko-fi.com. You will find the donation buttons below and can follow us on ko-fi to stay informed of the latest news. We appreciate your visit! |
No part of this website should be copied or re-used anywhere without written permission from Karen M Berisford - 2011 - 2023
All images on this website are copyright of Karen M Berisford unless otherwise stated - Website design by Karen M Berisford. All rights Reserved.
All images on this website are copyright of Karen M Berisford unless otherwise stated - Website design by Karen M Berisford. All rights Reserved.

 RSS Feed


